
Easter weekend is approaching and we wanted to share something you can do at home that doesn’t just involve eating chocolate. These beautiful dyed eggs are great fun to make and will add to your Easter table.
You will also end up with some beautiful eggs to ‘Jarp’ with after. If you’re unaware of what it means to ‘Jarp’, stay with us and we will share!

Eggs were usually considered a forbidden food during Lent so people would paint and decorate them to mark the end of the period of fasting. The eggs were often dyed red to mimic the blood that Christ shed during the crucifixion.


2.) Add the salt, vinegar and 1.5 litres / 6 cups of water to the pot and boil for 40 minutes. Remove from the heat and set aside for 10 to 15 minutes to cool slightly.


To make these, you will need the following:
- 6 Red onions
- Flowers
- Herbs
- 6 Eggs
- 1 tbsp / 4 fluid drams Salt
- 100ml / 3fl oz Red wine vinegar
- Kitchen roll
- Tights or other muslin cloth
- Elastic bands
- Paint brush
- Water
- Olive oil, or any other kind of cooking oil
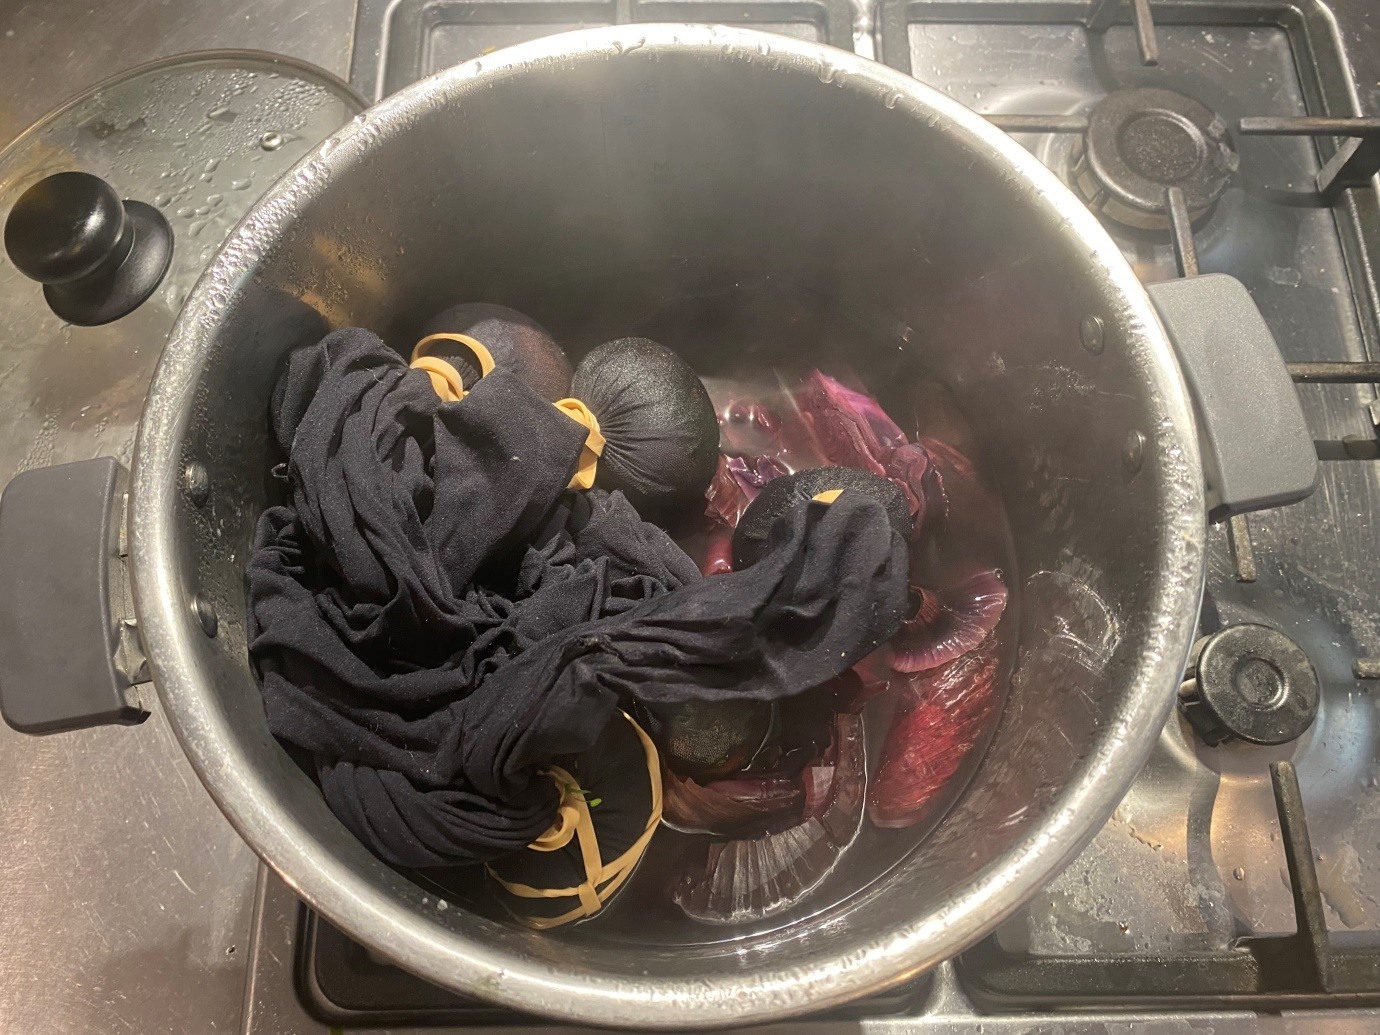
1.) Firstly remove all the skins from the onions and place in a saucepan. We like to use 1 onion per egg to get the maximum amount of colour. We also added some red cabbage to the dye this time to make the colour even stronger. You can get creative here and use brown onions or beetroot too.
3.) Whilst the dye is boiling, you can start to decorate your eggs. You will want to try and cover the eggs with as many flowers and herbs as possible. We found parsley and dill work really well. Use the small paint brush to wet the eggs with water which helps the flowers to stick to the eggs before wrapping them in fabric.


4.) Secure the decoration to the eggs by tying the fabric around the eggs tightly, securing each egg with an elastic band.

5.) Carefully add your eggs to the pot and simmer them on a medium heat for 30 minutes. We then left our eggs in the dye overnight to make the colour stronger, but you can remove them whenever you are ready.

We hope to have inspired some traditional egg dying and plenty of Jarping over the Easter weekend! Share your egg dying designs with us @kitkempdesignthread, or find more fun Easter crafts here.


The eggs are now ready for your table display or to be used in Jarping…


Jarping
Jarping is a traditional Easter game that started in the North east of England. It’s like conkers but with eggs! Every year the World Jarping Championship is held in Peterlee, Durham.
First, each player chooses their egg. One player holds their egg firmly in their hand with the pointed end uppermost. The second player hits their egg down, so the pointed ends connect, in a movement known as a ‘dunsh’. If the egg cracks after the first Jarp, that player is eliminated. If both eggs remain intact you keep going until one egg breaks. The winner is the one with no cracks in their egg!
6.) Delicately remove the eggs from the dye and cut them free from the fabric, carefully scrape off any remaining leaf residue and then coat the eggs in oil to let the colour really shine through.