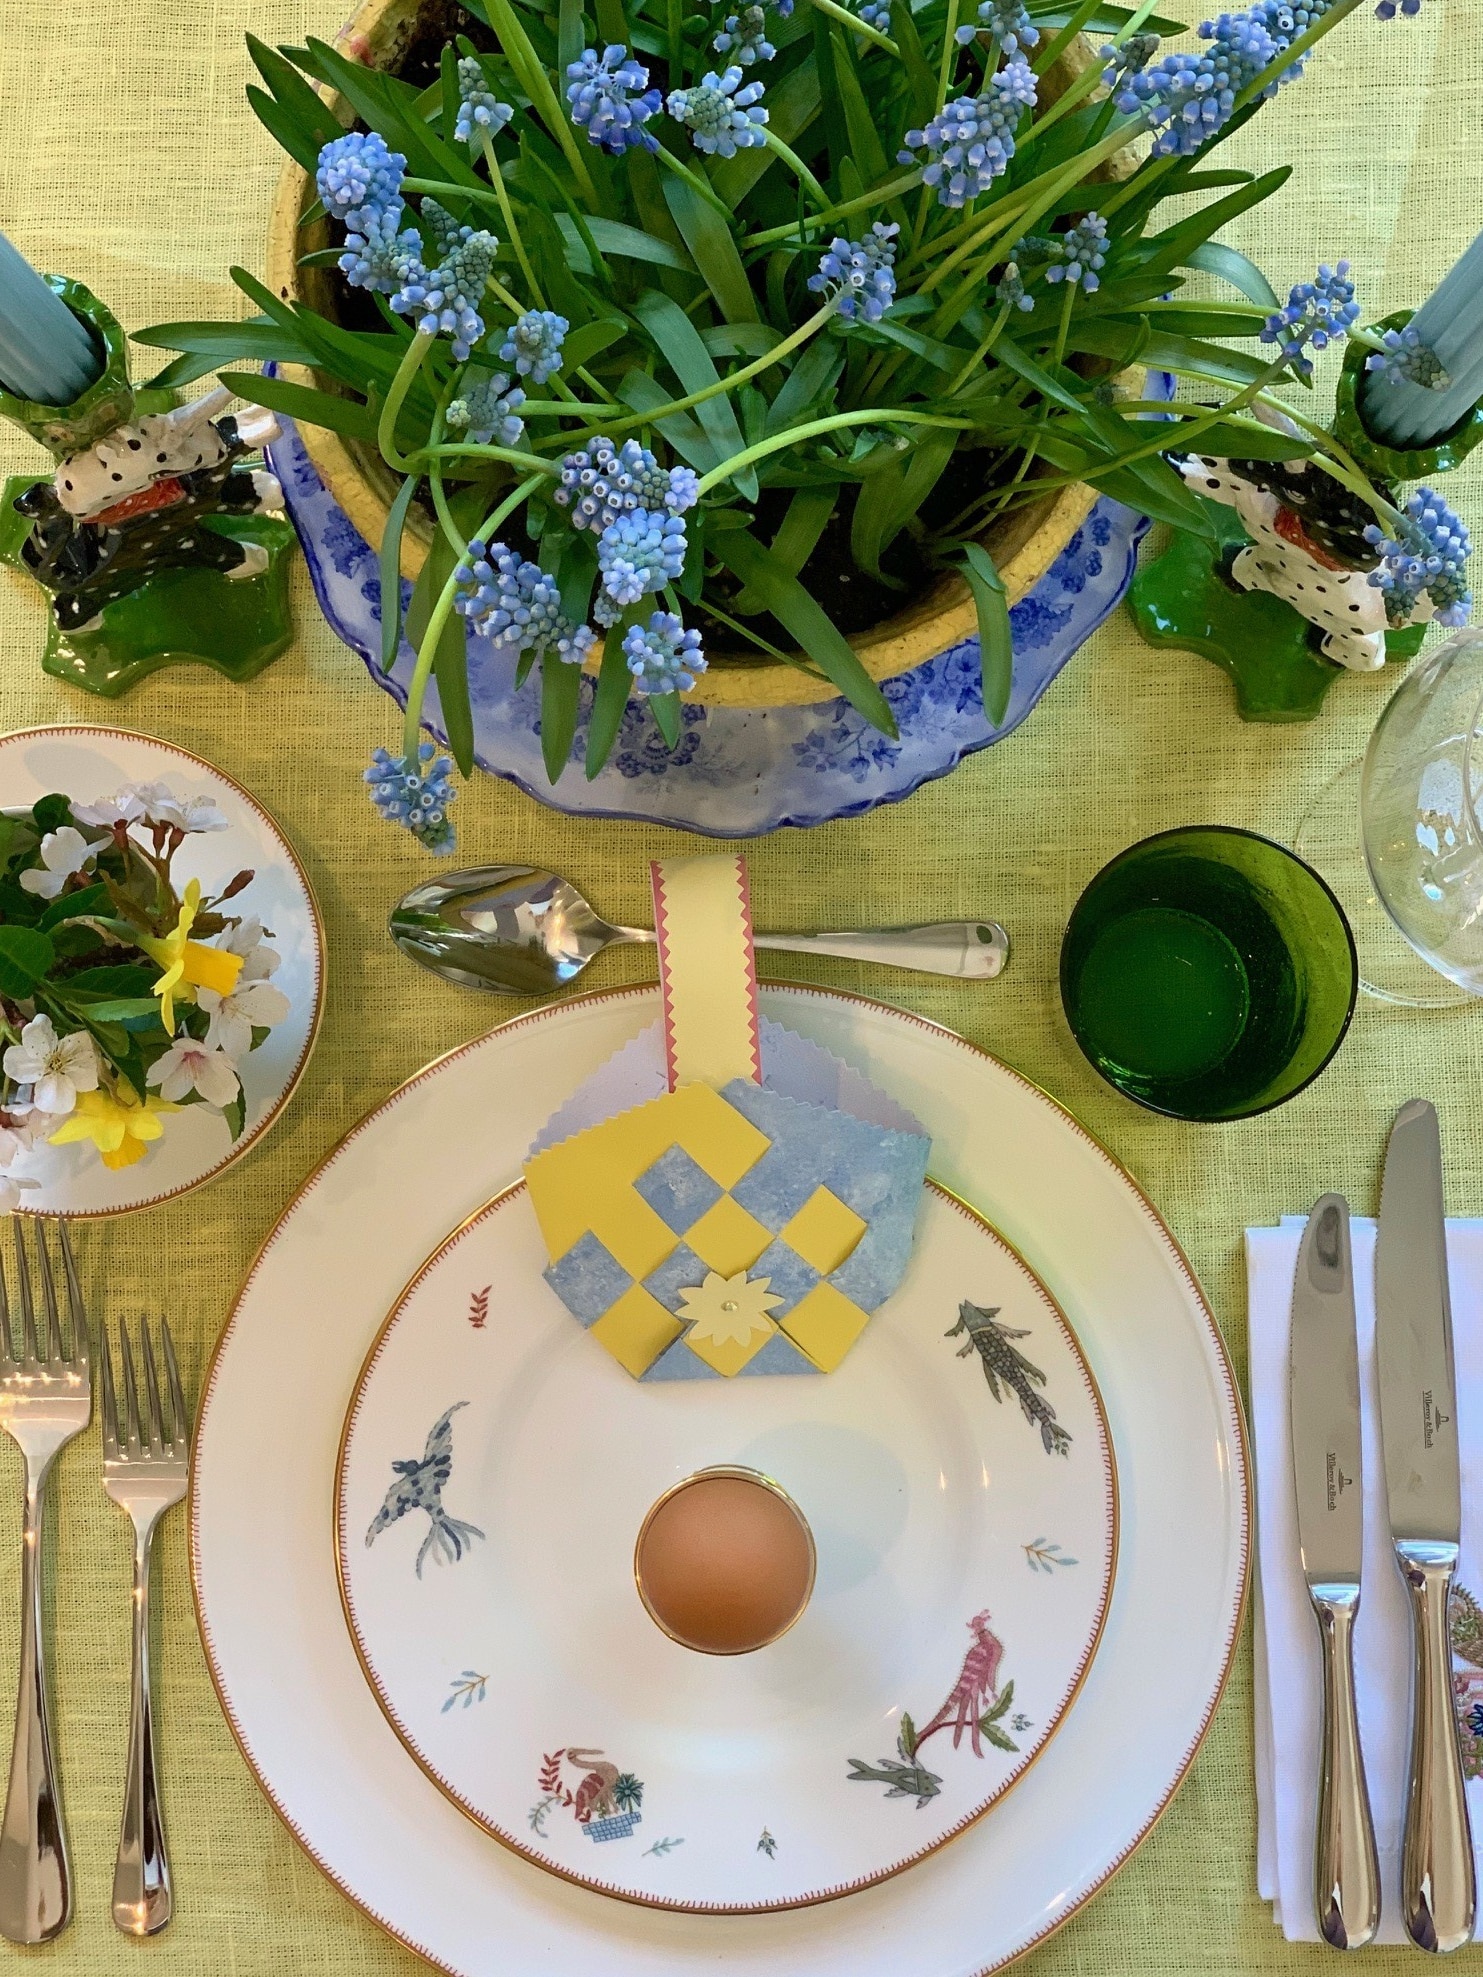
With Easter just around the corner we thought we would share three fun and easy crafts to bring your table to life.
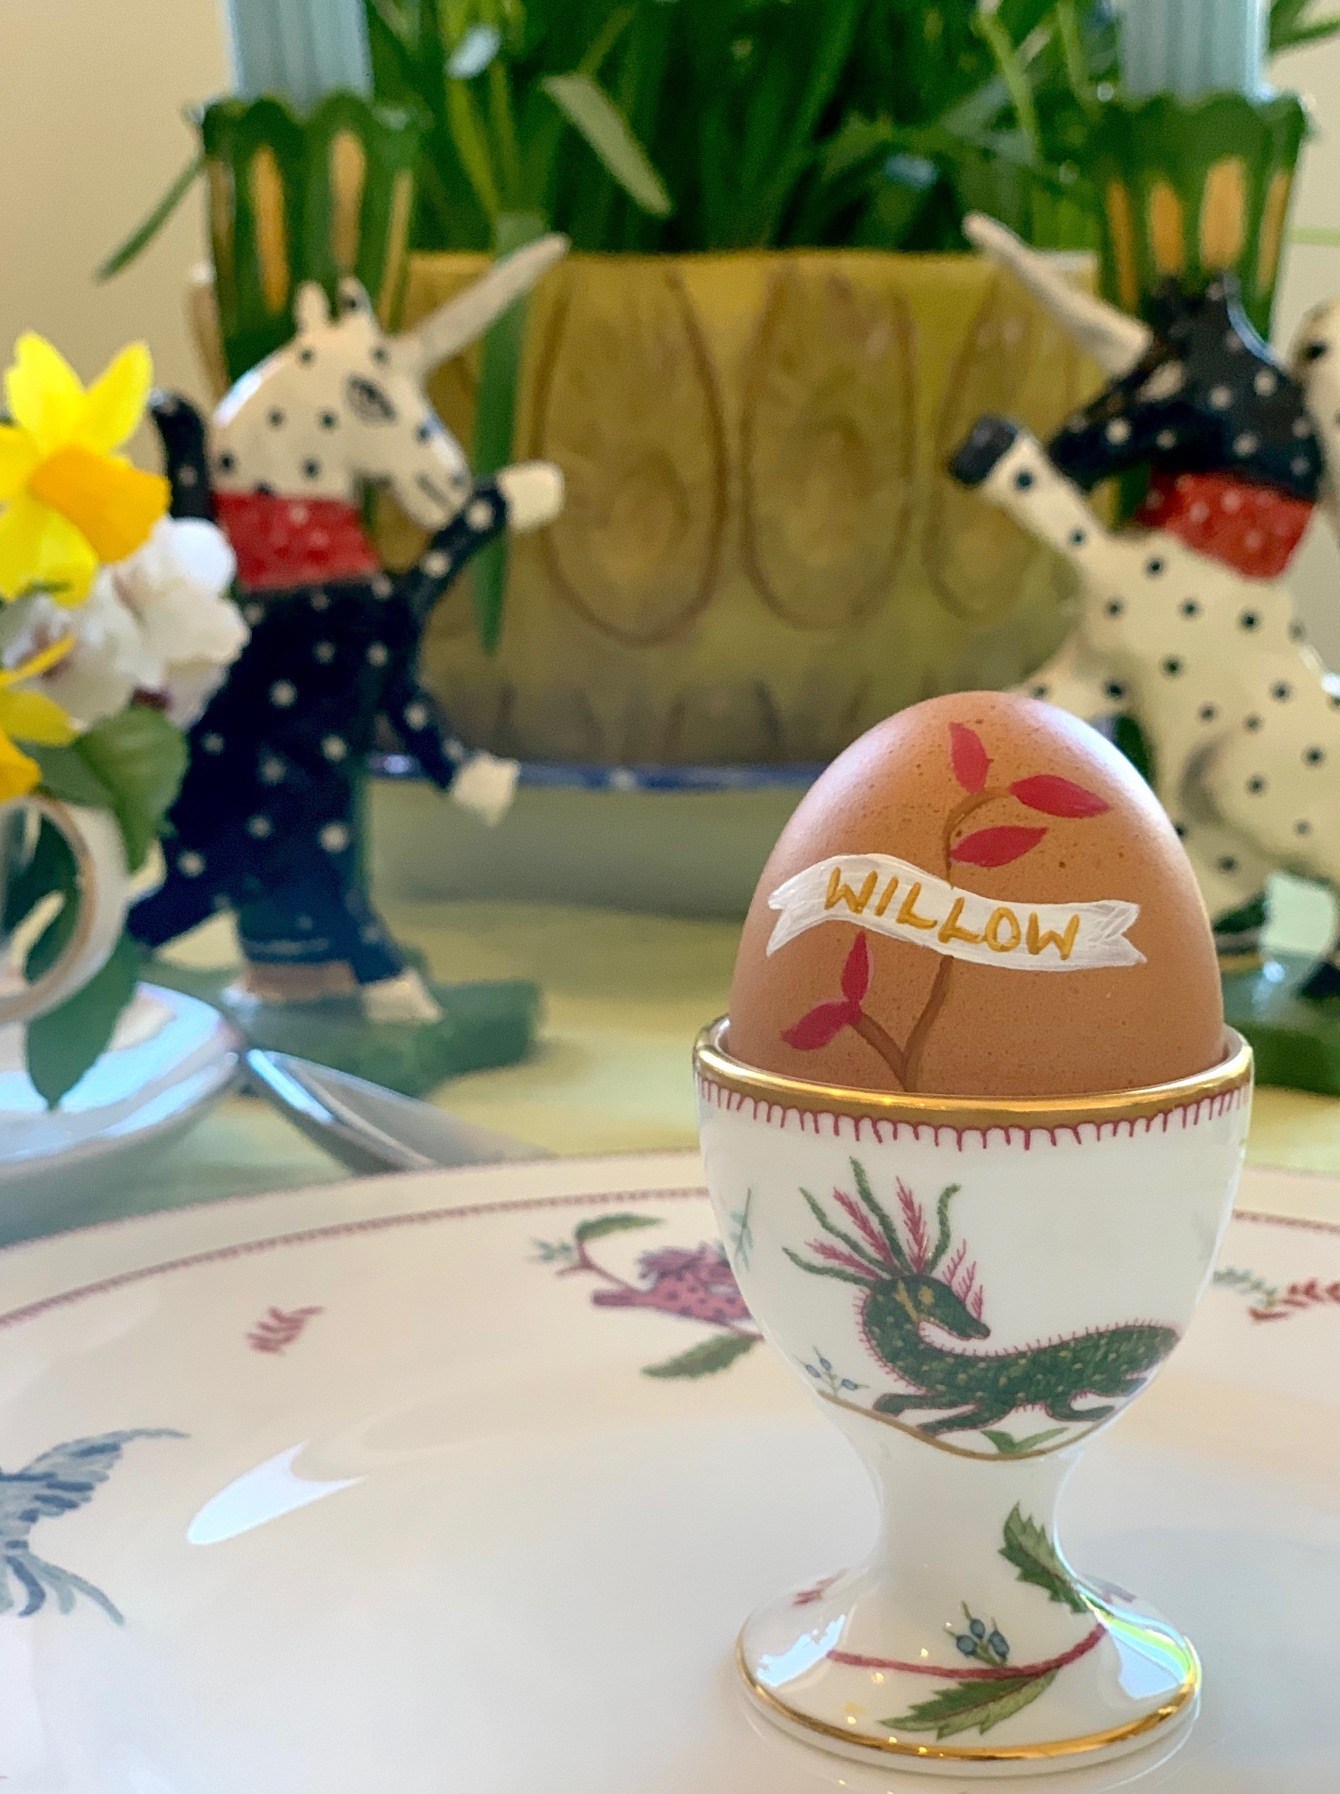
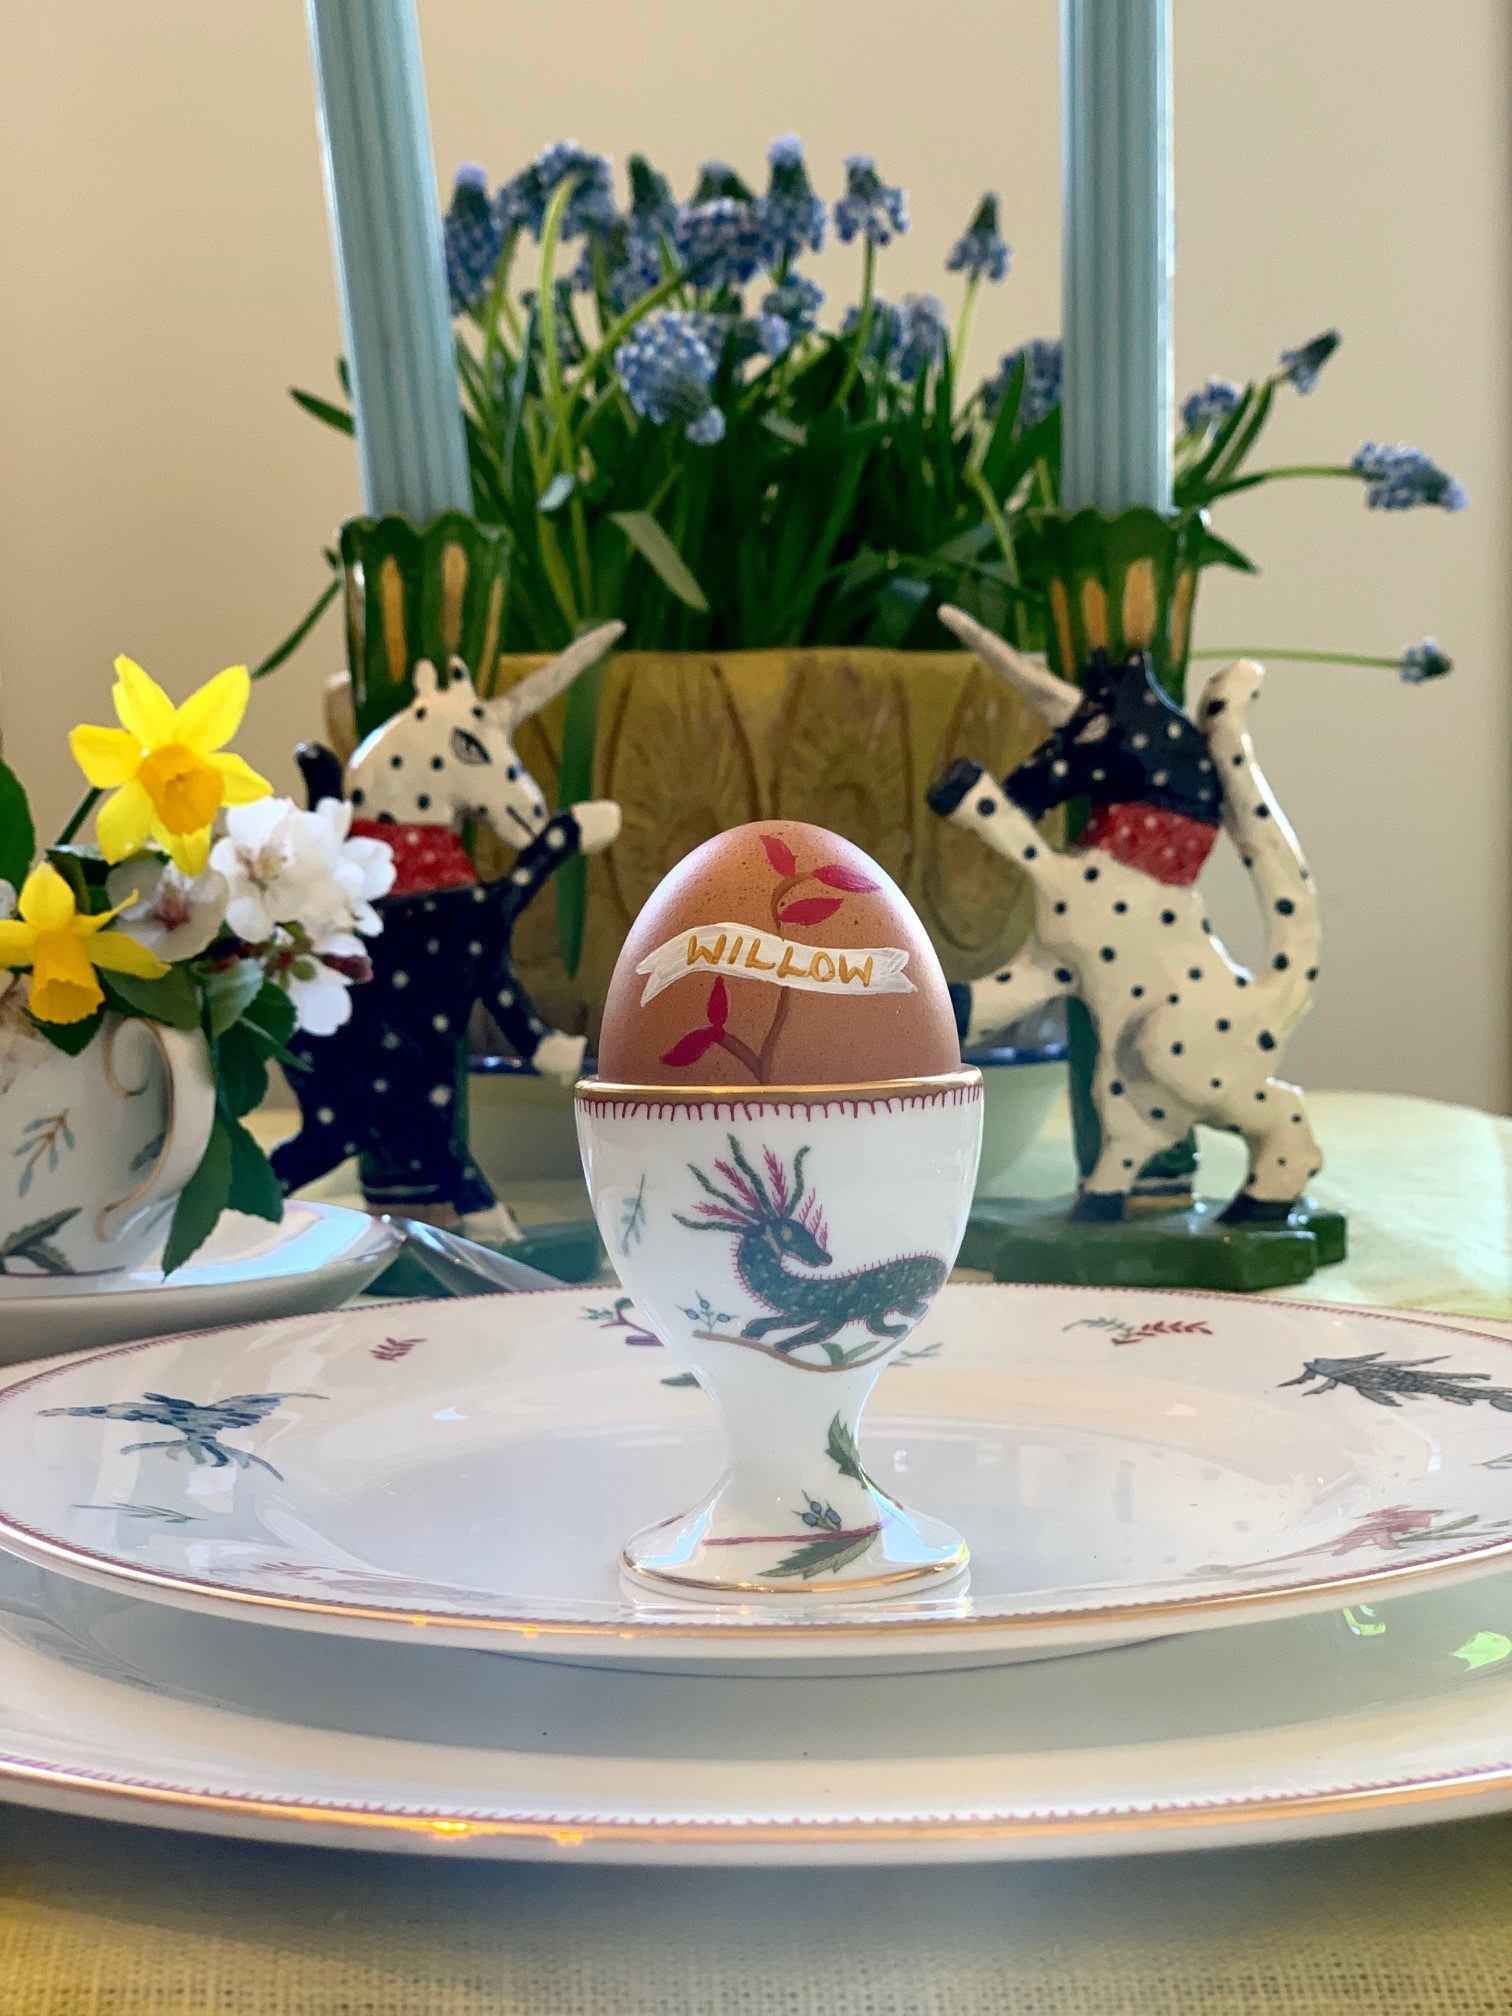
1. Egg cup name places
We think this little trick is so simple and charming. Blowing eggs at Easter is a long heralded tradition and here we’ve popped one in an egg cup and painted a simple little design to act as a name place setting. The colours and little floral sprig is reminiscent of my Mythical Creatures design for Wedgwood. We just used acrylic paint. Just make sure someone doesn’t try to crack one open!
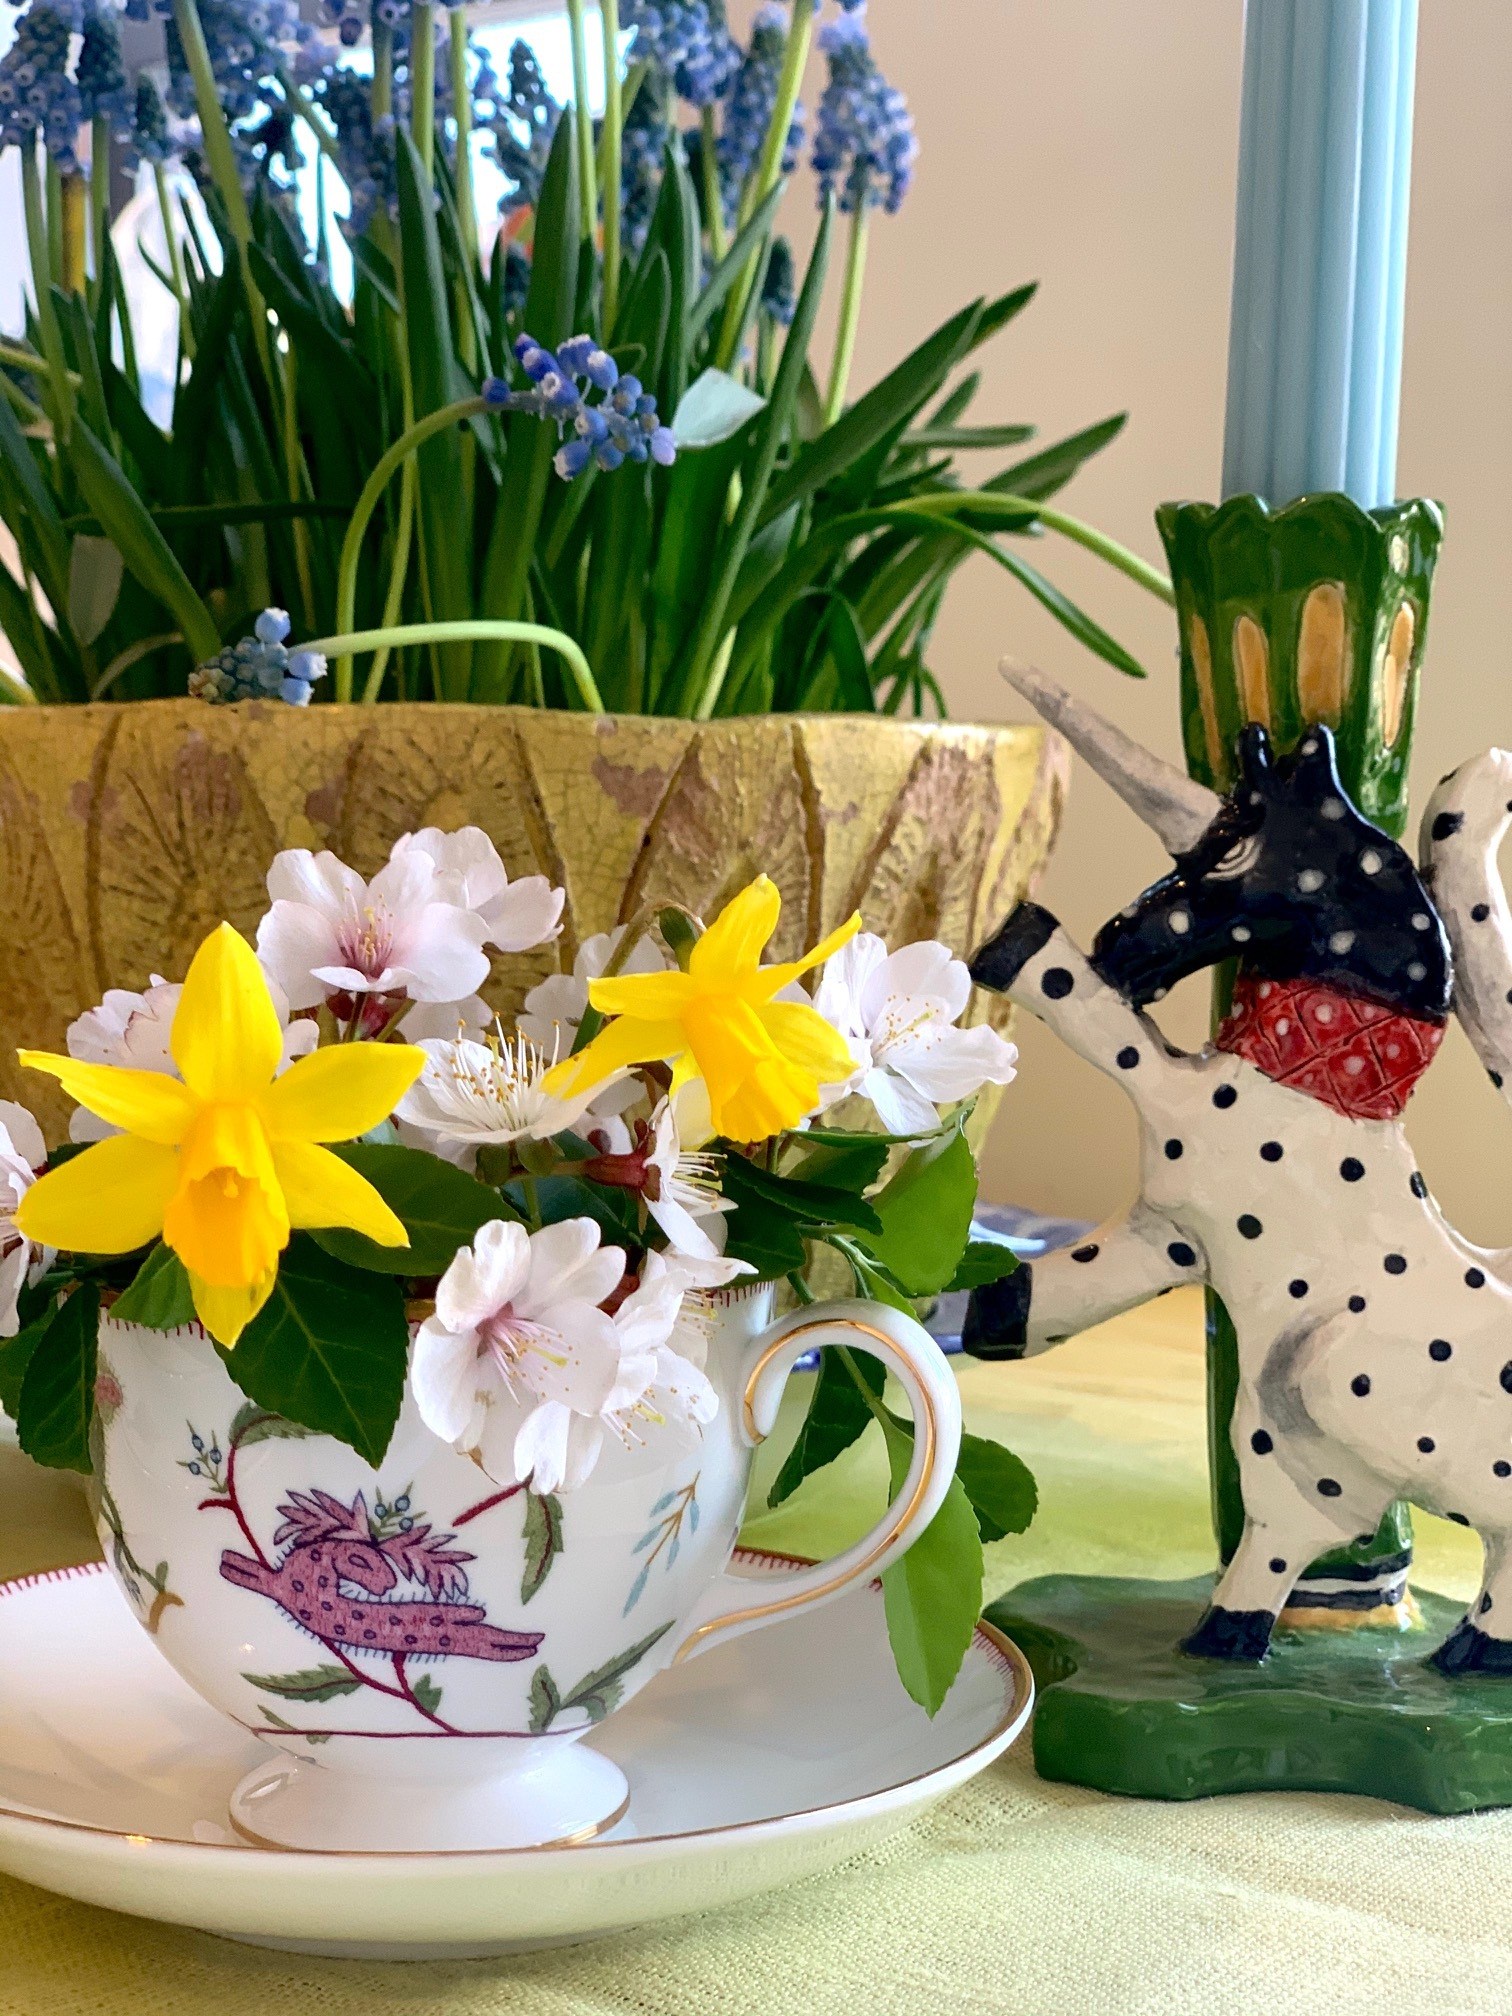
2. Tea Cup flowers arrangement
Creating seasonal arrangements for any table is key. One thing keeping my spirits up is that spring really has sprung. If you don’t have a garden to pick a few blooms from, why not forage a few blossoms from your daily walk to make these miniature floral arrangements. Here we made a sweet little daffodil and blossom bunch in my Mythical Creatures tea cup to match with the rest of the tableware.
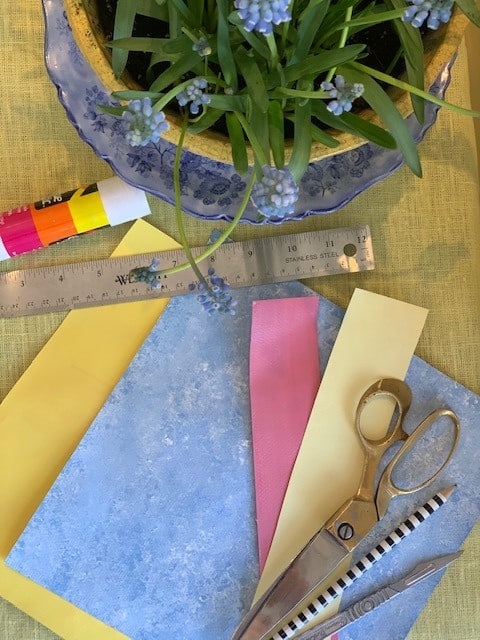
MATERIALS
- 2 pieces of 10″×10″ coloured paper
- Scraps of a third coordinating paper
- Scissors
- Ruler
- Pencil
- 1/4″ brads
- Glue stick
- Craft knife
Step 1
Begin by cutting both sheets of 10″×10″ paper in half. Your basket will be made from two 5″×10″ pieces of each paper — one of each design (save the other pieces for another basket). Fold each piece in half to make two 5” x 5” pieces. If the paper is one sided, fold with the pattern on the inside.
2. Easter Baskets
Normally it’s a tradition of ours to throw an Easter egg hunt around the house or – weather permitting – in the garden, everyone gets involved! I think its great fun and I normally pop little a homemade Easter basket at everyone’s place setting with a treat inside to kick off the festivities.
With that in mind we have put together a little step by step visual guide to making your own Easter basket.
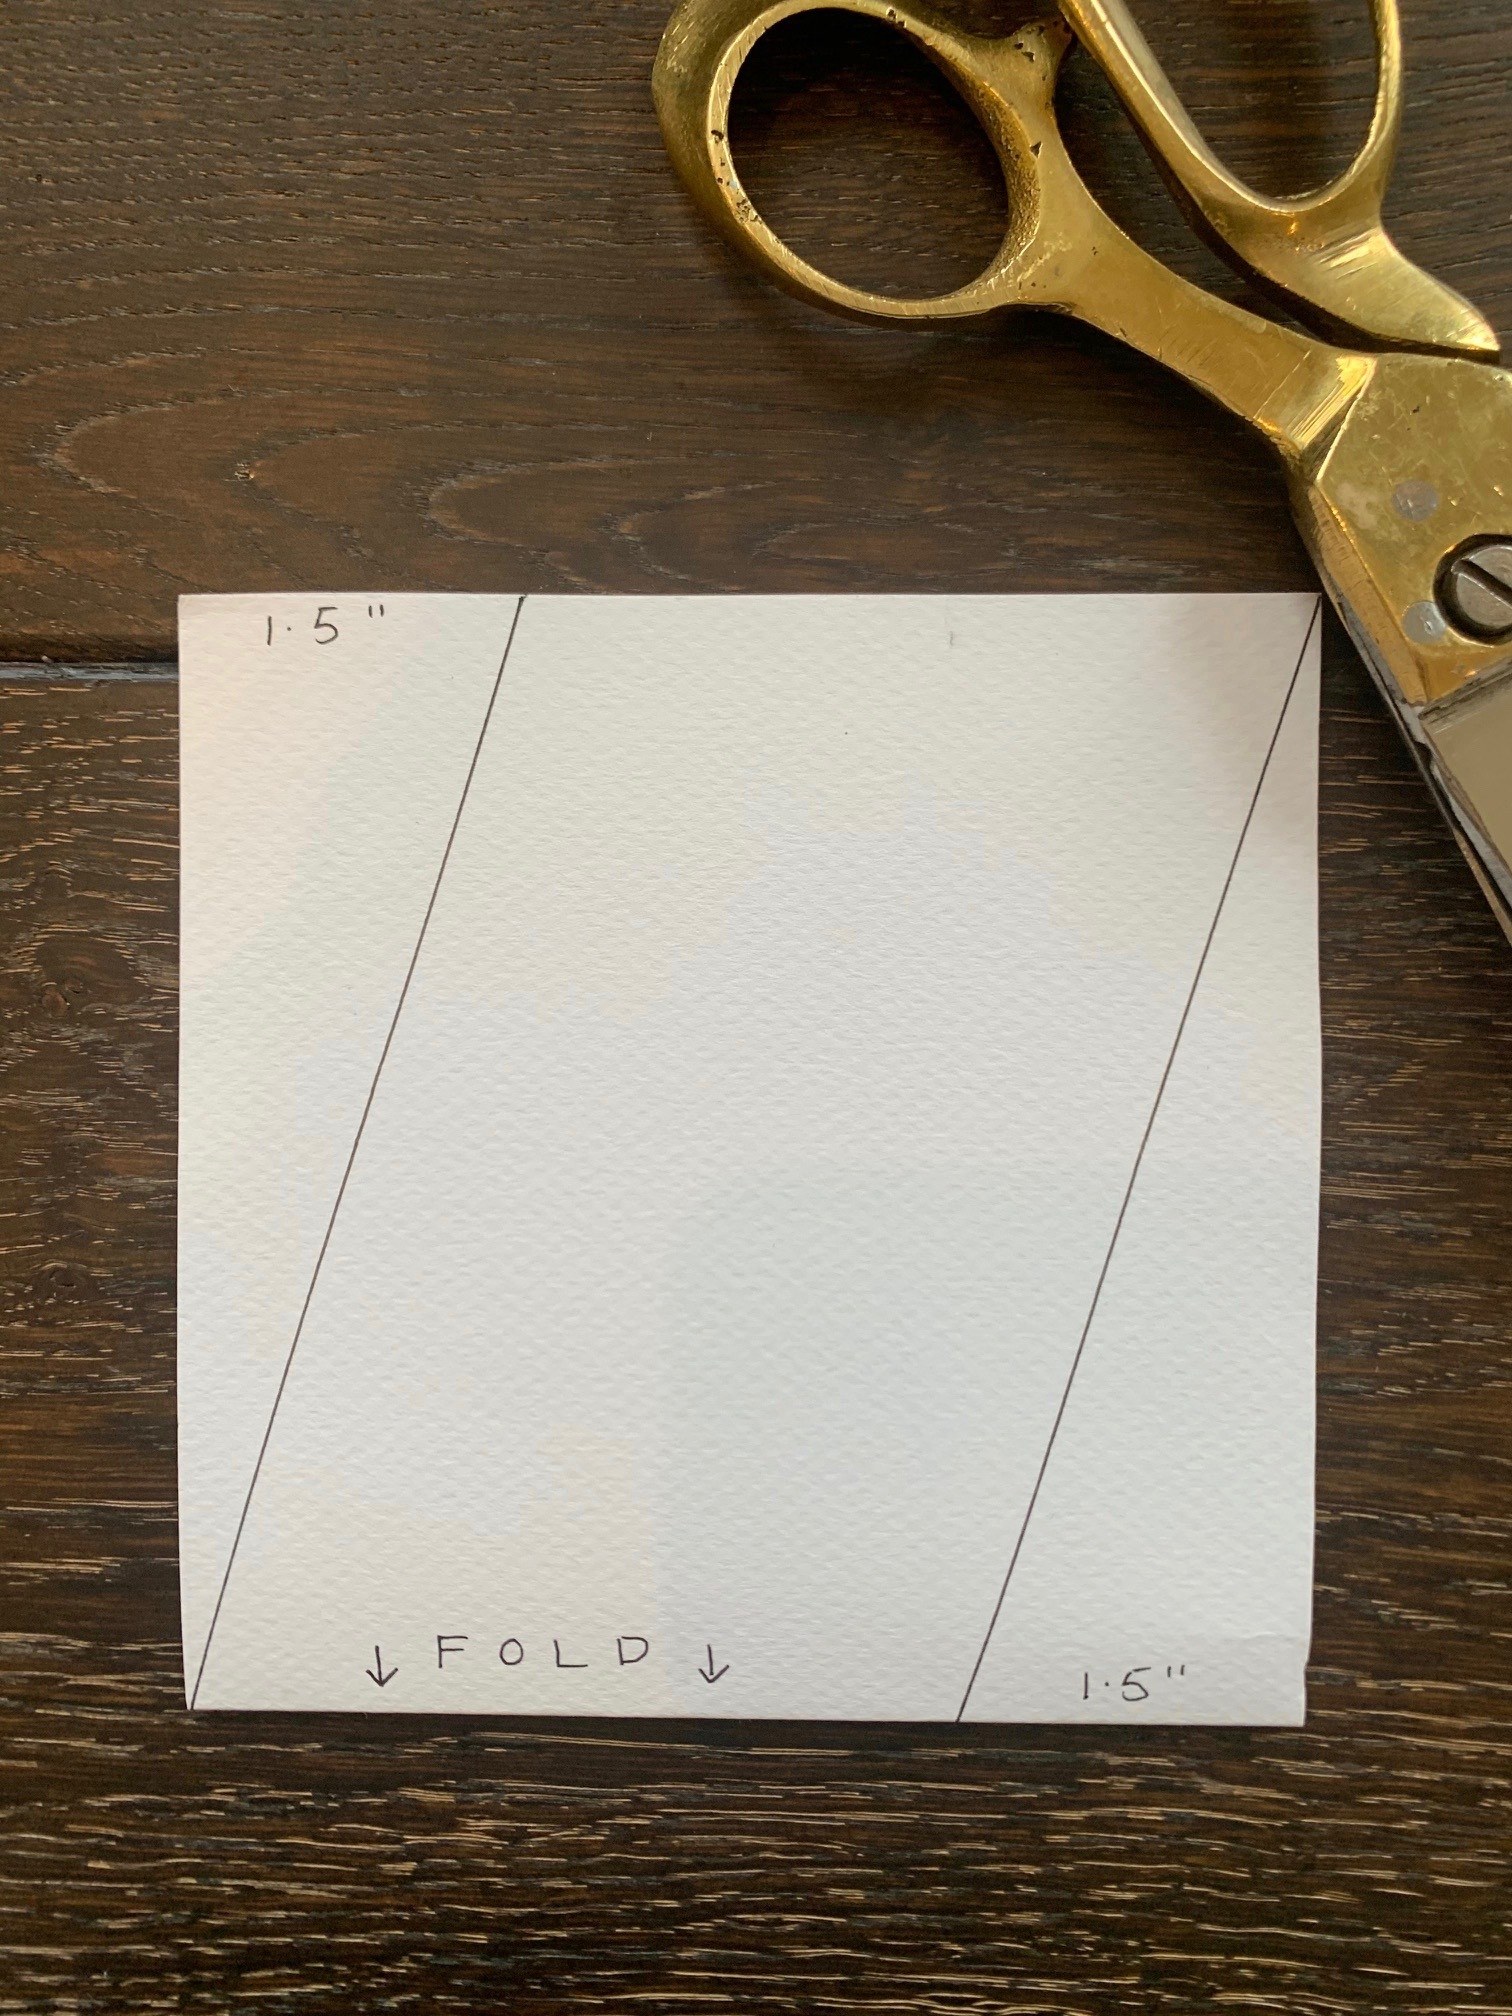
Step 2
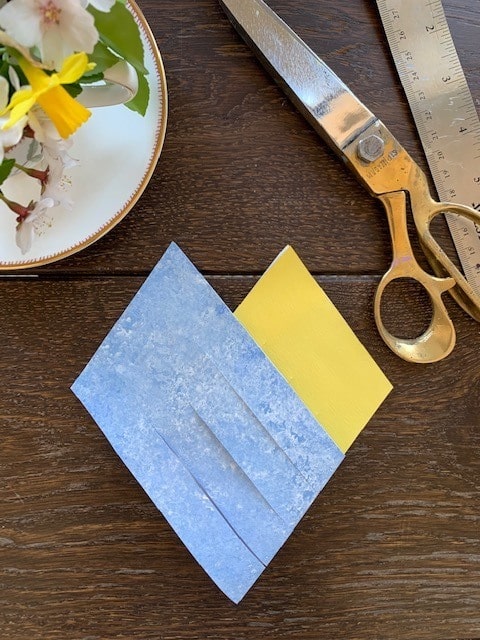
Make the measurements on both pieces as seen in the below image, and place the fold at the bottom, as shown. At the folded edge, measure 1.5″ in from the right side and make a mark. At the top edge, make a mark 1.5″ in from the right side. Then, draw a line from the marks to the corners, as shown in the image.
Step 5
Cut along these lines, stopping at the line you drew in Step 3. Do this to both pieces of paper.
Step 3
Cut both pieces along these lines. Then, place one with the fold at the bottom, and the other one over it as per image, matching the bottom edge. Trace a line about 1/8″ from the top edge of the piece on top, as shown. Reverse the orientation and make the same mark on the other piece.
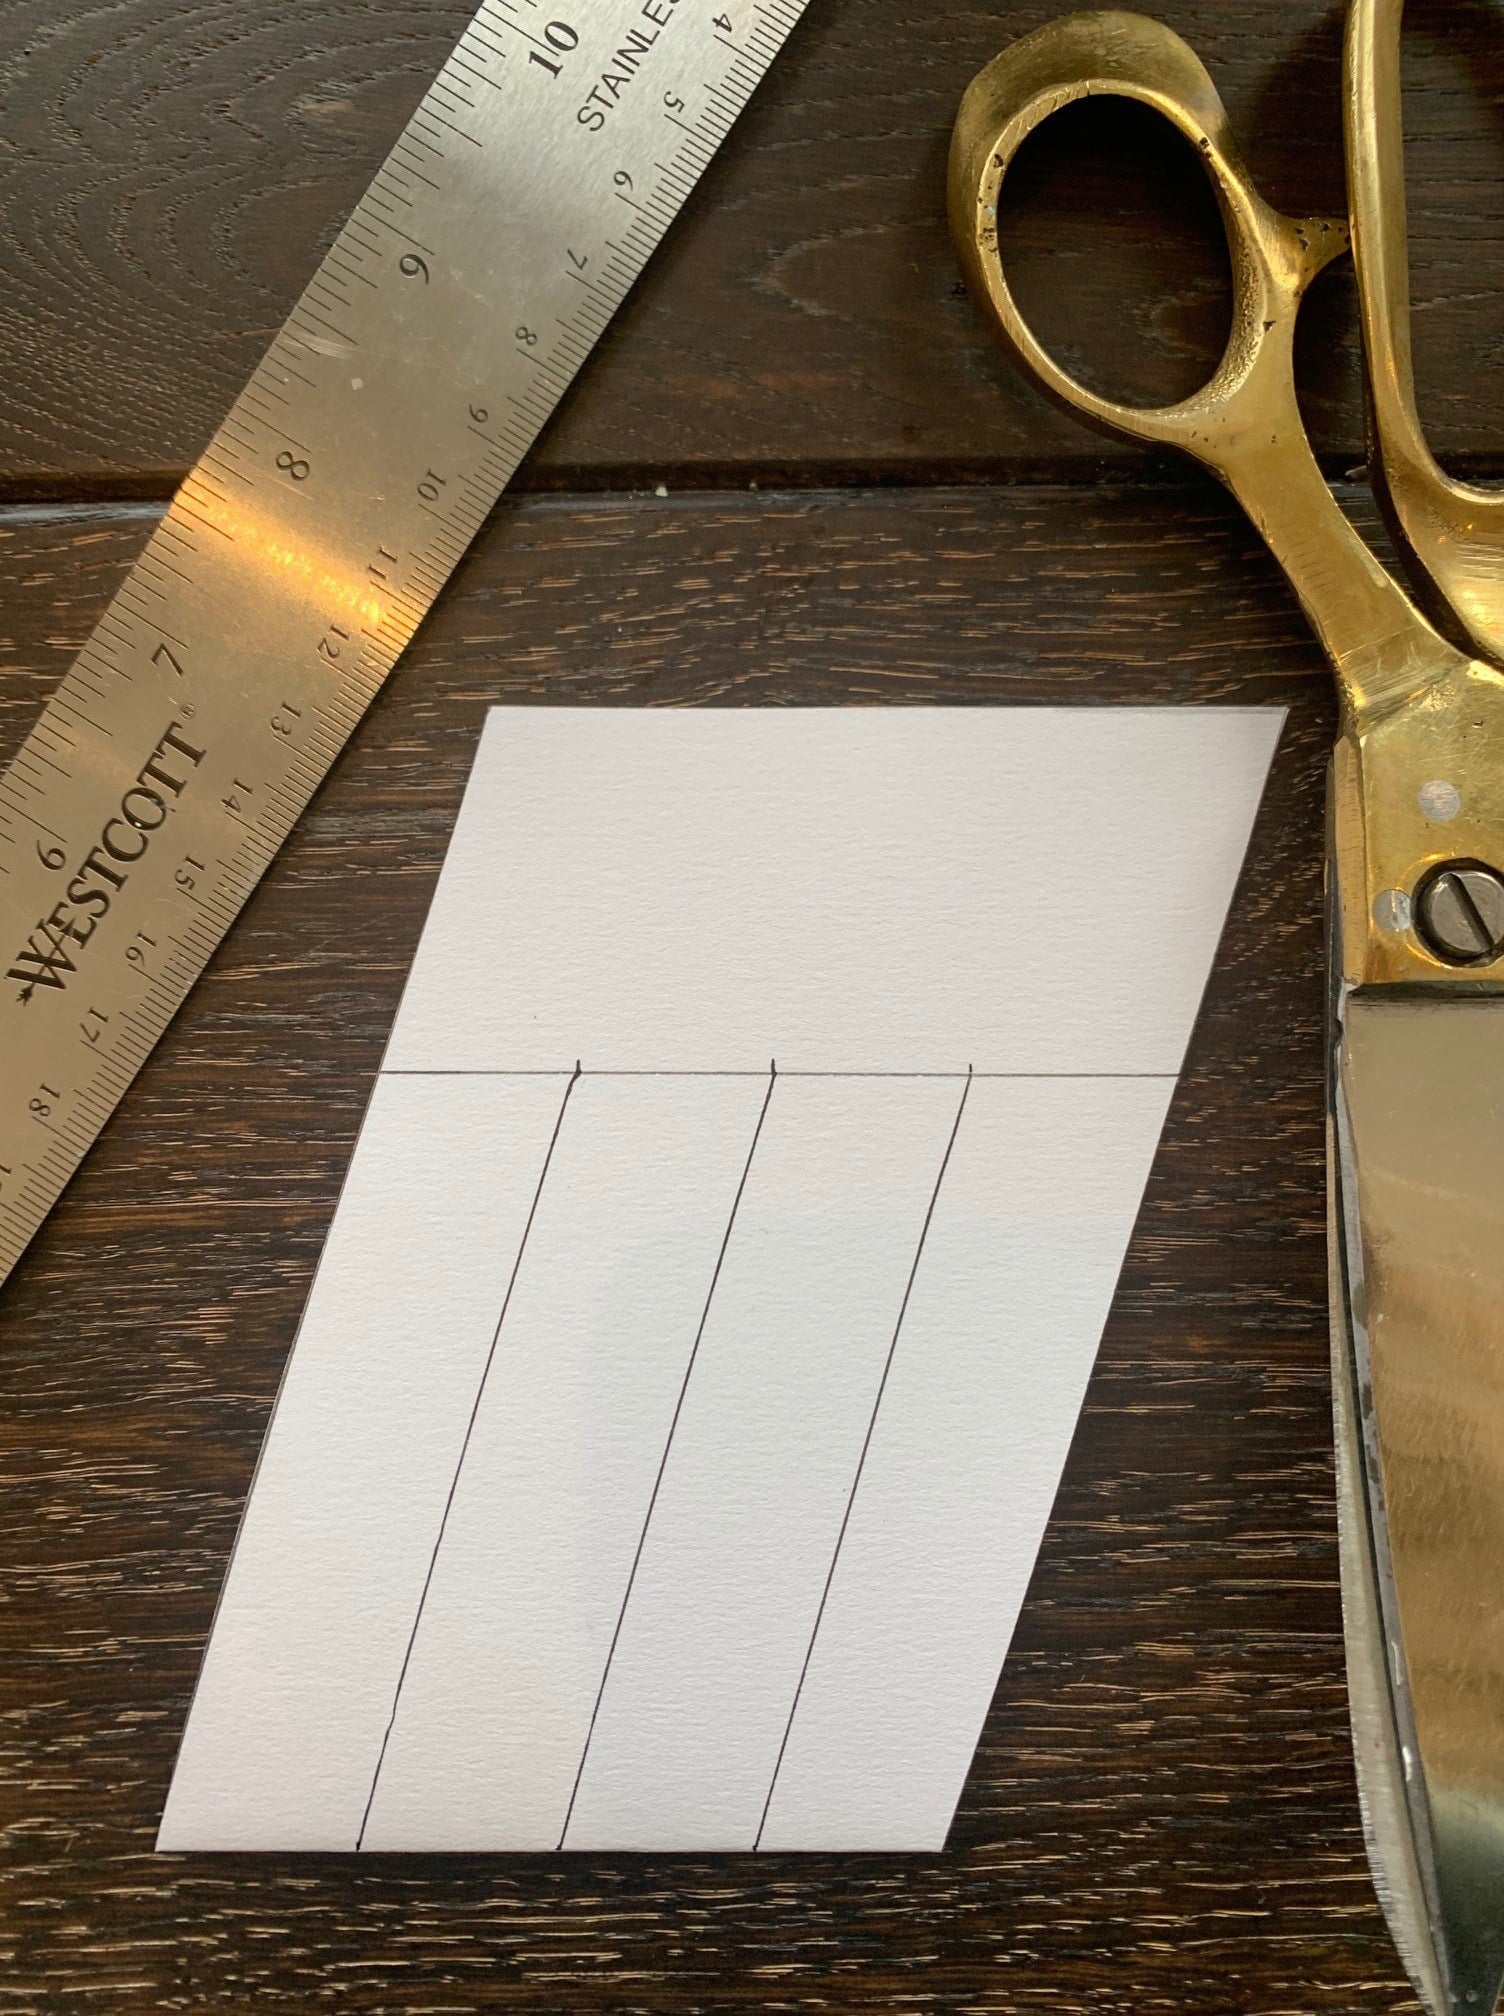
Step 4
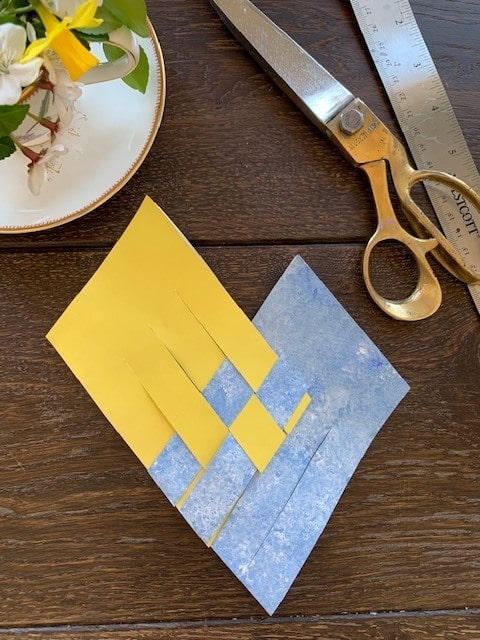
Divide the width of each piece into 4 equal parts. Then, make a dot at each inch. Draw parallel lines at these dots, stopping at the line you drew is step three.

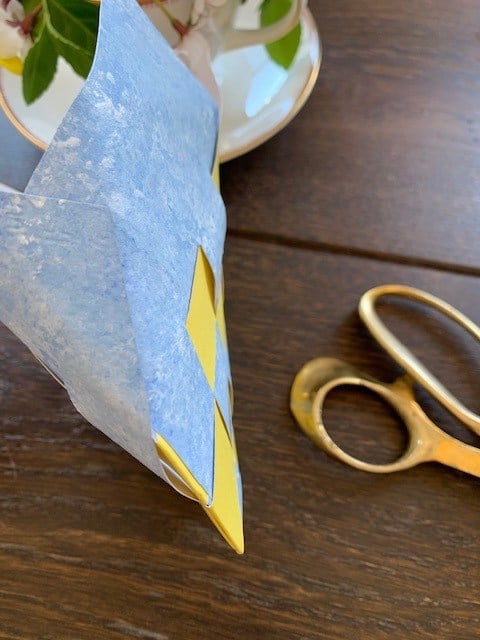
Step 6
Unfold both pieces and re-fold them in half with the pattern facing out. Place them in this orientation.
Step 7
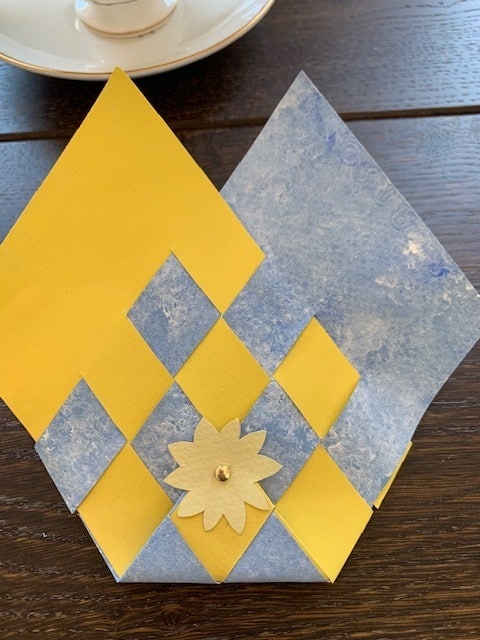
Now it’s time to weave these 2 pieces together. The weaving will feel a little tricky at first but once you’re familiar with the process, it’s really easy. We recommend watching a YouTube video on traditional Danish heart baskets to make this part as simple as possible. Rather than weaving the strips under and over each other, they are woven through and around each other to create the basket.
Step 8
Now that the weaving is done, carefully fold up the bottom point of the basket as shown. The pattern on the tip should match the pattern of the weaving. Use a craft knife to make a small slit through the folded tip and the layer of paper behind it so a small hole is made. Make a flower or other motif using the other coloured scraps of card. Punch or cut a hole in the centre of the flower. Poke a brad through this hole, then through the slit cut into front side of basket and flatten the back of the brad to secure it.
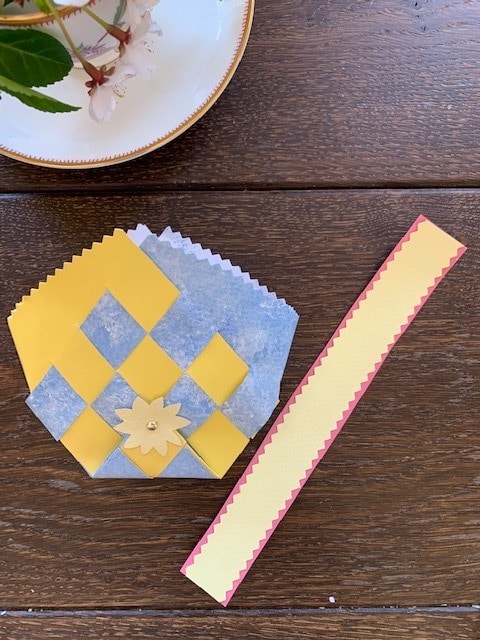
Step 9
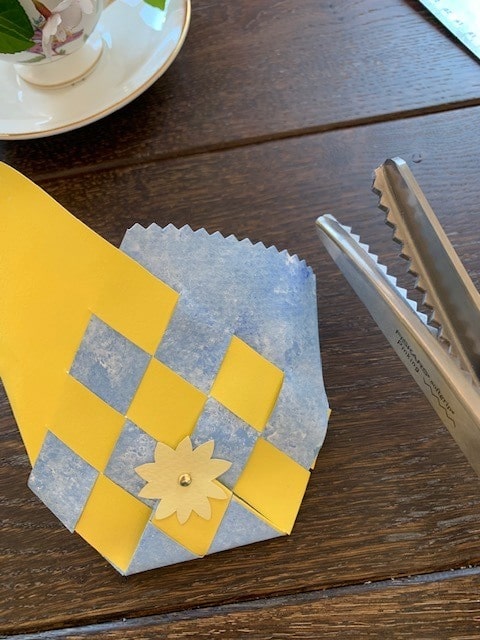
Cut the top of the basket into a rounded shape. You can use a round template, like a plate or bowl, or just cut it freehand. If you have pinking sheers or decorative scissors, this is a great place to use them.
Step 10
At the sides of the basket, overlap the open edges about 1/2″ and glue them with glue stick. (You’ll get the best results if you glue the front side over the back side). Hold them together while the glue dries.
Step 11
Cut a strip from one of the leftover pieces of paper. This is the handle of your basket, you can get creative with this perhaps with another weave technique, I have simply layered a wider strip with a narrower strip over the top. Glue the ends to the inside of the basket.
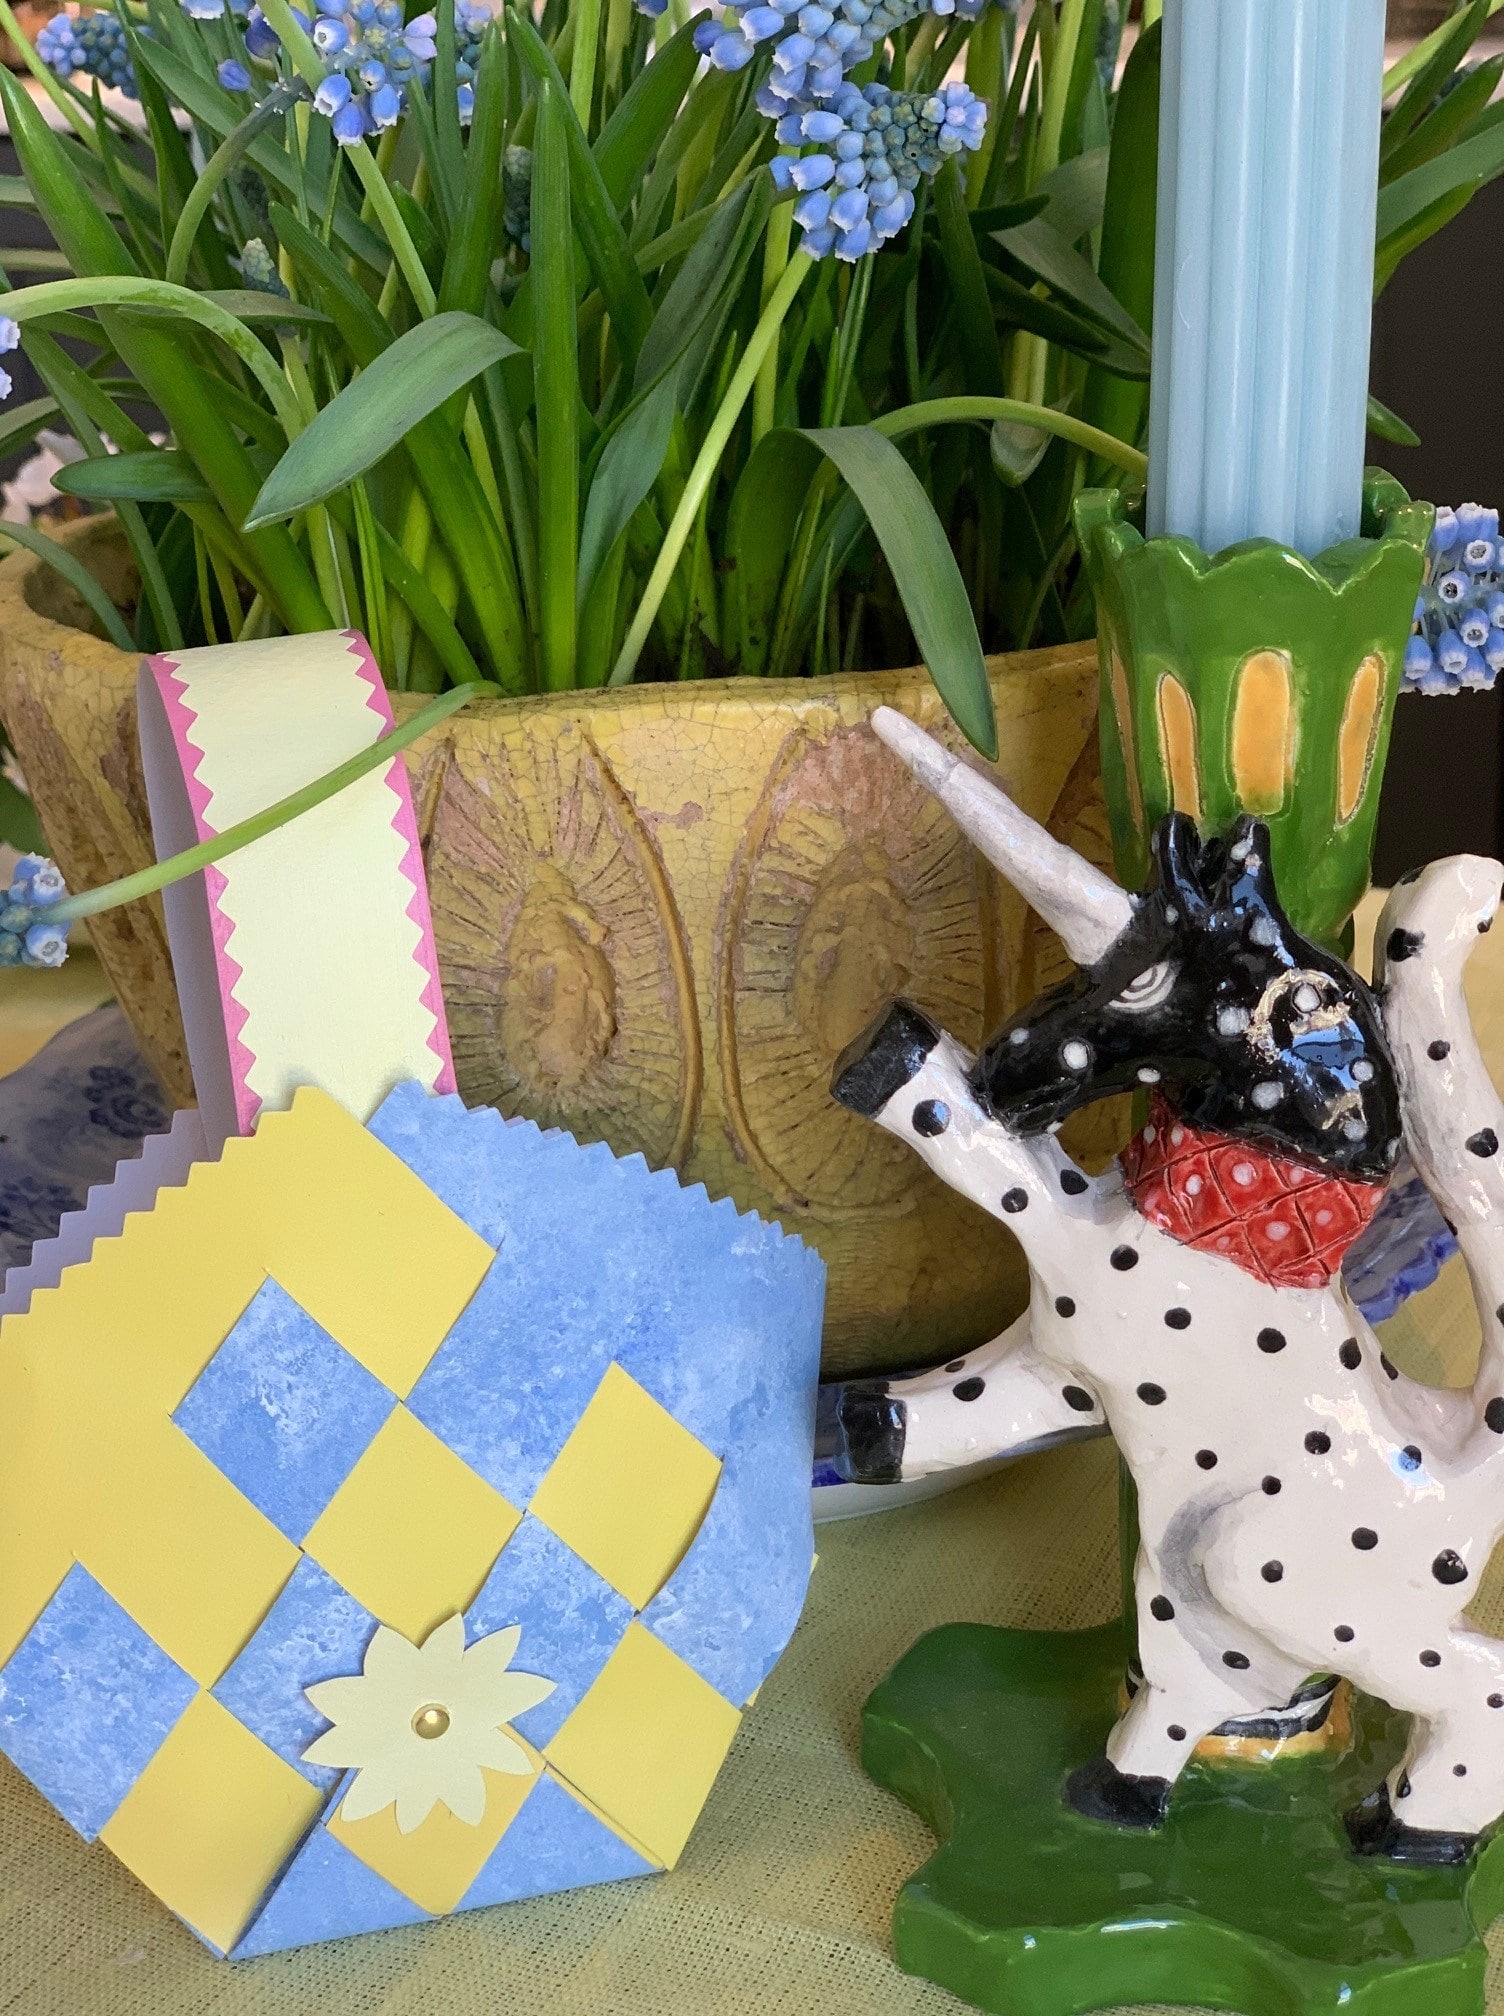
Step 12
Feel free to add more flowers (or other embellishments like ribbon, buttons, etc.) to your basket. Fill it with Easter treats, and the basket is complete!
We hope this post has inspired some fun and creative table tops for this weekend’s Easter celebrations. Please share yours using our hashtag #DesignThreads
Weekly Book Recommendation from Much Ado Books
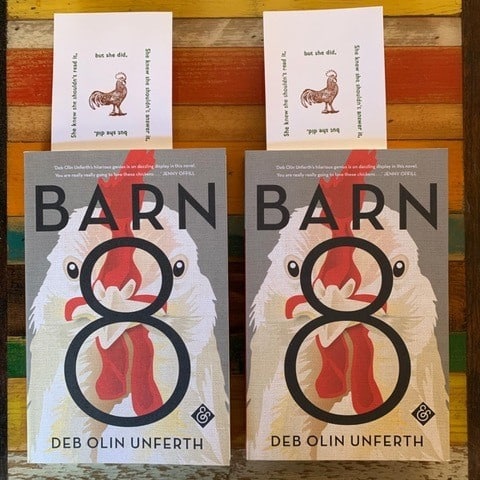
There are an amazing number of wonderful books being published these days. But we’d like to introduce you to one you may not have heard of, from a small publisher: Barn 8, a novel by Deb Olin Unferth.
It gave us the fizzy feeling you get when a book utterly engrosses you, when every page brings fresh pleasures. We found ourselves laughing – and then wincing, sometimes in the space of just one sentence.
The book centres on a plot to steal a million chickens. But it isn’t just a heist book. It is about damaged, dysfunctional, charming characters whose lives are given depth and meaning by a commitment to something far larger than themselves – and what sacrifices that commitment demands.
Love? Yes. Redemption? Perhaps. And fascinating factoids about chickens. Do you know how many faces a chicken can recognize?
We loved this book so much that we’ve printed limited-edition bookmarks for it. And we’re offering a special deal – the book costs £8, instead of the RRP of £9.99.
CLICK HERE to buy your own copy with a special bookmark.