
How We Do Checklists
How ToWe have many checklists and we've recently been busy installing a showroom for our upcoming hotel at Warren Street in New York. As we build and scheme for Warren Street Hotel, many checklists are triple checked and ticked-off once completed. Follow along with us to make sure everything gets done...
On October 30th, it was ‘National Checklist Day’. At our Design Studio we have many checklists and we’ve recently been busy installing a showroom for our upcoming hotel at Warren Street in New York. As we build and scheme for Warren Street Hotel, many checklists are triple checked and ticked-off once completed. Follow along with us to make sure everything gets done…
Step 1: Floor plan and furniture layout…
Before anything, you need to check how the scale of the furniture works in the intended room. Check the size of the furniture and make sure it fits on your plans. Placing the furniture on your plan also helps determine your fabric choices and colour scheme. For example, we wouldn’t want a bold fabric right next to another as the designs would clash. However, if these were spaced out appropriately, the pairing could work.
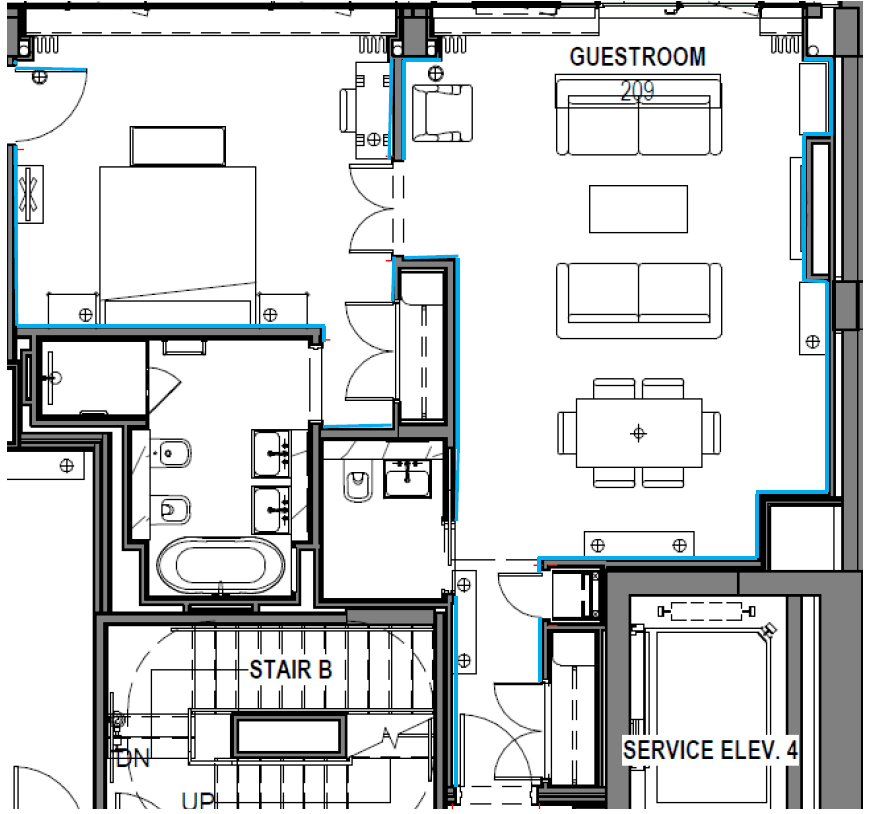
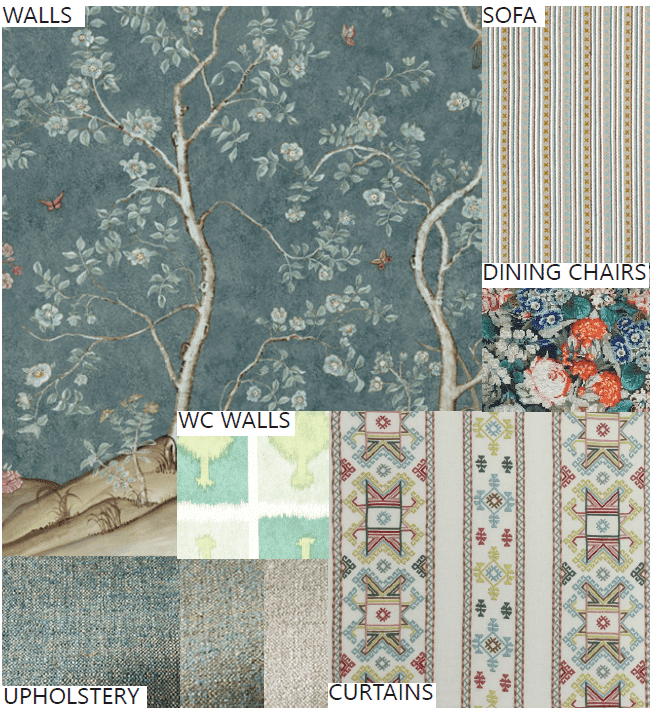
Step 2: Room Scheme…
Once you are happy with your furniture layout, you can start scheming. This is one of the most important parts of the design process and the first step into visualising the finished room. When putting a scheme together always think about the scale of the fabric design, texture and how the colour tones work together in a harmonious way. Discover ‘How to Create and Present a Scheme Board’ here.
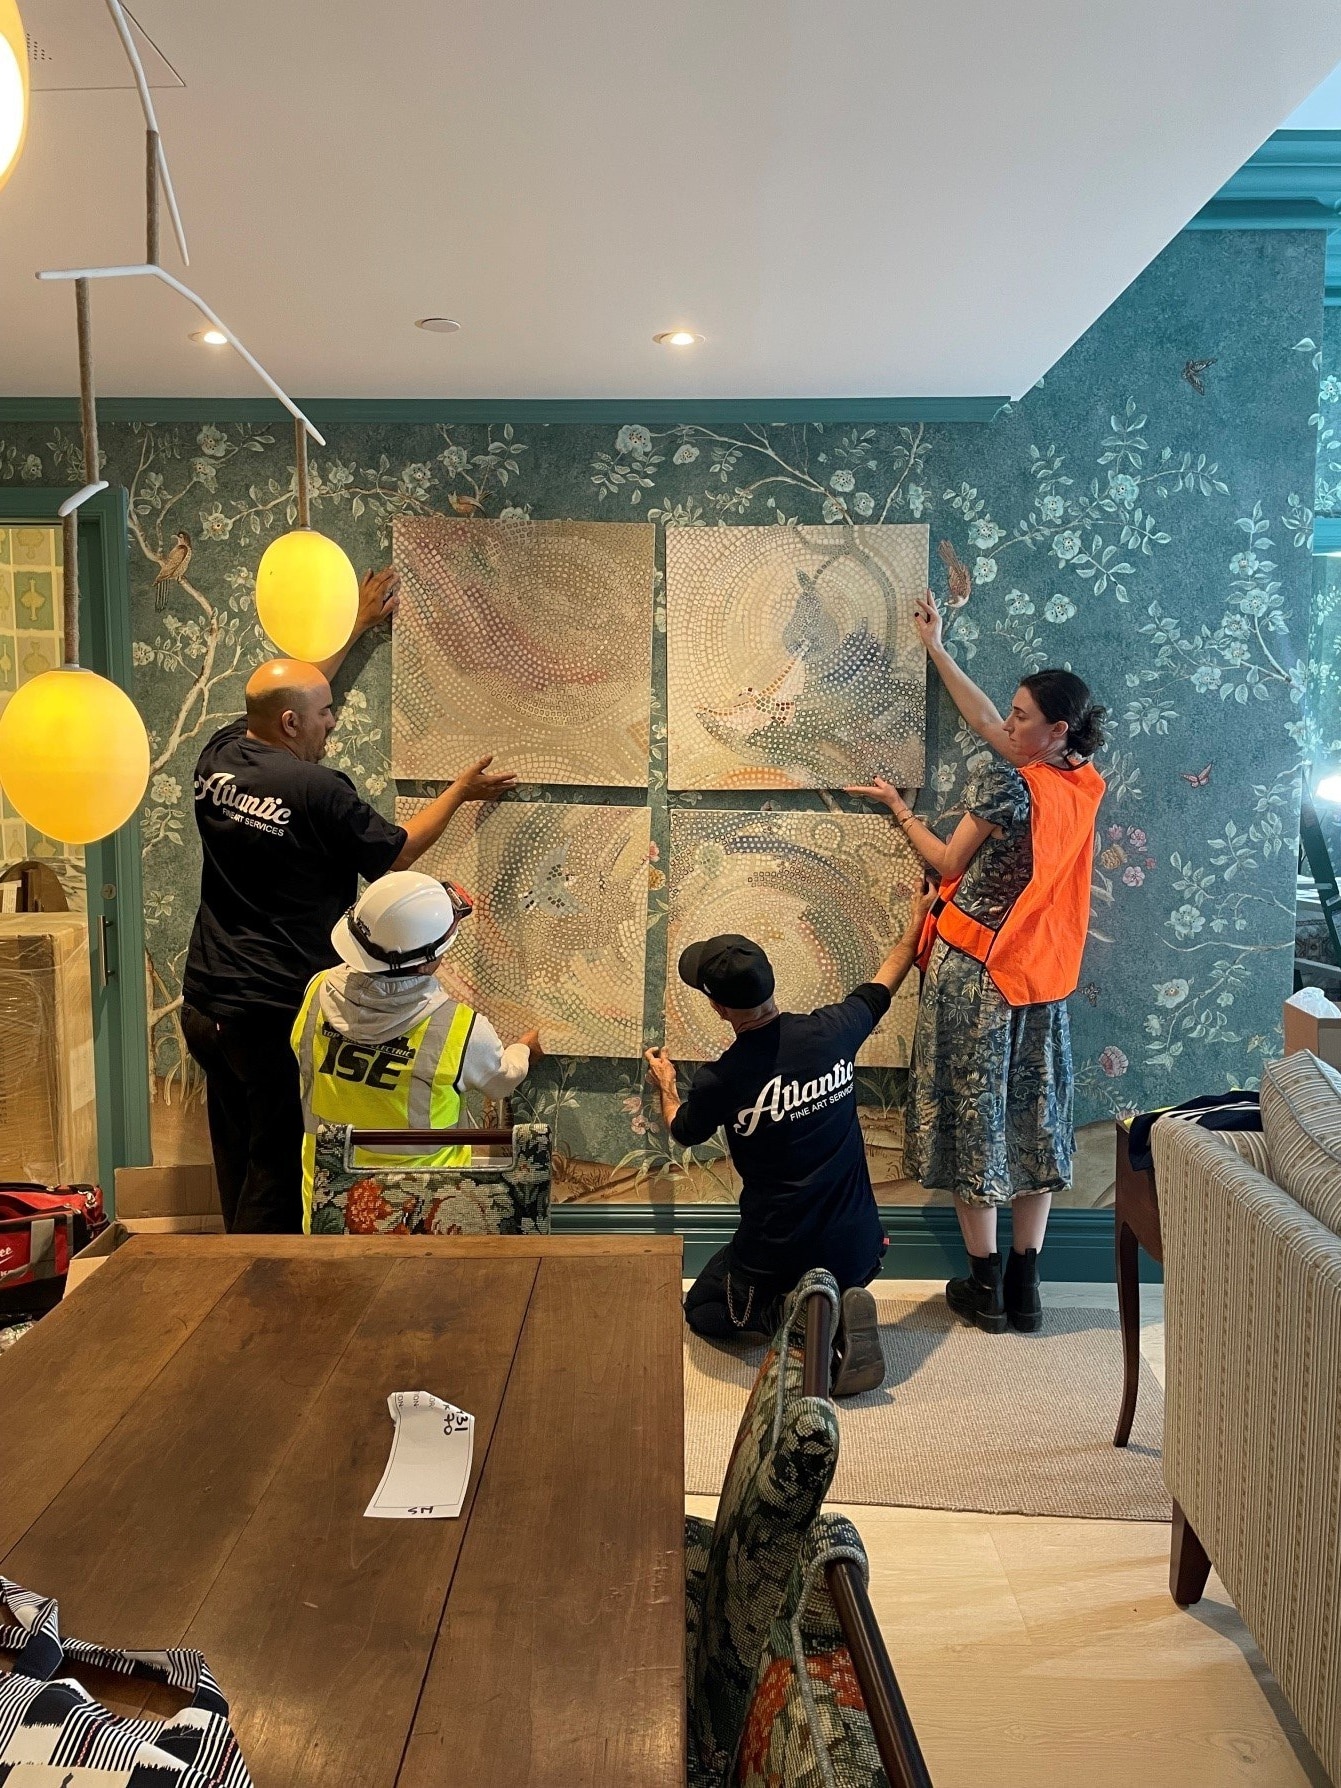
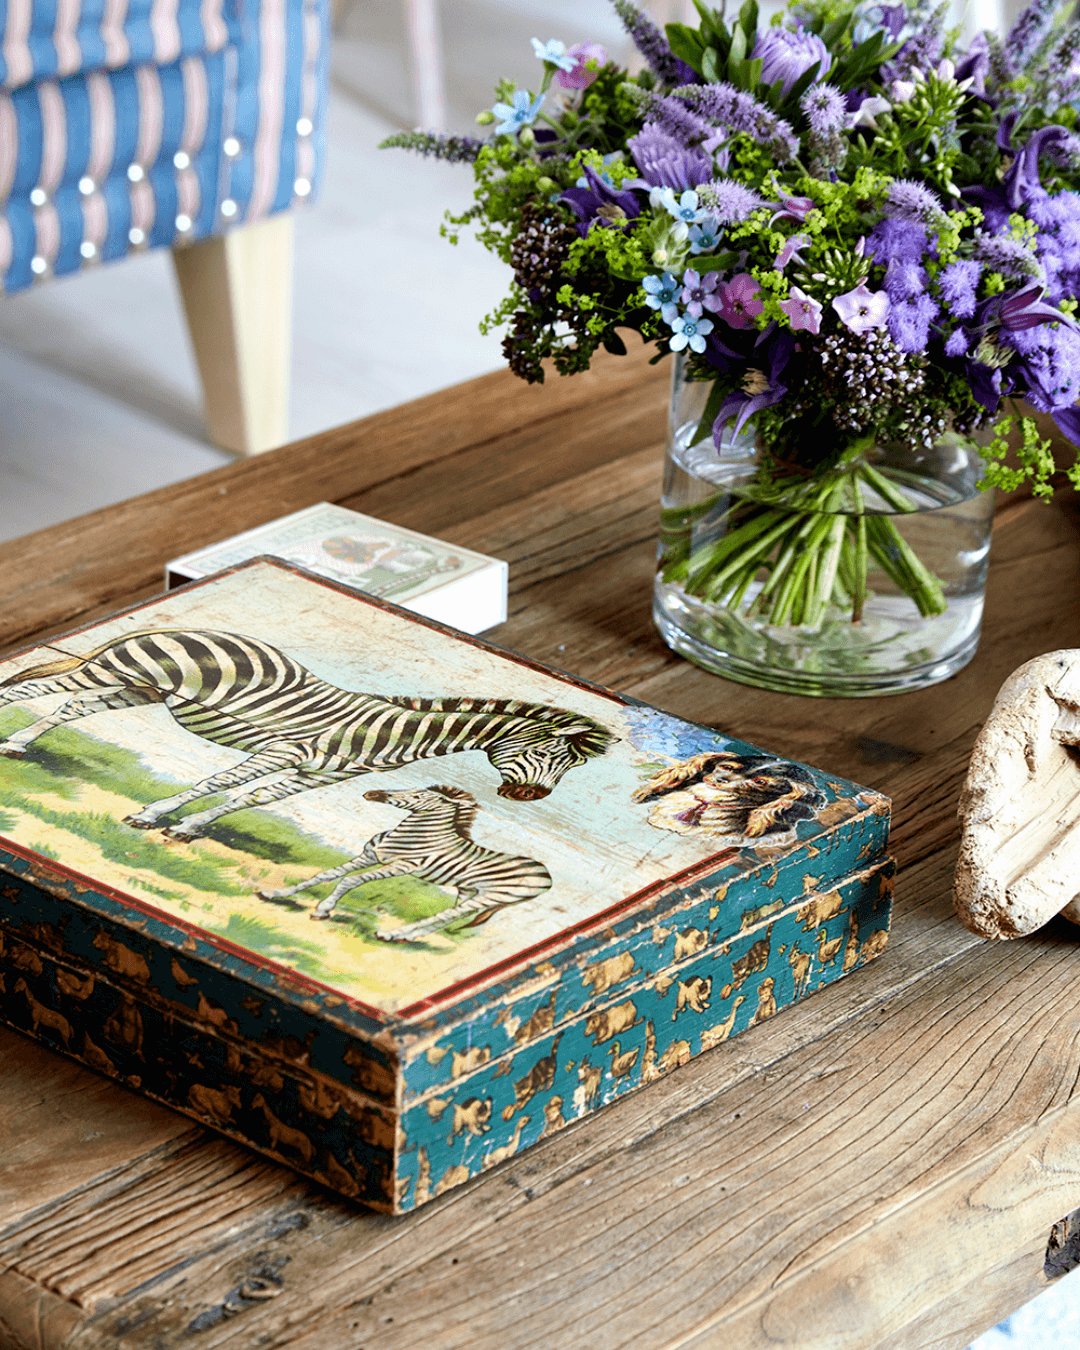
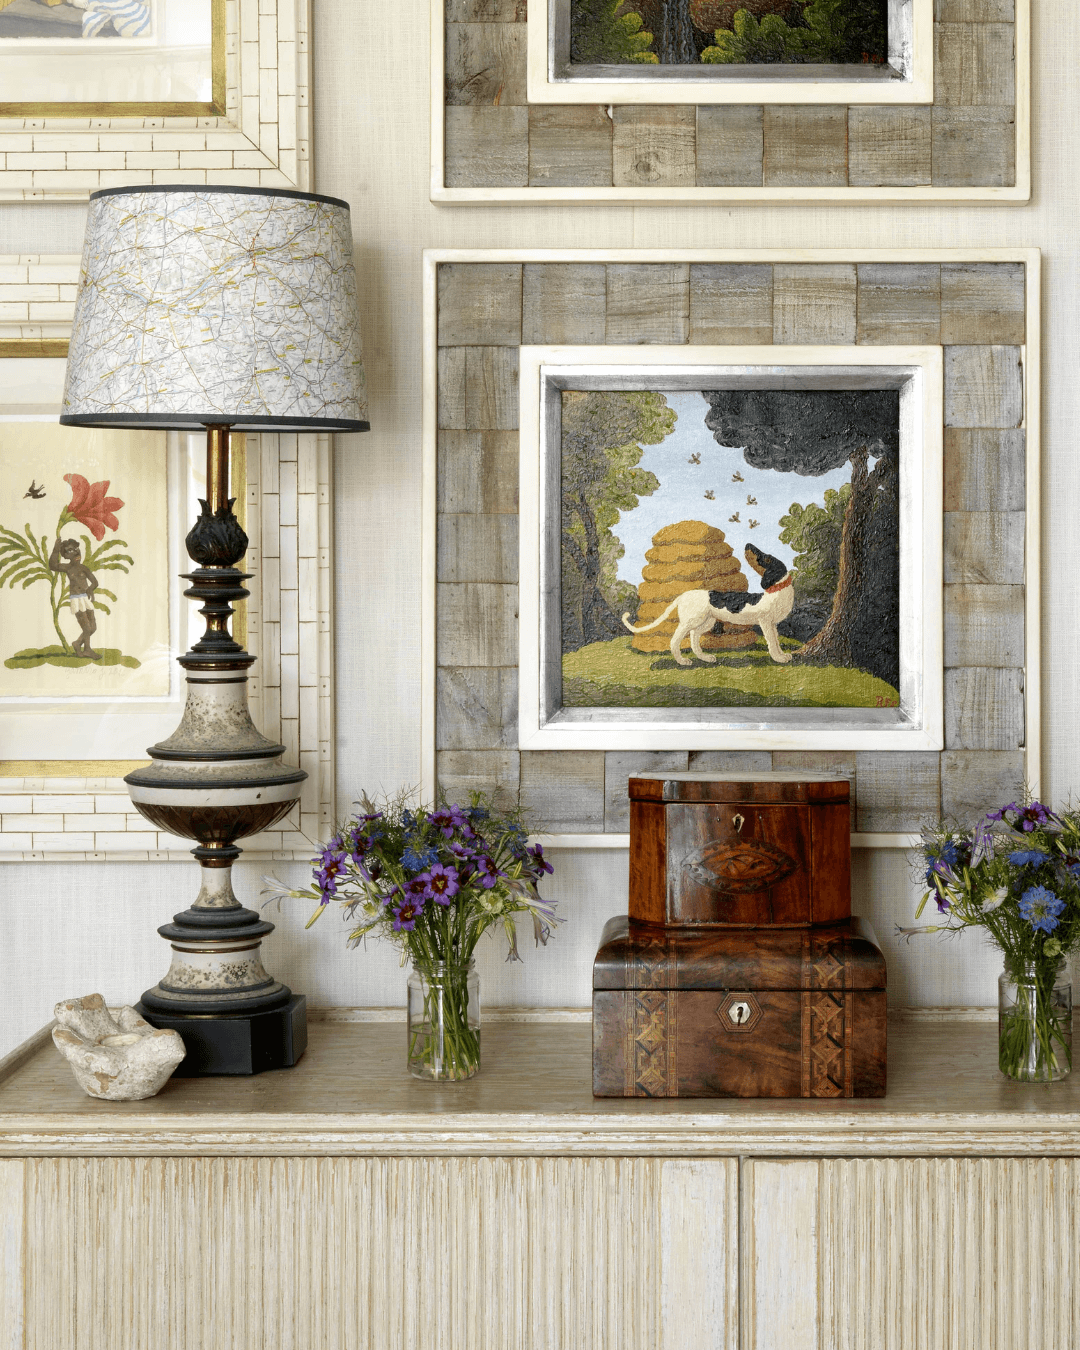
Step 4: Artwork and styling…
It is all in the details! This is the stage where everything comes together which is always an exciting moment. Once furniture is placed, proceed with hanging artwork. This can be a daunting process as there are so many options on where to place and you don’t want to ruin your fresh walls with nail holes. Make sure you are 100% happy with your artwork placement before you hang. Ask your team to hold the art up so you can confirm its height and positioning.
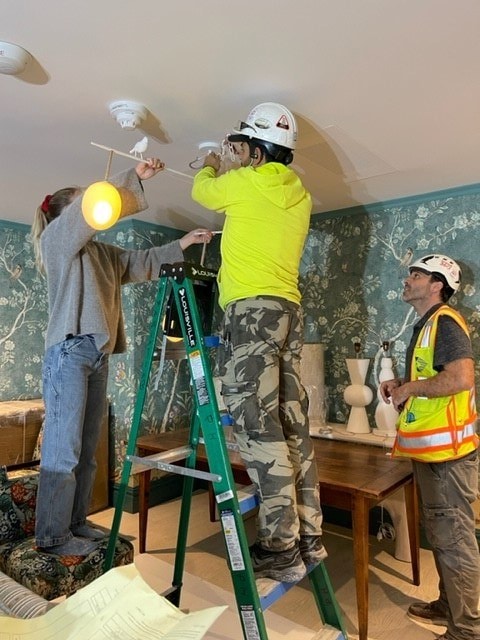
Step 3: Installation…
When installing the room, make sure you have a scalpel knife to open up all the boxes! A ladder is also important to adjust any light features. Get all of this organised in advance so there is less stress on the day. Always position your furniture first before hanging any mirrors and artwork. This gives you room to play around and ensure the layout works fully before adding any final details. Sometimes things work differently or better in real life than they do on paper!
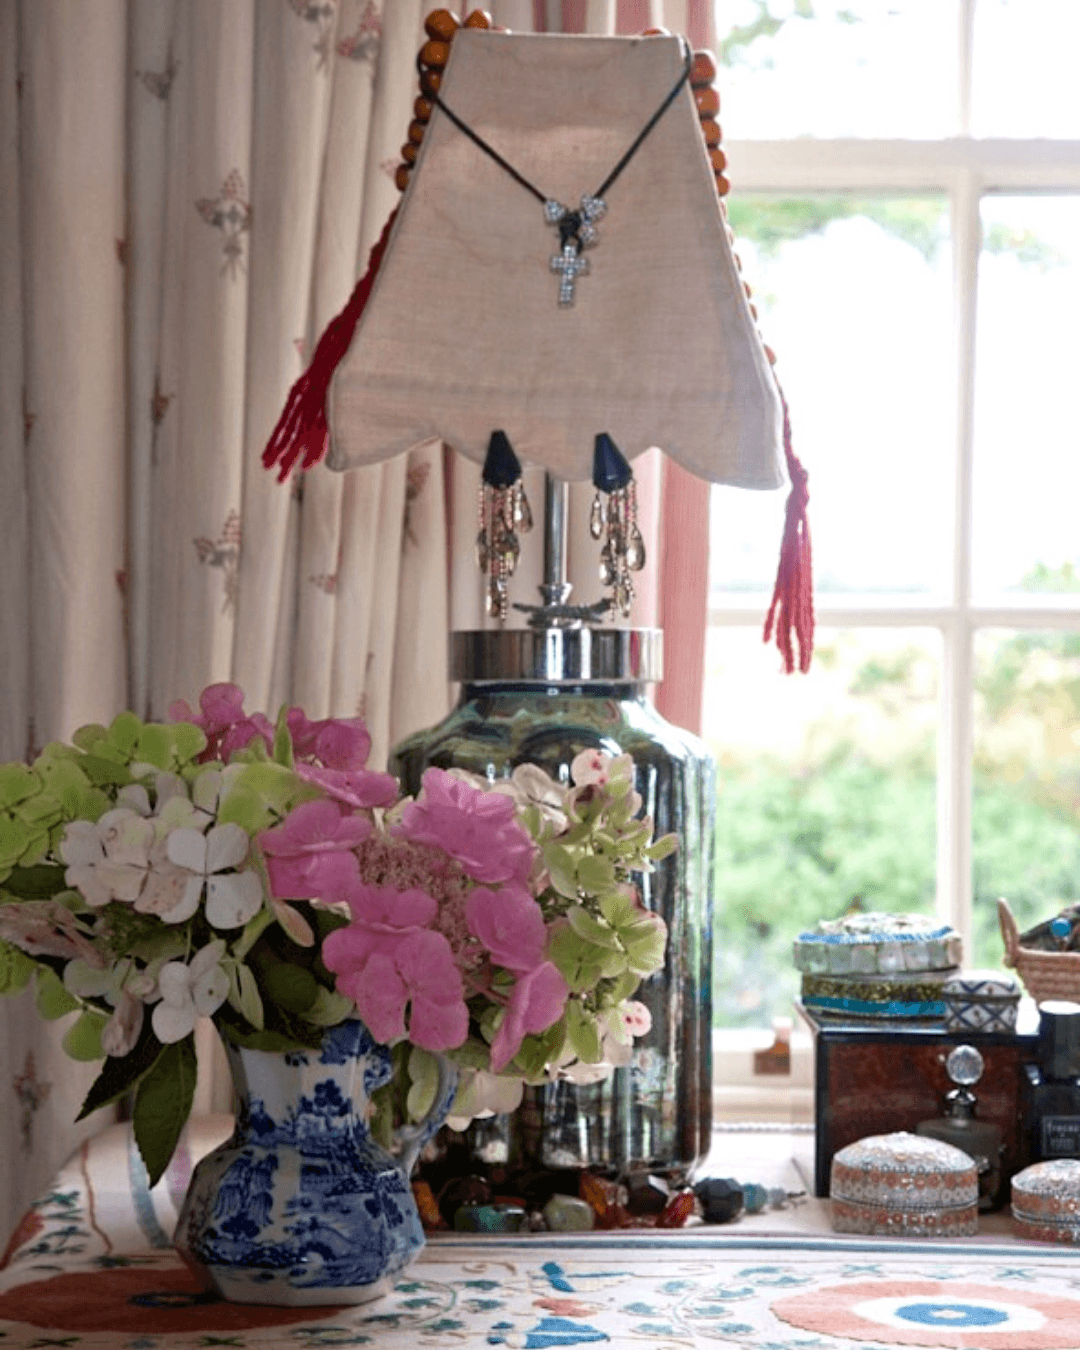
We work to make sure our spaces are layered, well styled and a true reflection of all the colours of life. Bring in details that have meaning to you such as heirlooms or some of your favourite trinkets. When finishing a space and rounding things off with the final stages of styling, we turn to what we have fondly nicknamed our ‘Smalls’. Take a look at ‘Smalls: Our Styling Handbook’ here.

We hope this post helps you when installing a room. Make sure you have your checklist and pen at the ready so you can start ticking off that list!
STEP 5: Walk around and snag…
When it comes to snagging, make sure you have your building team, decorators and fellow designers with you. Ensure you have everyone on standby to help out. The more eyes you have onsite, the more attention to detail will be made.