Decorating with evergreens has been a cherished festive tradition for centuries. However, it wasn’t until the 19th century that Christmas wreaths became a staple on front doors. Symbolising generosity and goodwill, these ‘Welcome Rings’ embody the Christmas spirit and offer a warm greeting to visitors. On today’s blog post, we’ll guide you through the process of creating your very own Christmas wreath, adding a personal touch of festive cheer to your home while spreading goodwill to all who pass by.
What You Will Need:
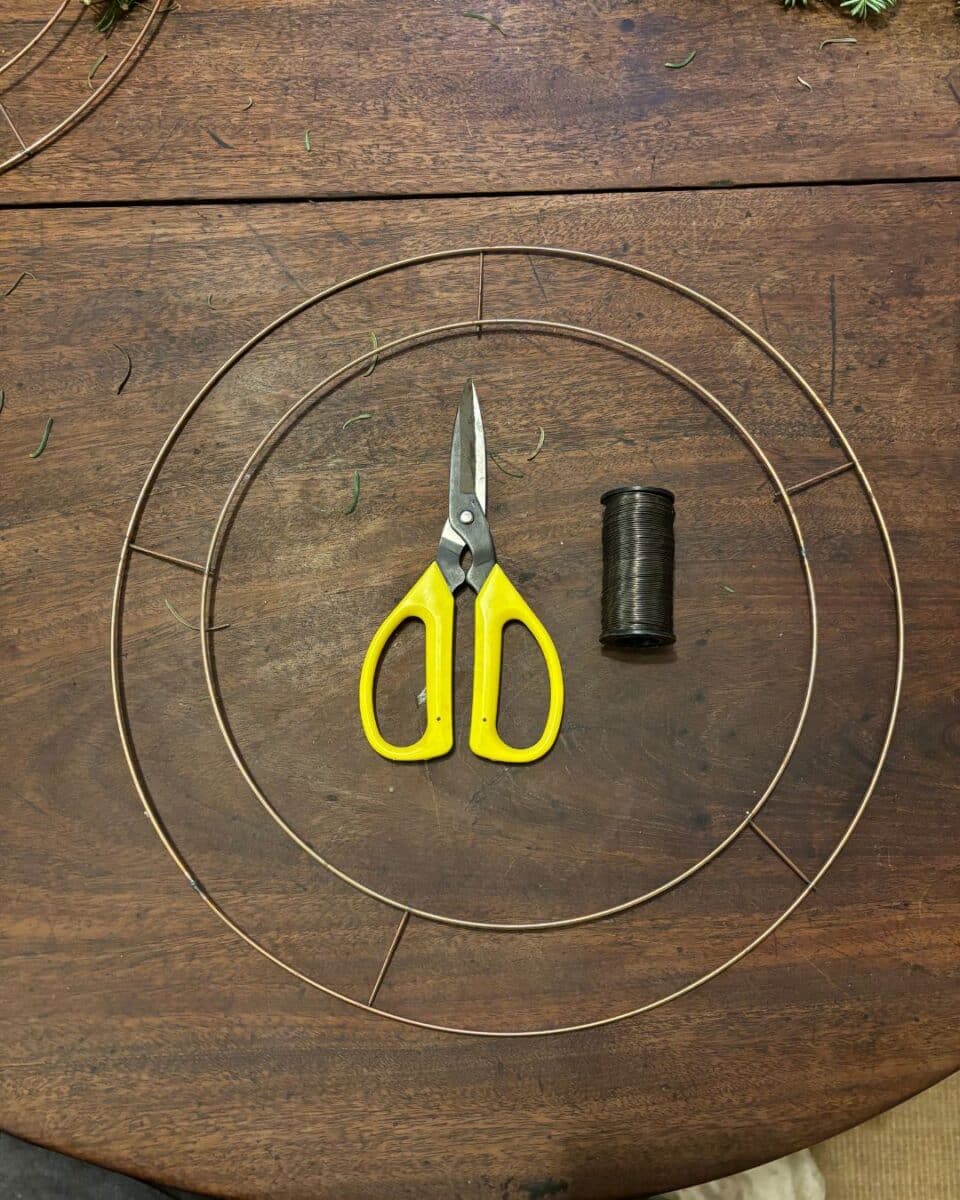
1 metal ring
1 pair of floristry scissors
Reel wire
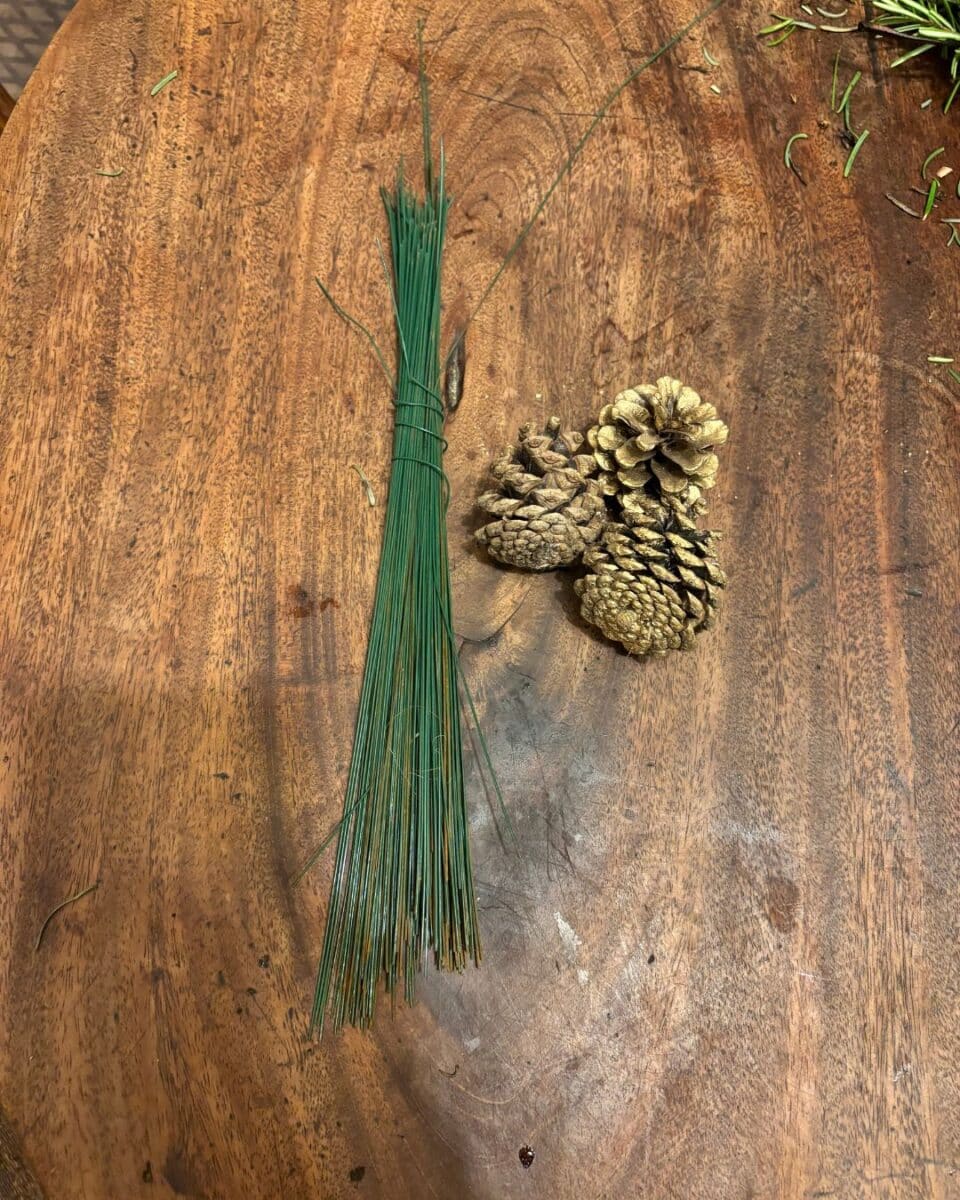
Medium thickness florist stub wire
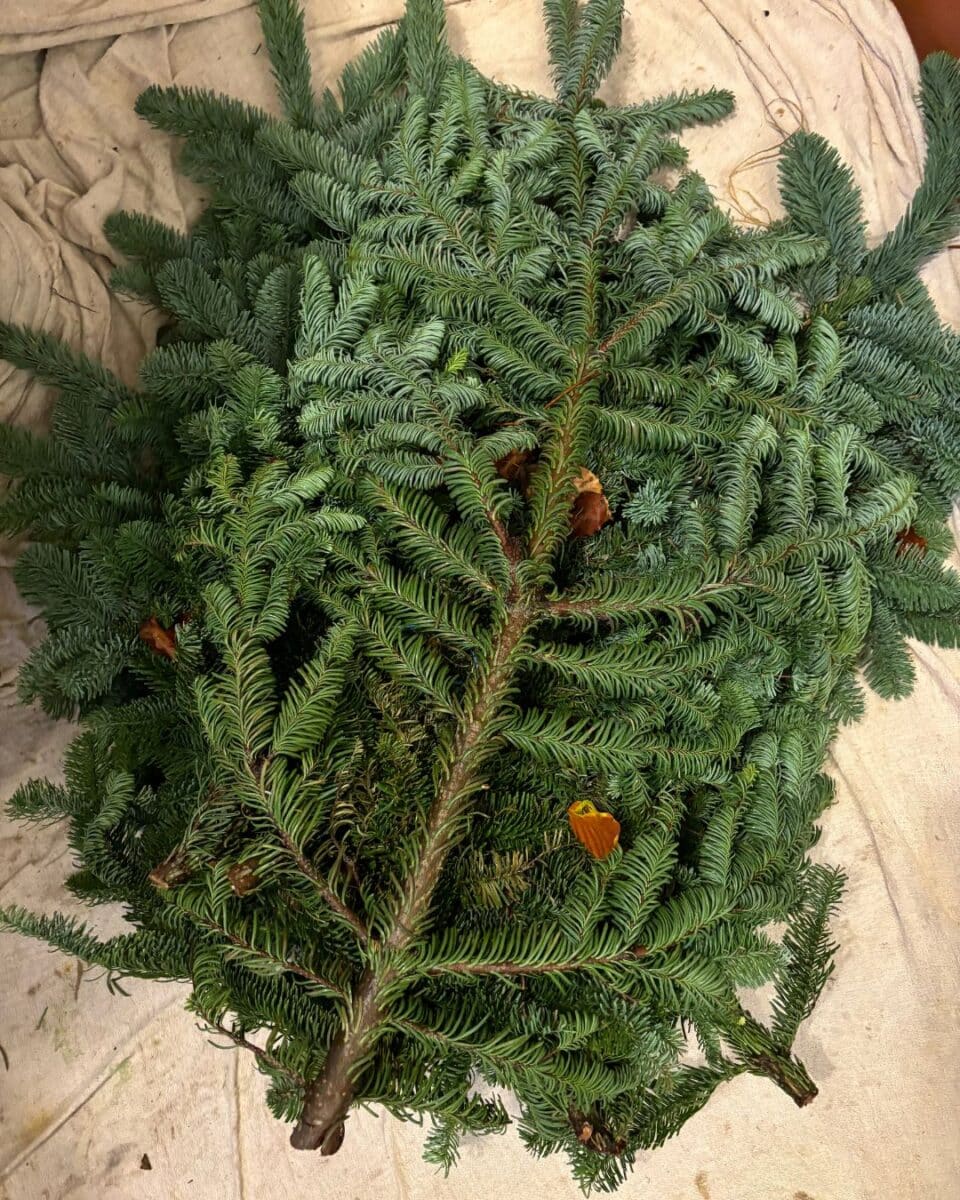
Seasonal evergreen foliage (e.g. pine branches, pine cones, fir, holly, ivy)
Pine cones
Cinnamon sticks
Ribbon
Fairy lights
Step 1 – Create the Base
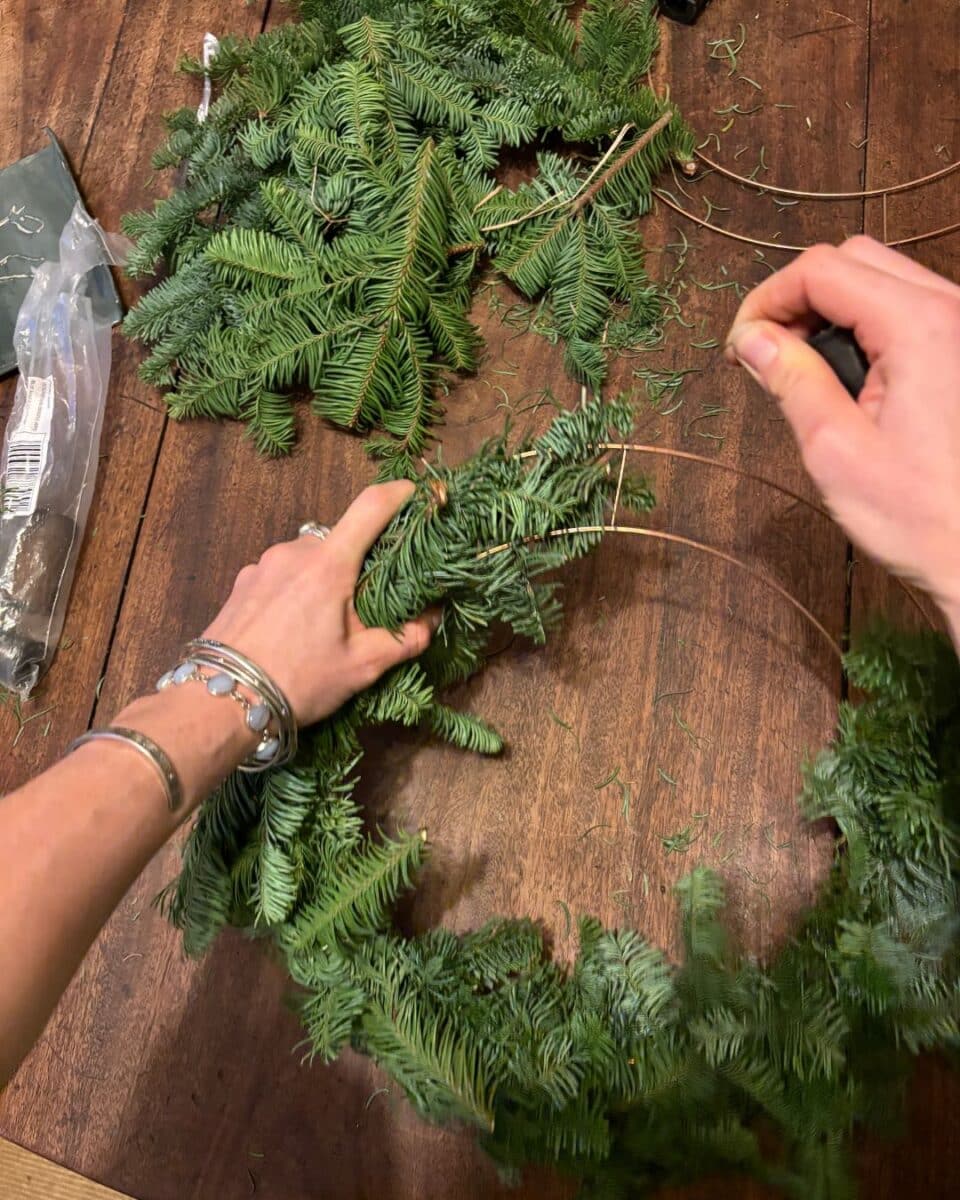
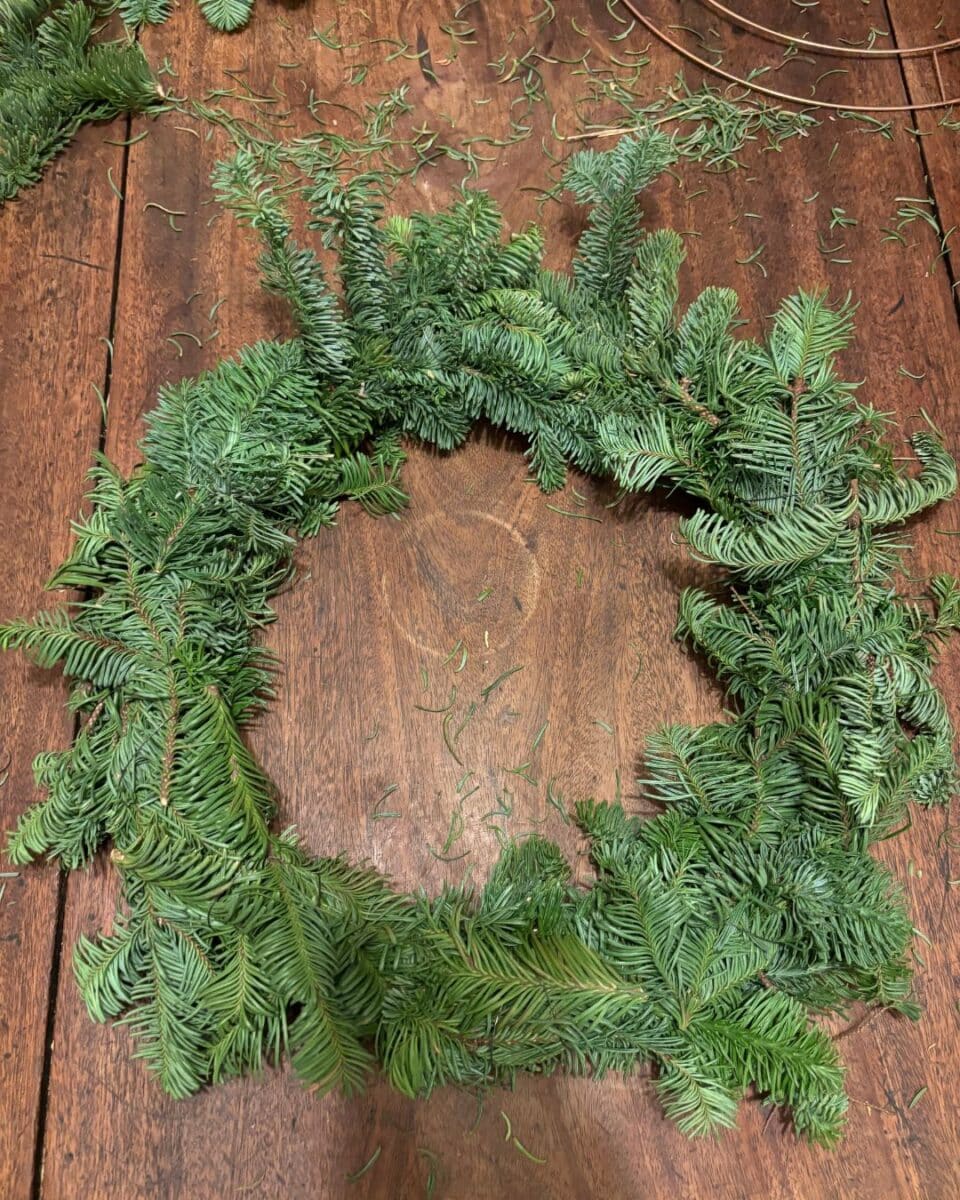
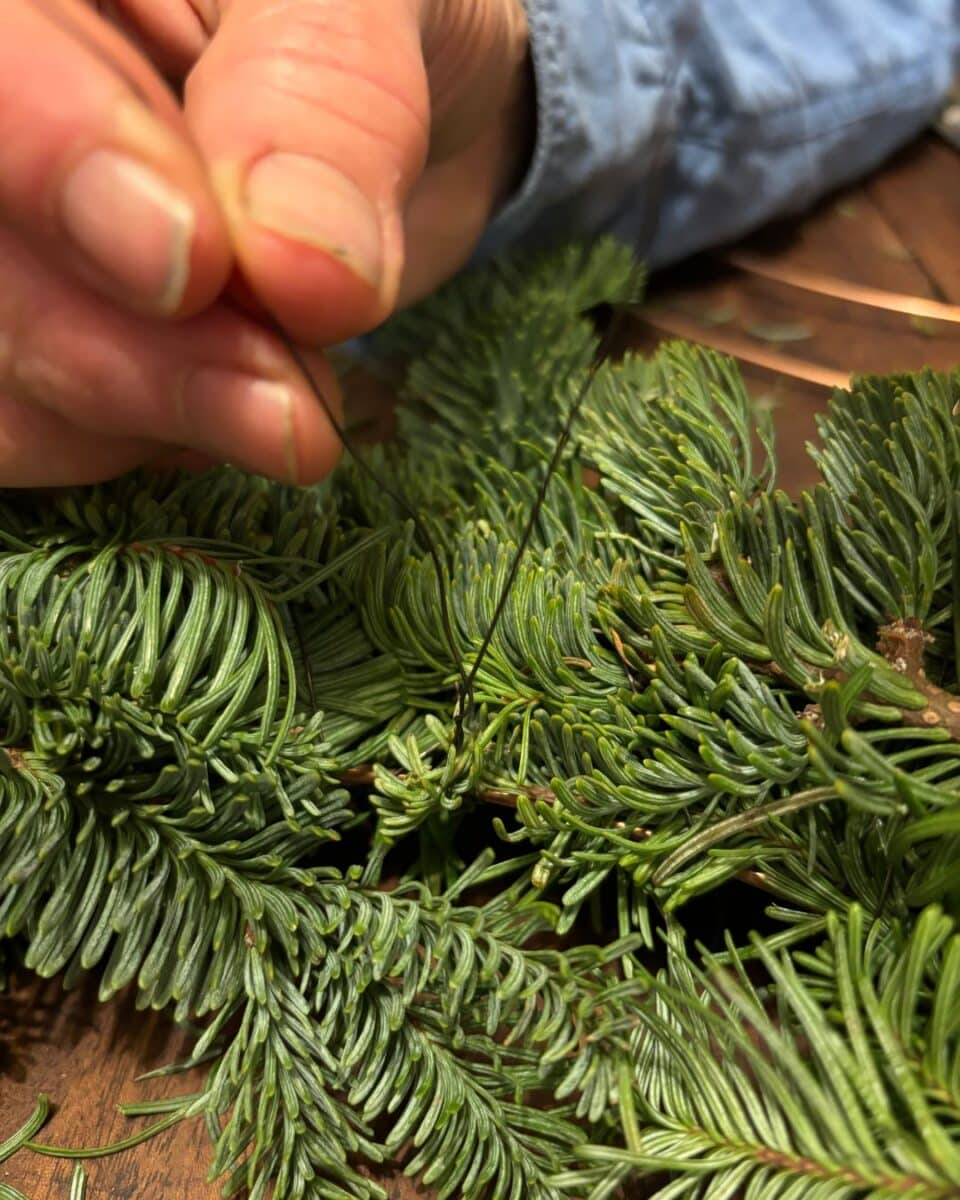
Start by cutting the pine into approximately 20cm long pieces. Lay the pine sprigs on the metal ring, then use the reel wire to weave around the ring, securing the pine in place. Pull the wire tightly and tie a knot to ensure everything is firmly attached. You can also use garden twine or green string as alternatives.
Step 2 – Add Foliage
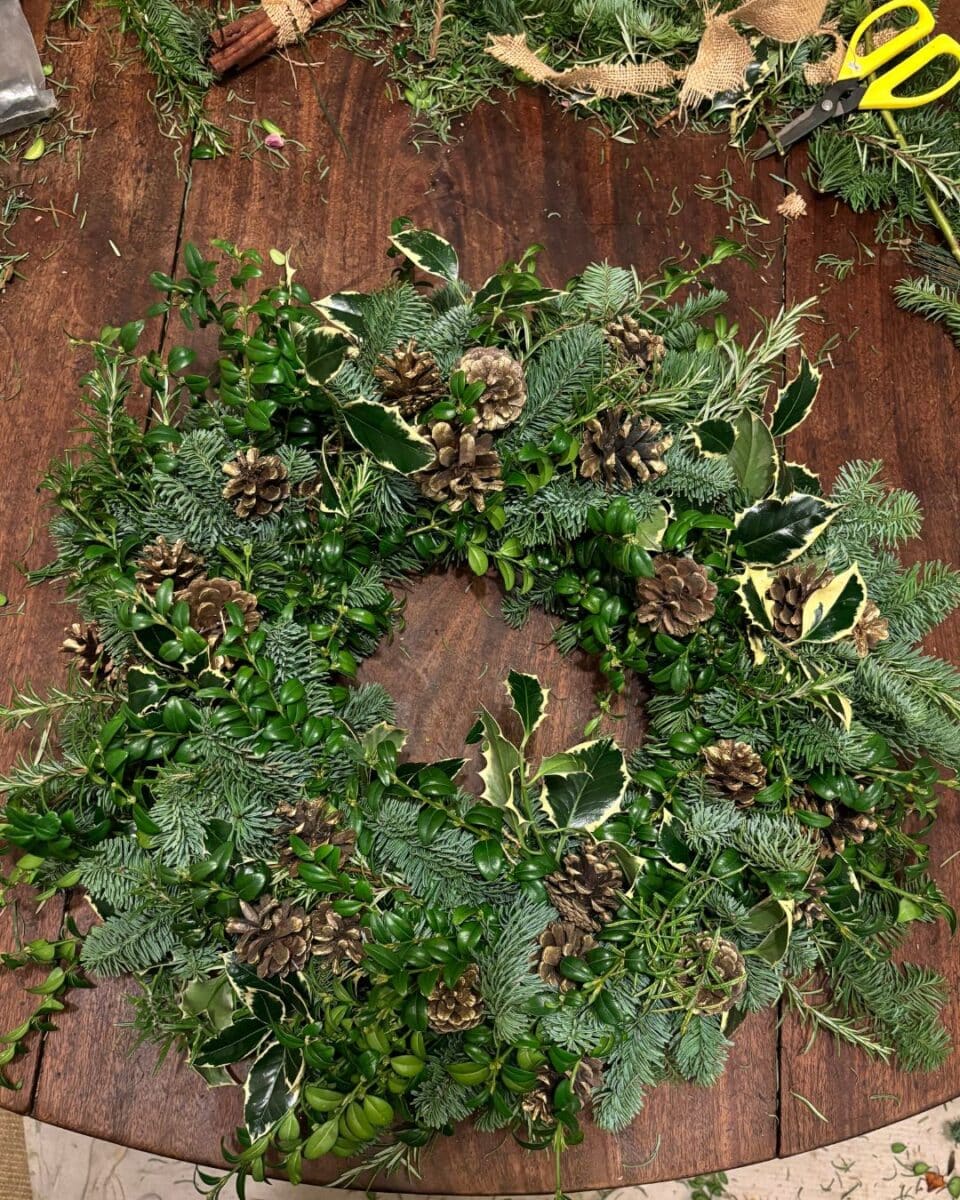
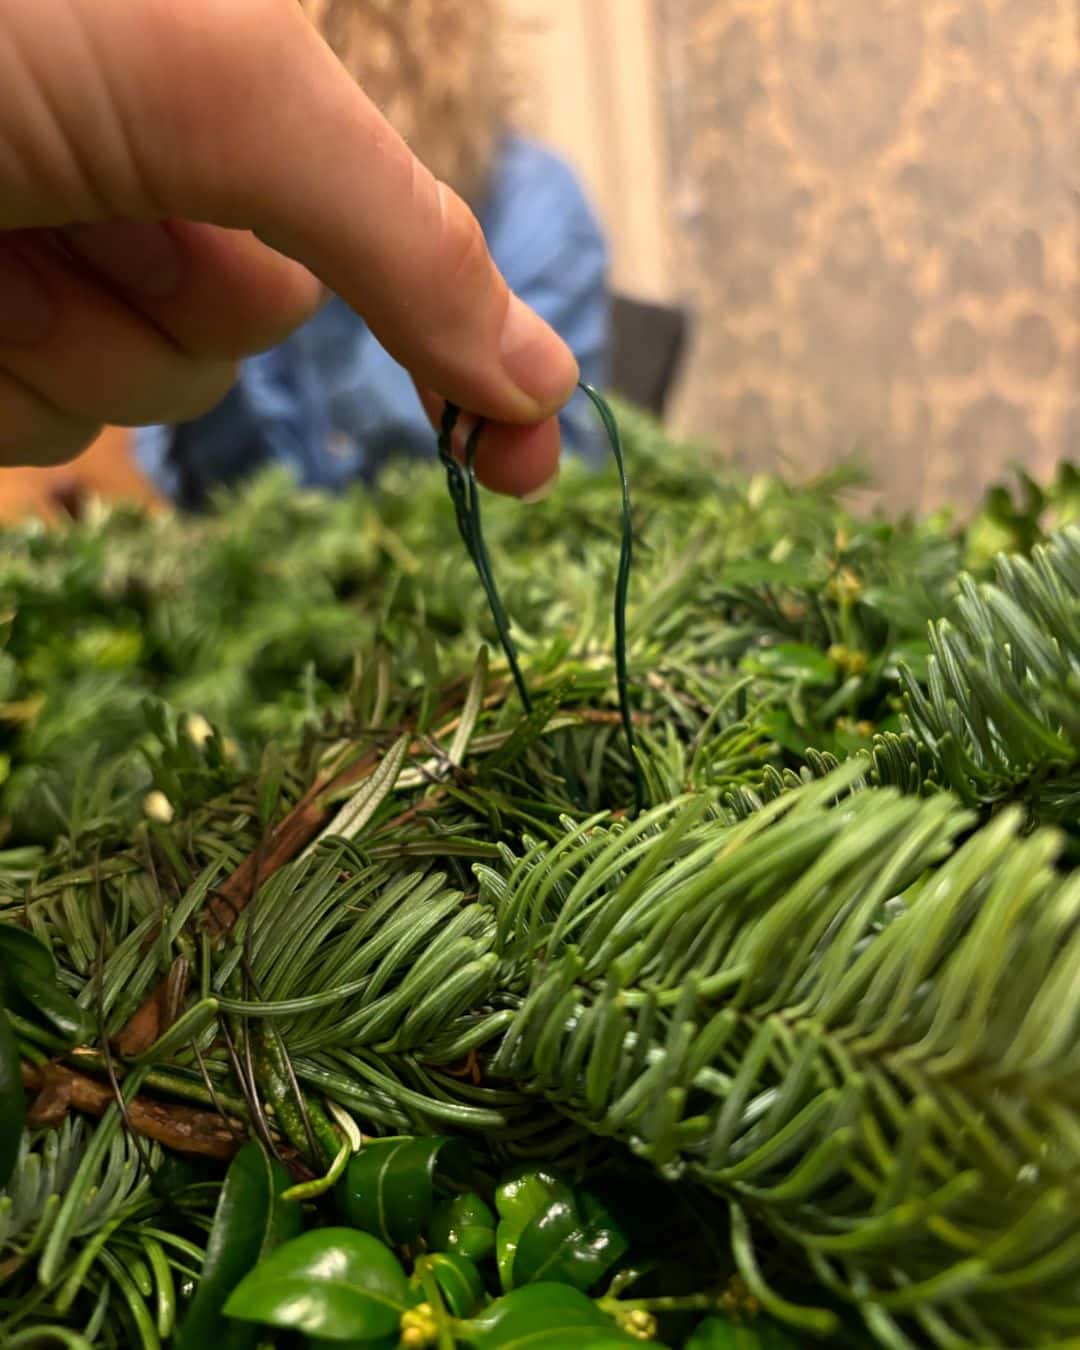
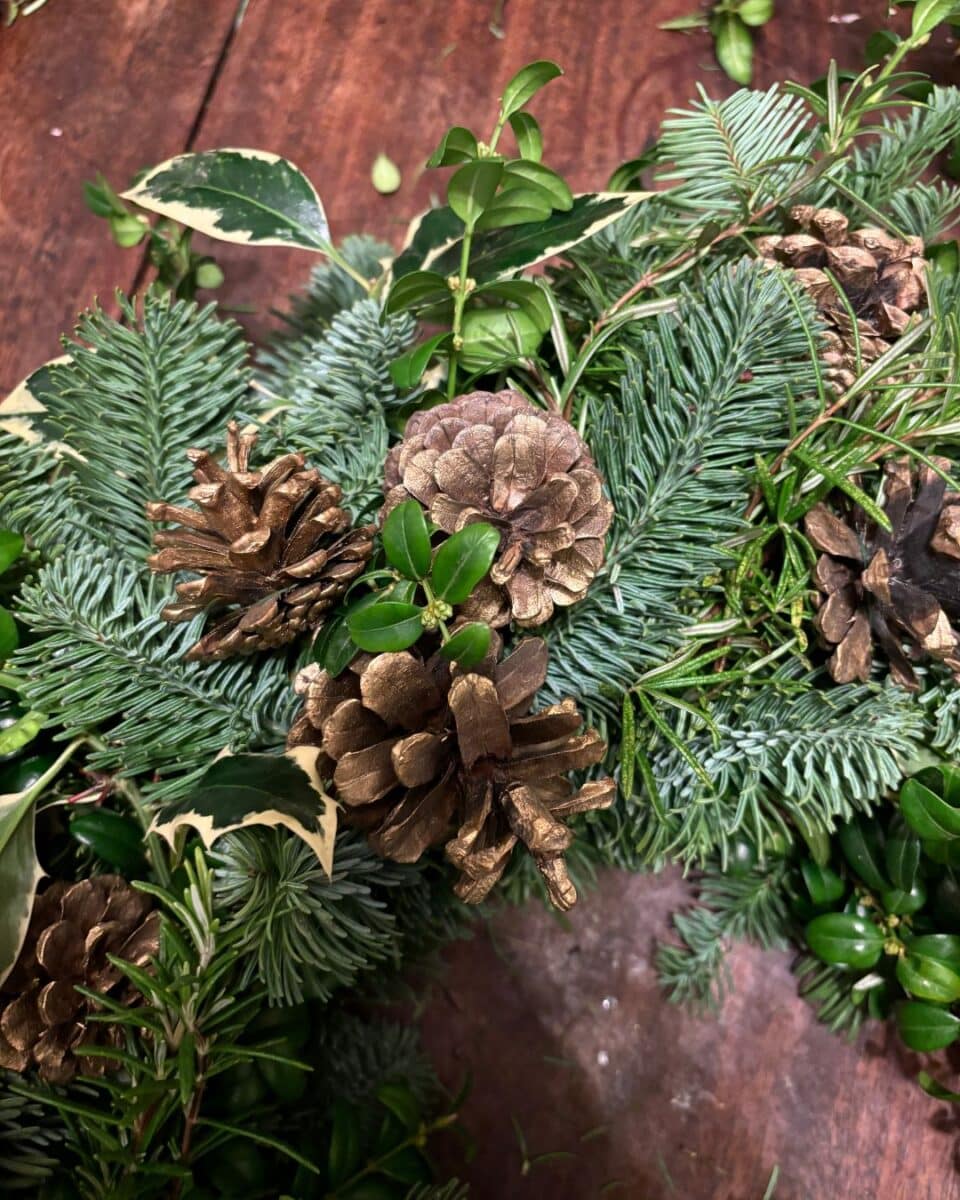
To add depth and texture to your wreath, mix a variety of foliage. Different shades of green create a dynamic and lush look. For our wreath, we used small bunches of pine, box hedging, rosemary and variegated holly leaves for extra colour. Christmas is all about engaging the senses and using aromatic herbs like rosemary or thyme will add a subtle, seasonal fragrance to complement the familiar pine smell. Position each small bunch on top of the base at a slight angle, allowing them to protrude outward. Secure them in place by wrapping wire around the middle of each bunch.
Step 3 – Build up the Base
Continue layering small bunches of foliage, making sure the wire stays tightly secured. Ensure there are no gaps, creating a full, continuous circle of lush greenery. For a more generous look, layer some bunches around the inside of the base. The varying shades of green will create a beautiful, natural texture.
Step 4 – Secure the Base
Once your wreath is fully formed, tie a secure knot with the string or twist the wire to ensure everything stays tight. Create a strong loop at the top of the wreath to make hanging easier.
Step 5 – Add Decorations
Now for the fun part—embellishing your wreath! To add sparkle, we spray-painted some pine cones with a touch of gold paint. Wrap the stub wire around the pine cones and twist the ends to secure them. Position the pine cones on the wreath by pushing the wire into the base, arranging them in threes for a balanced look.
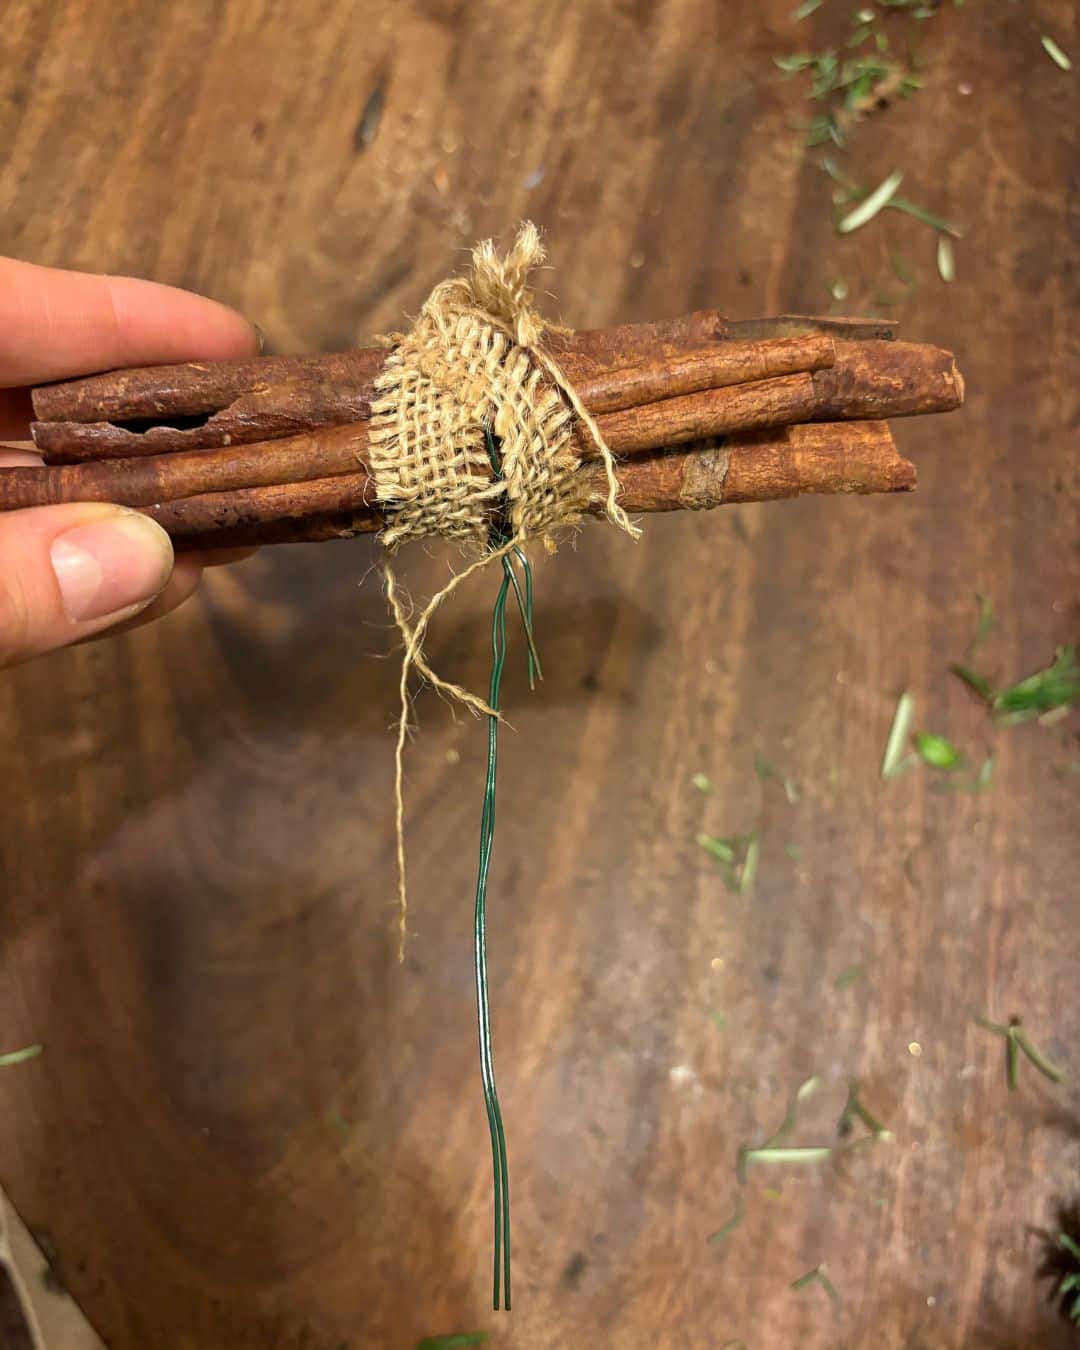
Don’t be afraid to go overboard—more pine cones make the wreath look even more festive. For a seasonal touch, tie cinnamon sticks together with wire, covering them with hessian or ribbon.
Finish the wreath with a bow, securing it with stub wire and pushing it into the base.
We hope this step-by-step guide has inspired your Christmas creativity and helped you craft a beautiful wreath this holiday season. Don’t forget to share your creations with us! Tag us @kitkempdesignthread so we can admire your handiwork and see how you’ve personalised your wreath. Happy crafting!


