Design Threads: Decorations for Tablescaping
How ToThe festive season can be an expensive time of year, but it doesn't have to be. We champion homemade crafts and Christmas brings the perfect opportunity to get creative. Here are some simple but effective ideas that will be enjoyed by the entire family...
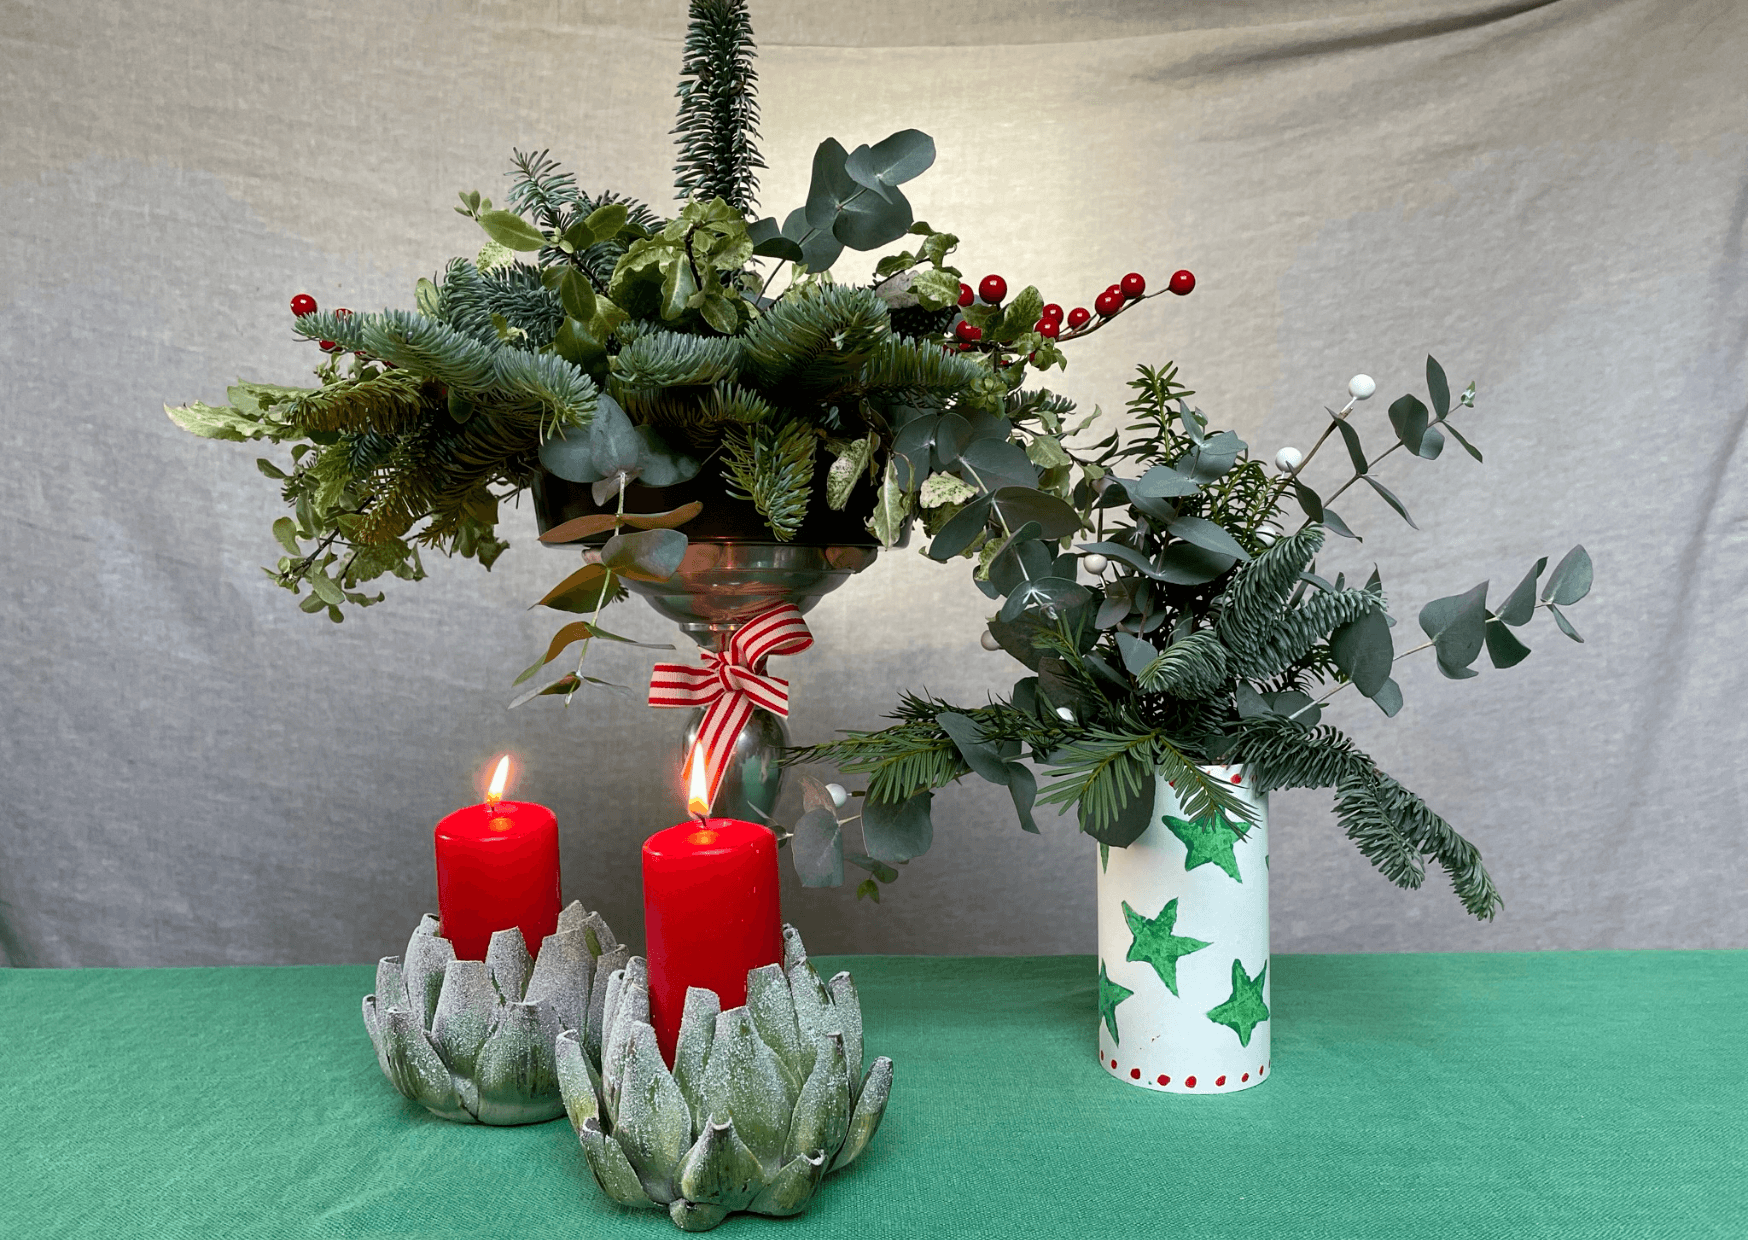
The festive season can be an expensive time of year, but it doesn’t have to be. Here at our Design Studio, we champion homemade crafts and Christmas brings the perfect opportunity to get creative and inject some fun and personality into your home. We’ve rolled up our sleeves and created our very own decorations for tablescaping. Join us as we share with you our tips to make your very own artichoke candle holders, decorative pillar candles, a table centrepiece and block printed vases. These simple but effective ideas can be enjoyed by the entire family. Let’s get stuck in!
Artichoke Candle Holders
You will need:
Artichokes
A sharp knife
Scissors
Paint or spray to decorate (we’ve used spray snow)
A candle
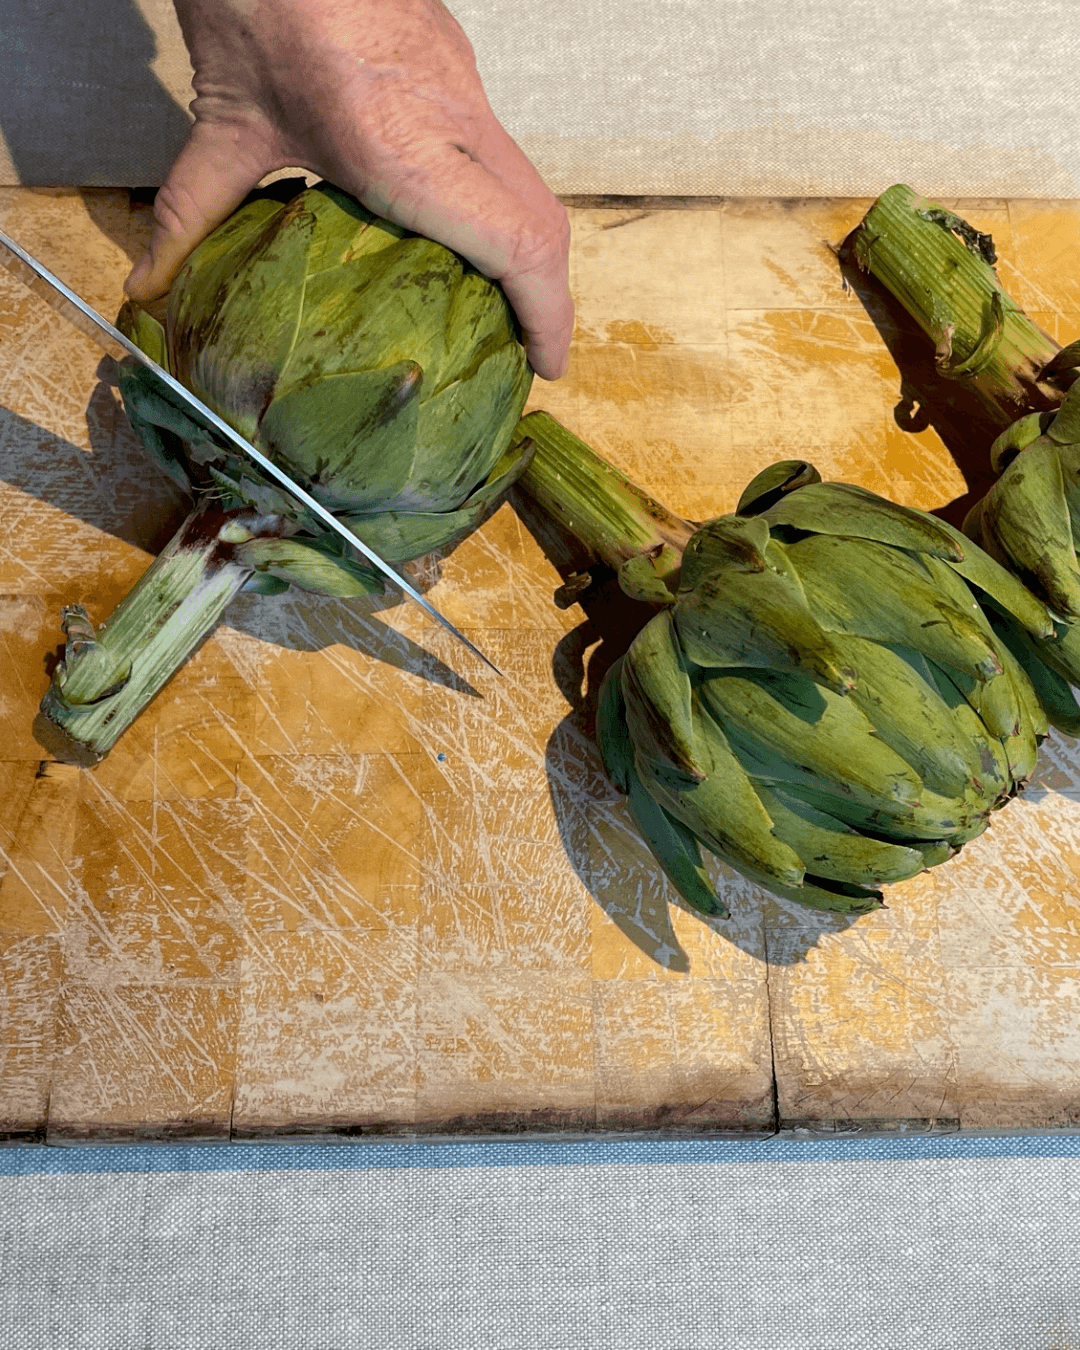
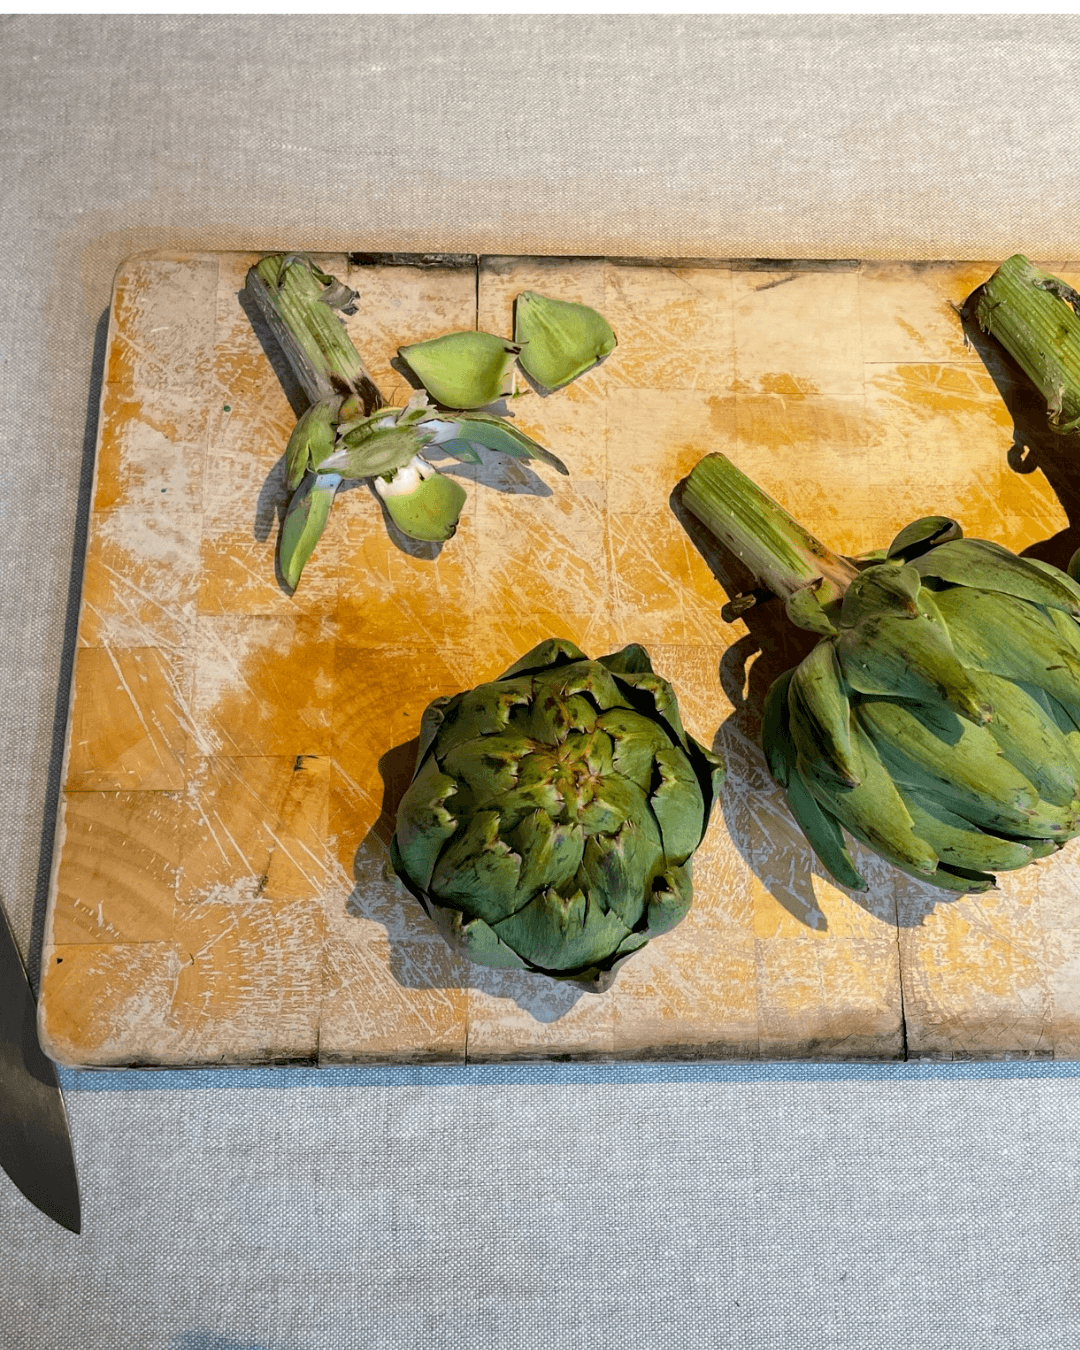
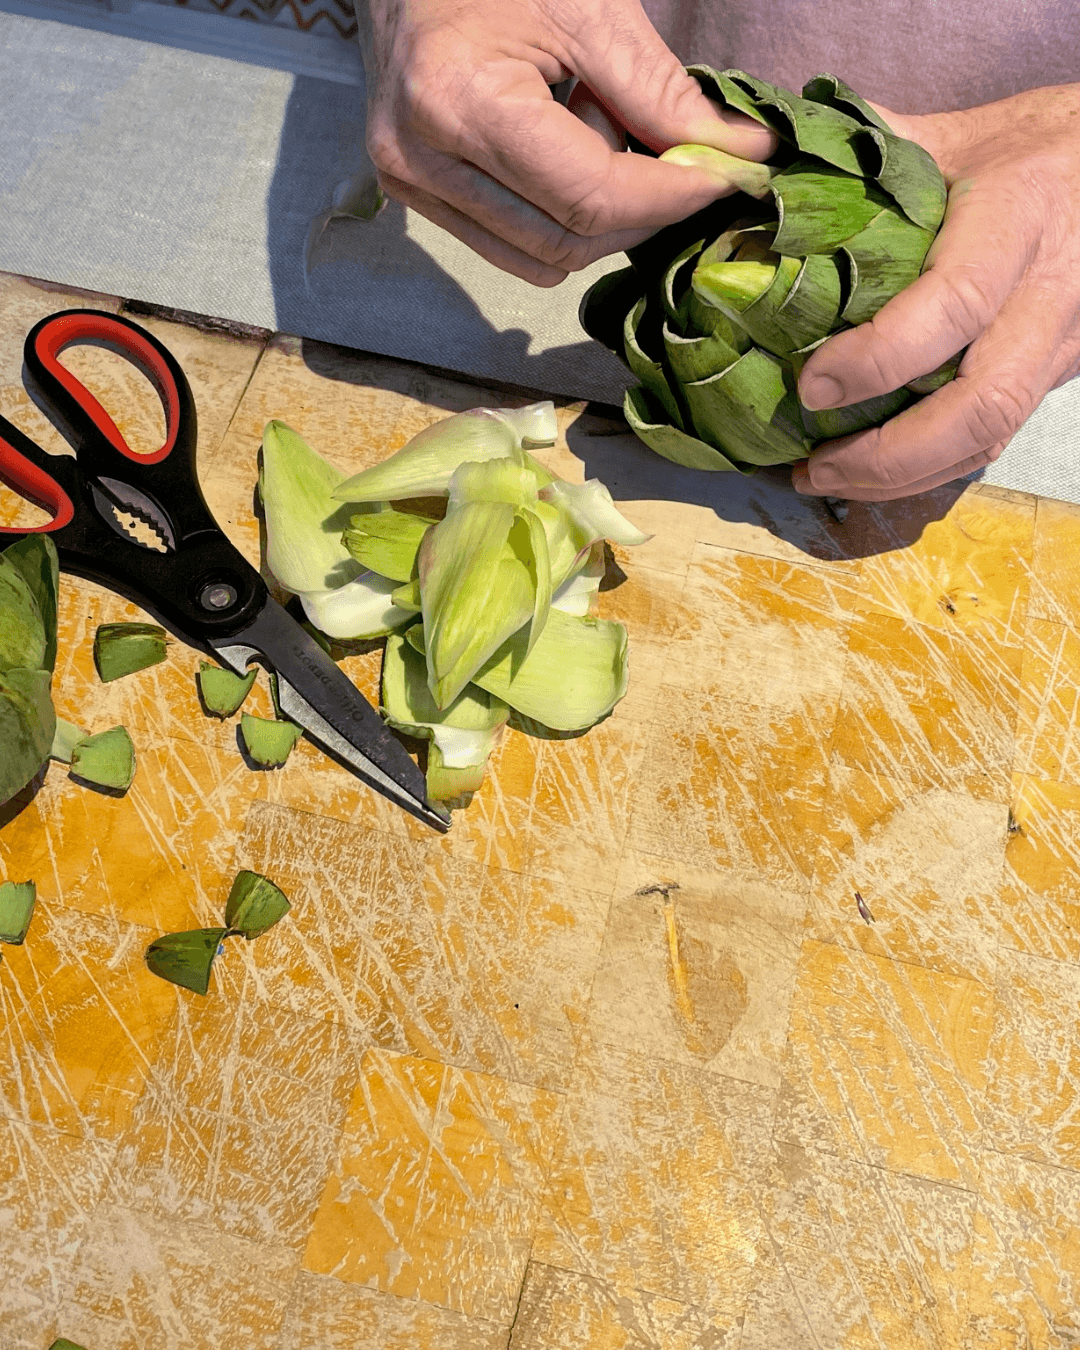
1.) Cut the stalks away to create a flat base on your artichokes (we had to use a much bigger knife than expected for this!)
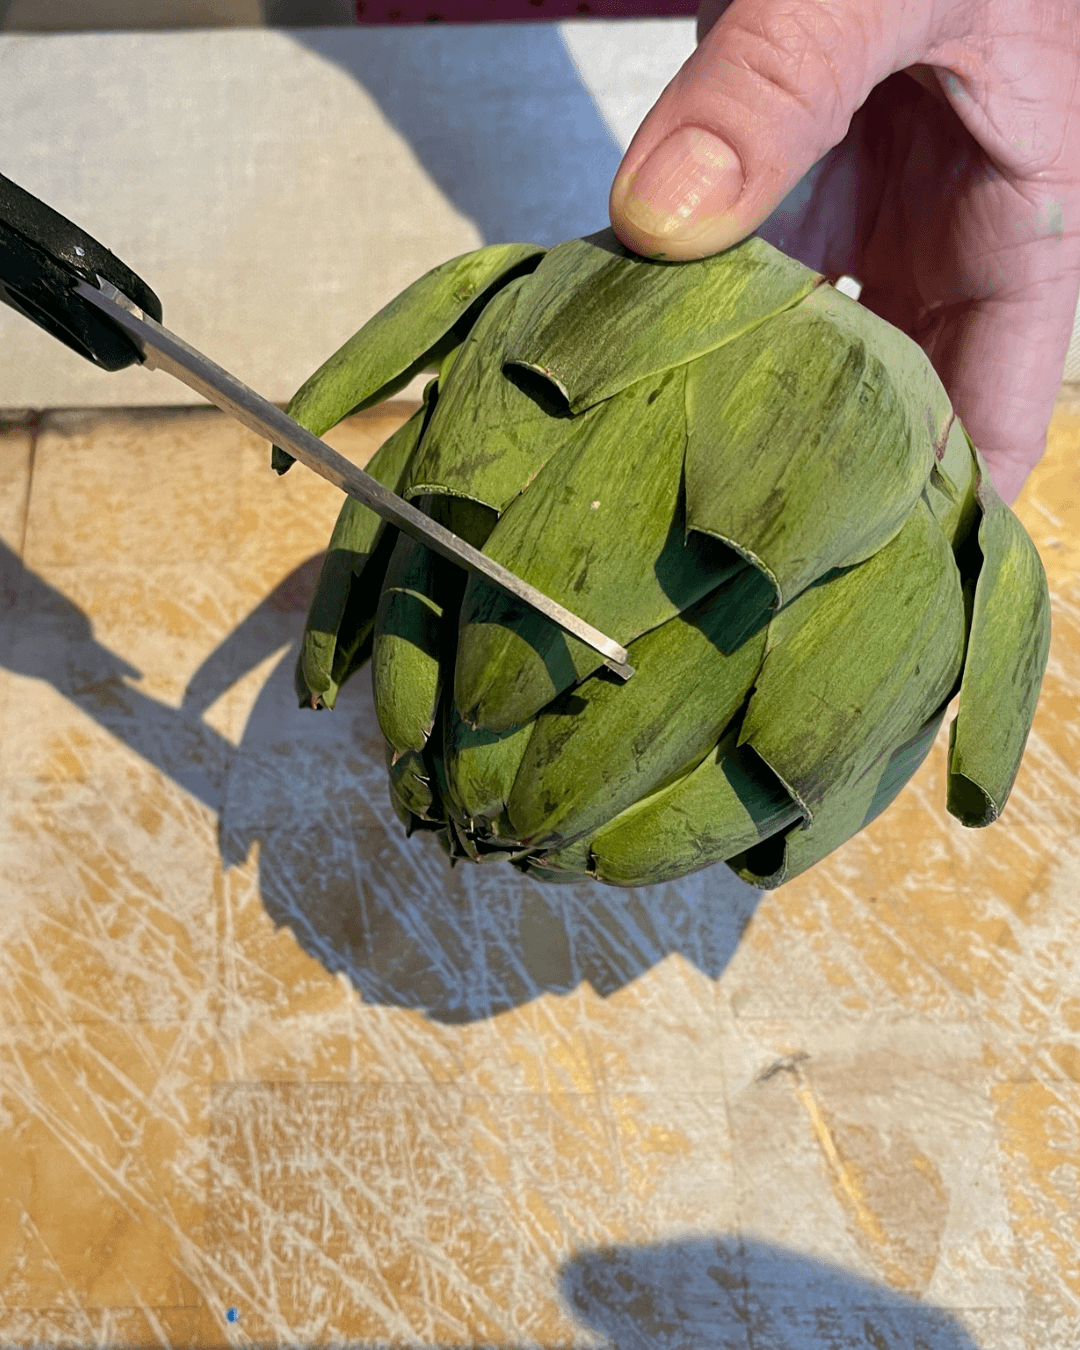
2.) Now cut the sharp tips away from your artichoke – you want to create a square edge on each leaf. Keep doing this until you are left with a neat dome on the top of your artichoke.
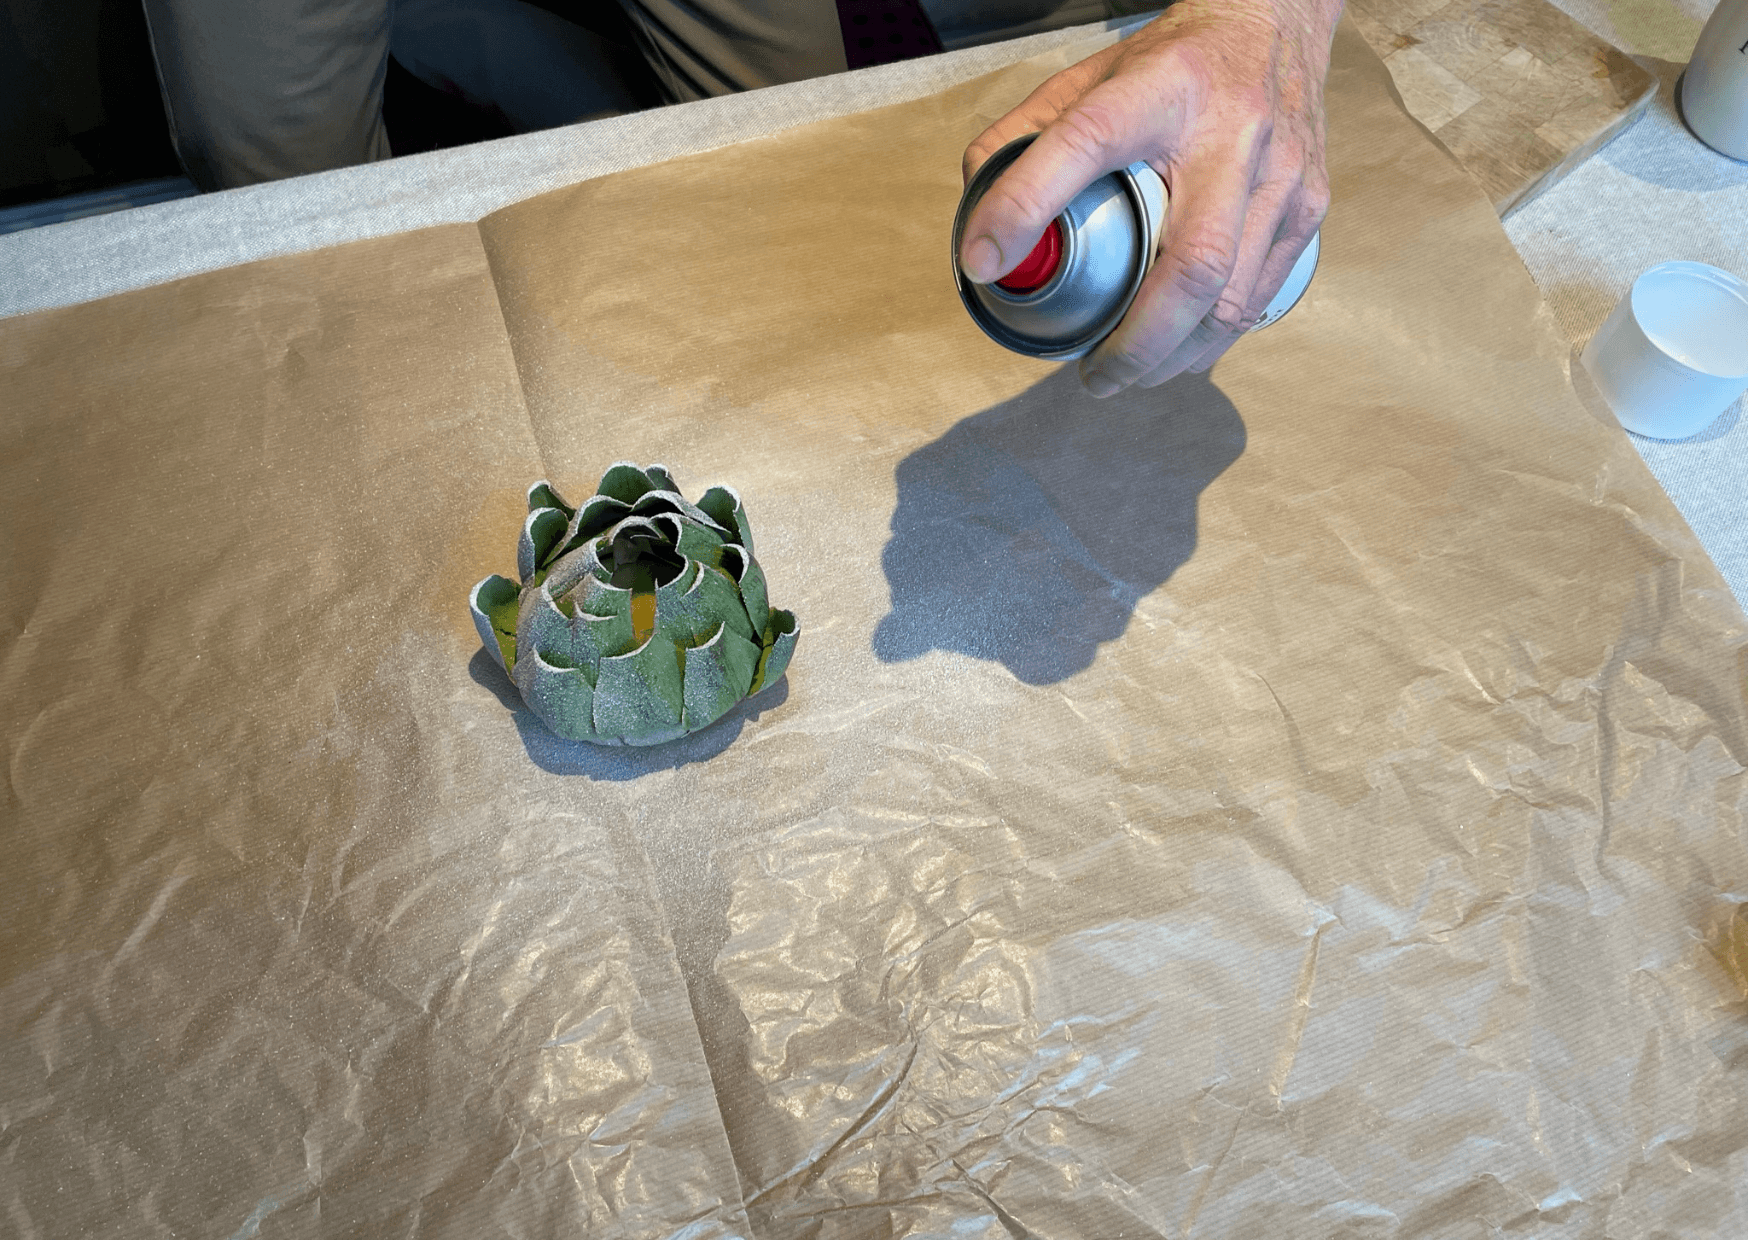
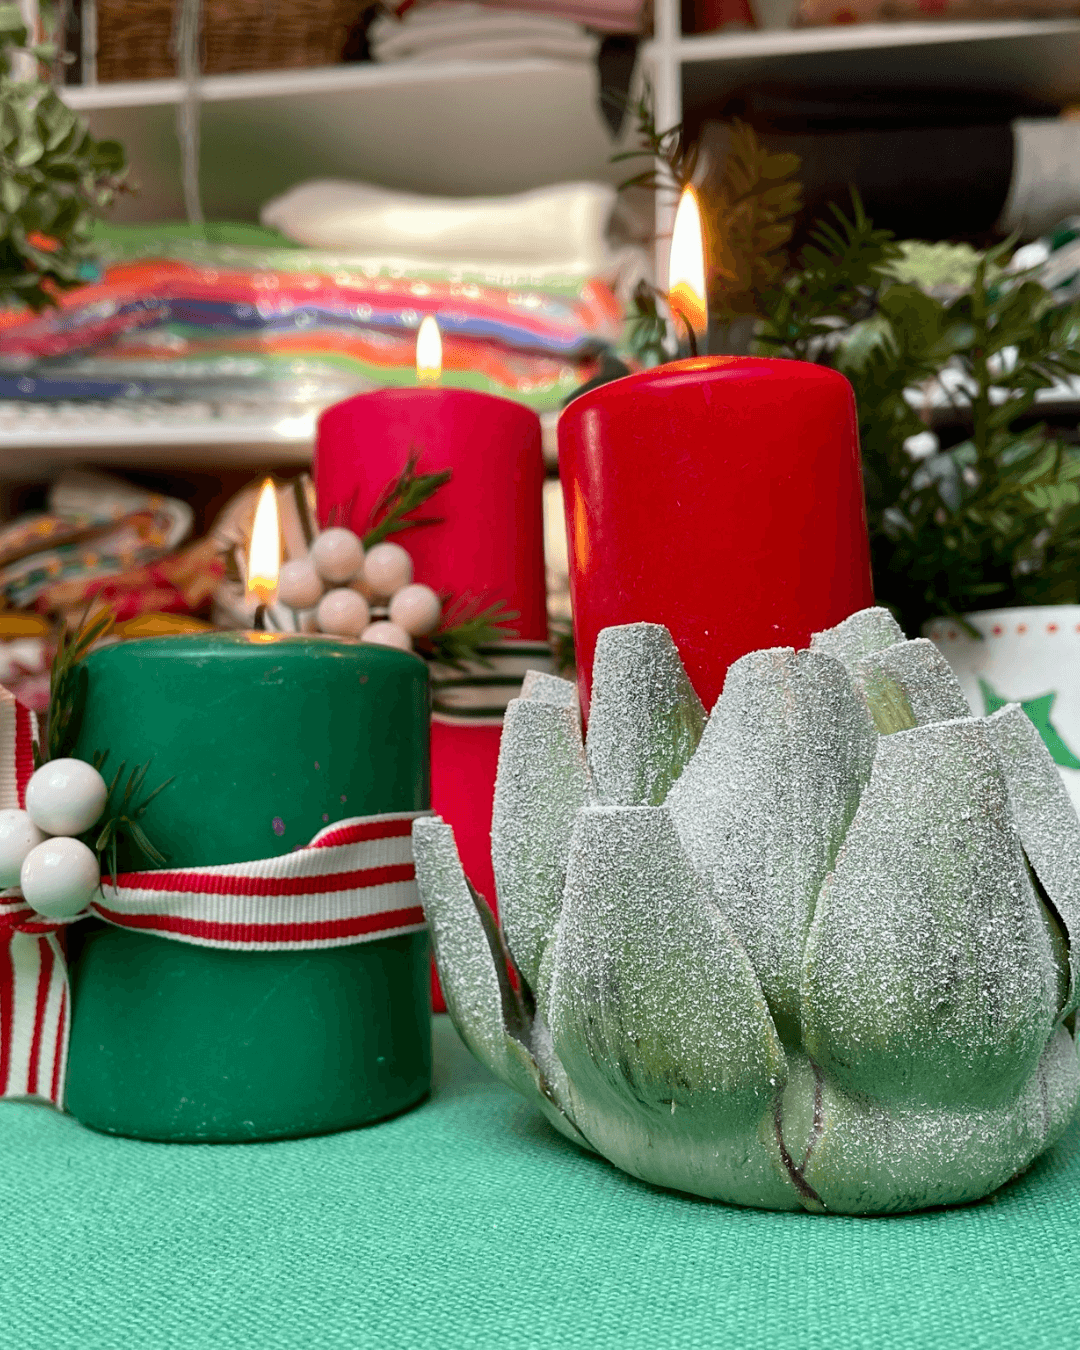
4.) Now you can have fun with designing! You could use paint or spray paint. We’ve used a spray snow called ‘Snow Business‘.
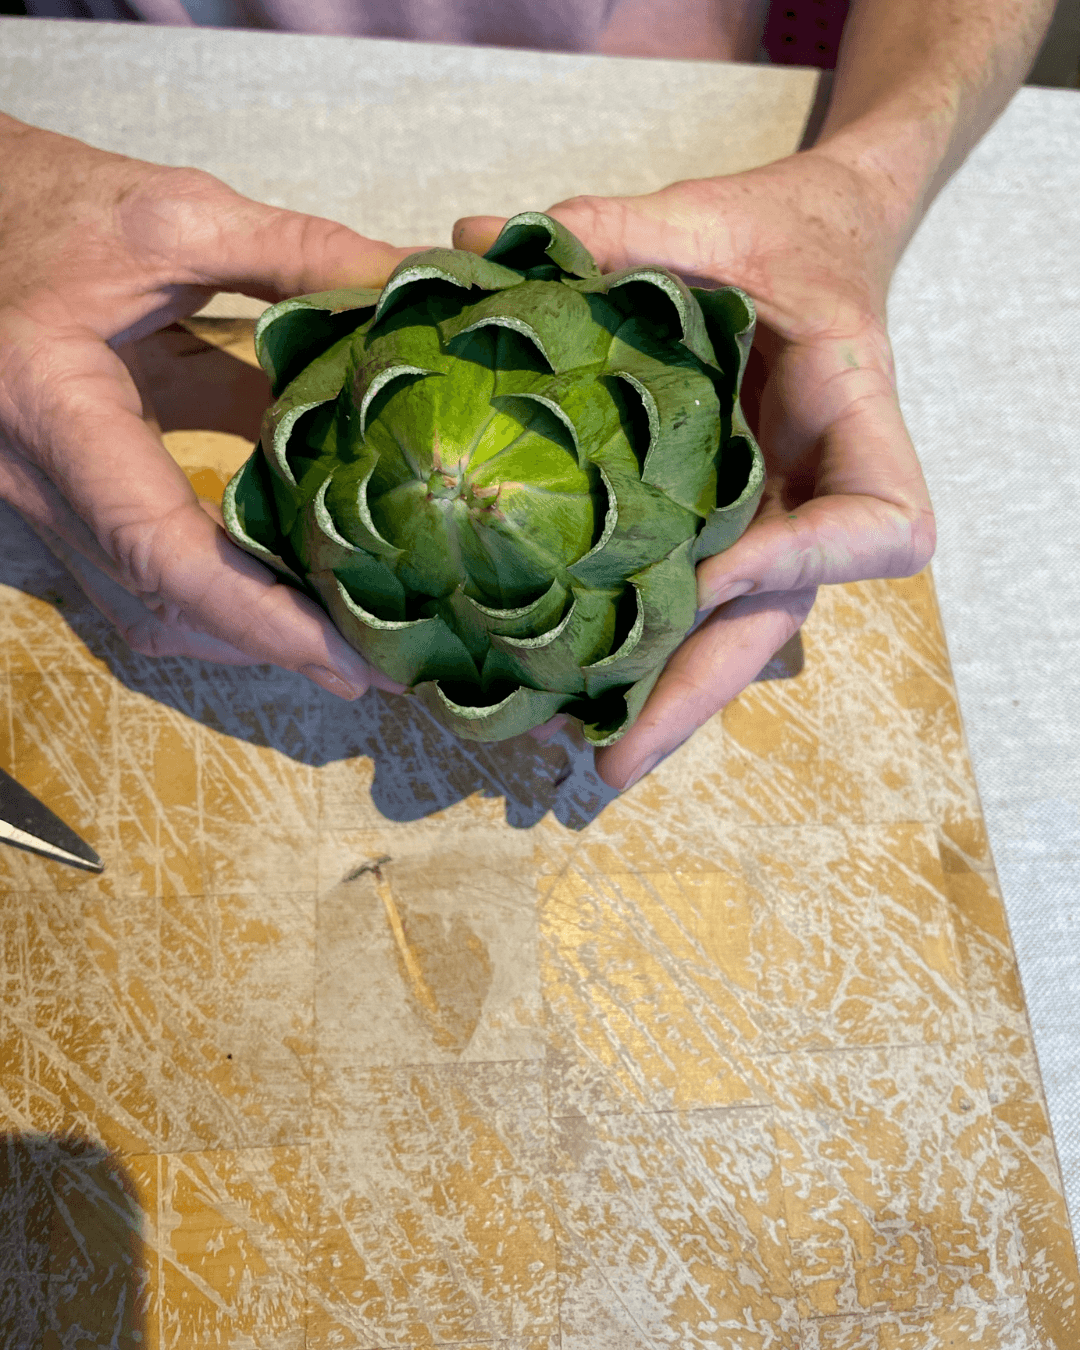
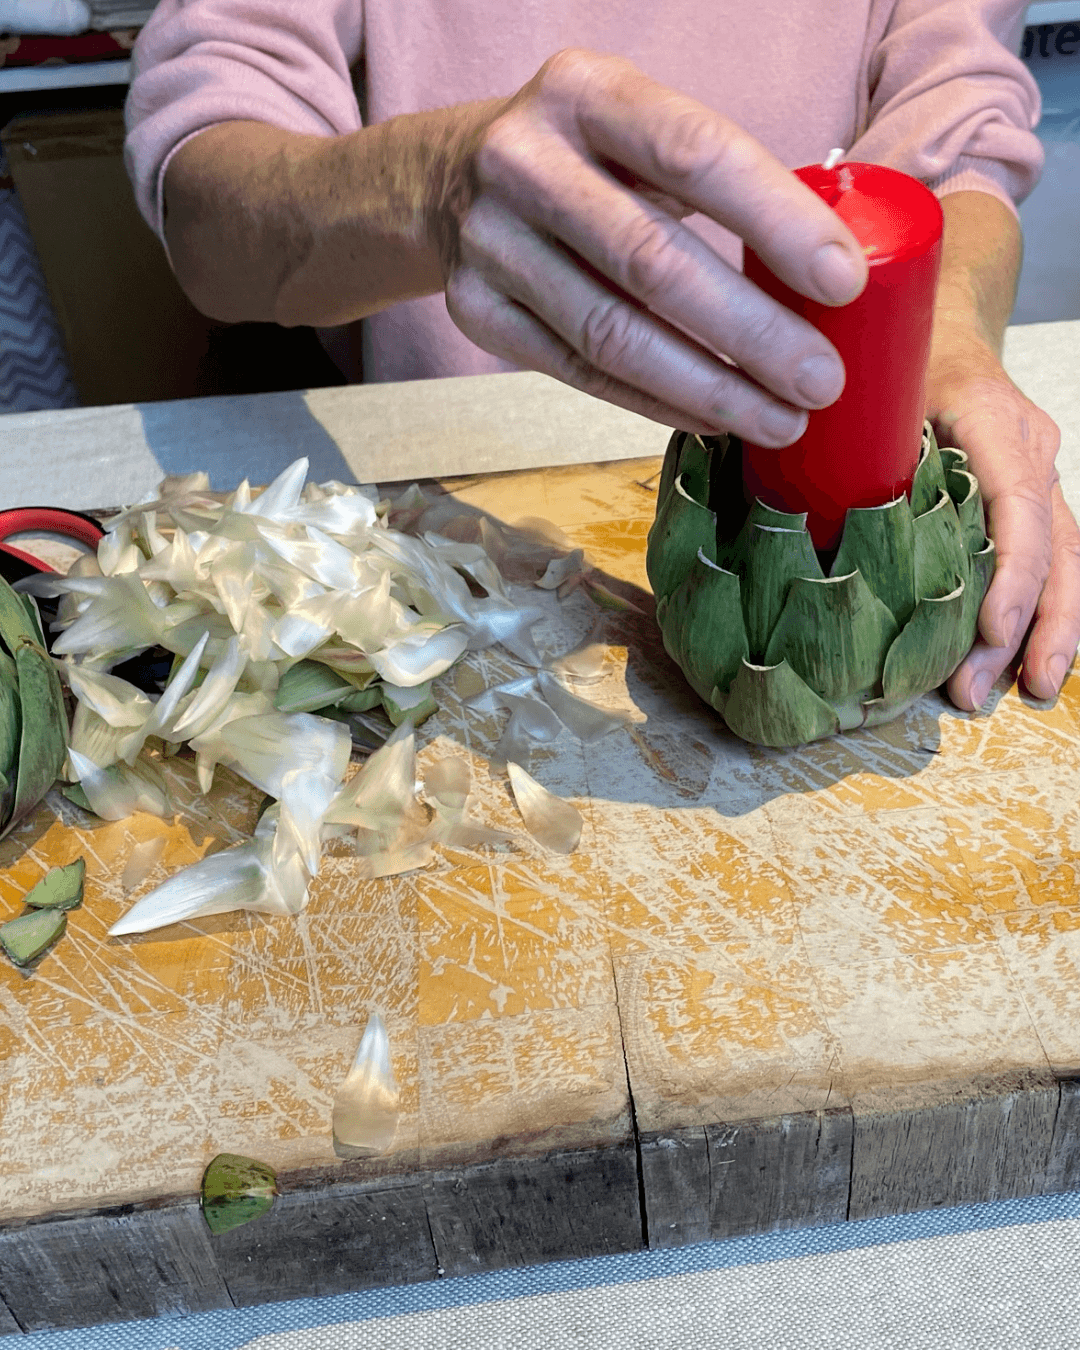
3.) Pull the largest leaves from the centre of your artichoke away. Keep doing this until all leaves from the inside have been removed and there is a flat base inside the artichoke. You have now created a hollow area that will house the candle.
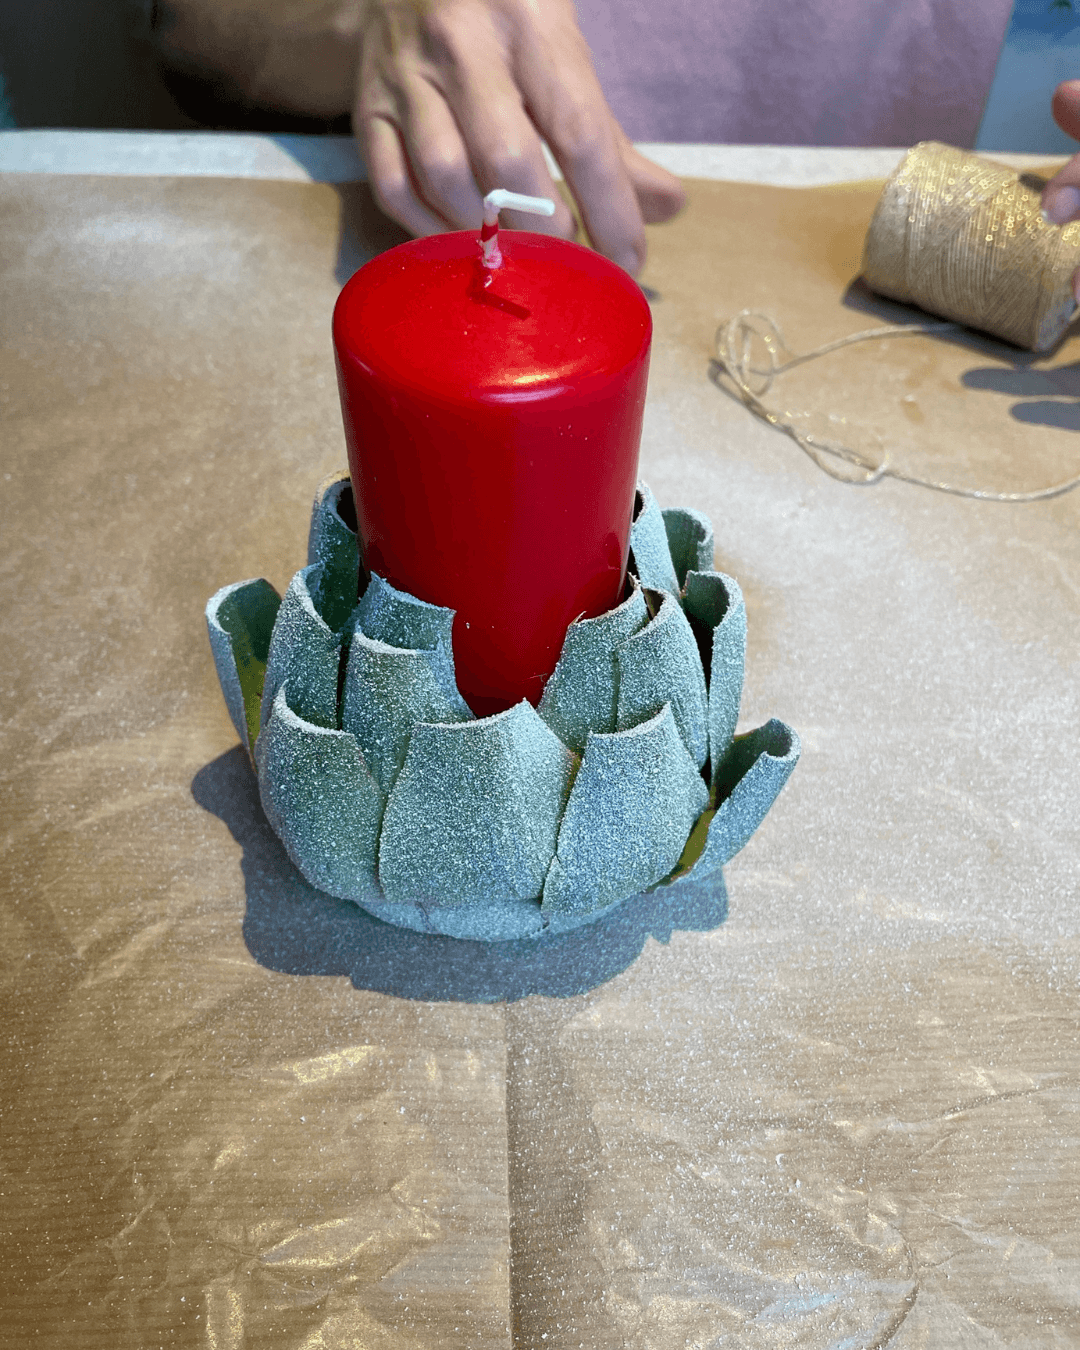
5.) Once dry, it’s time to include your candle!
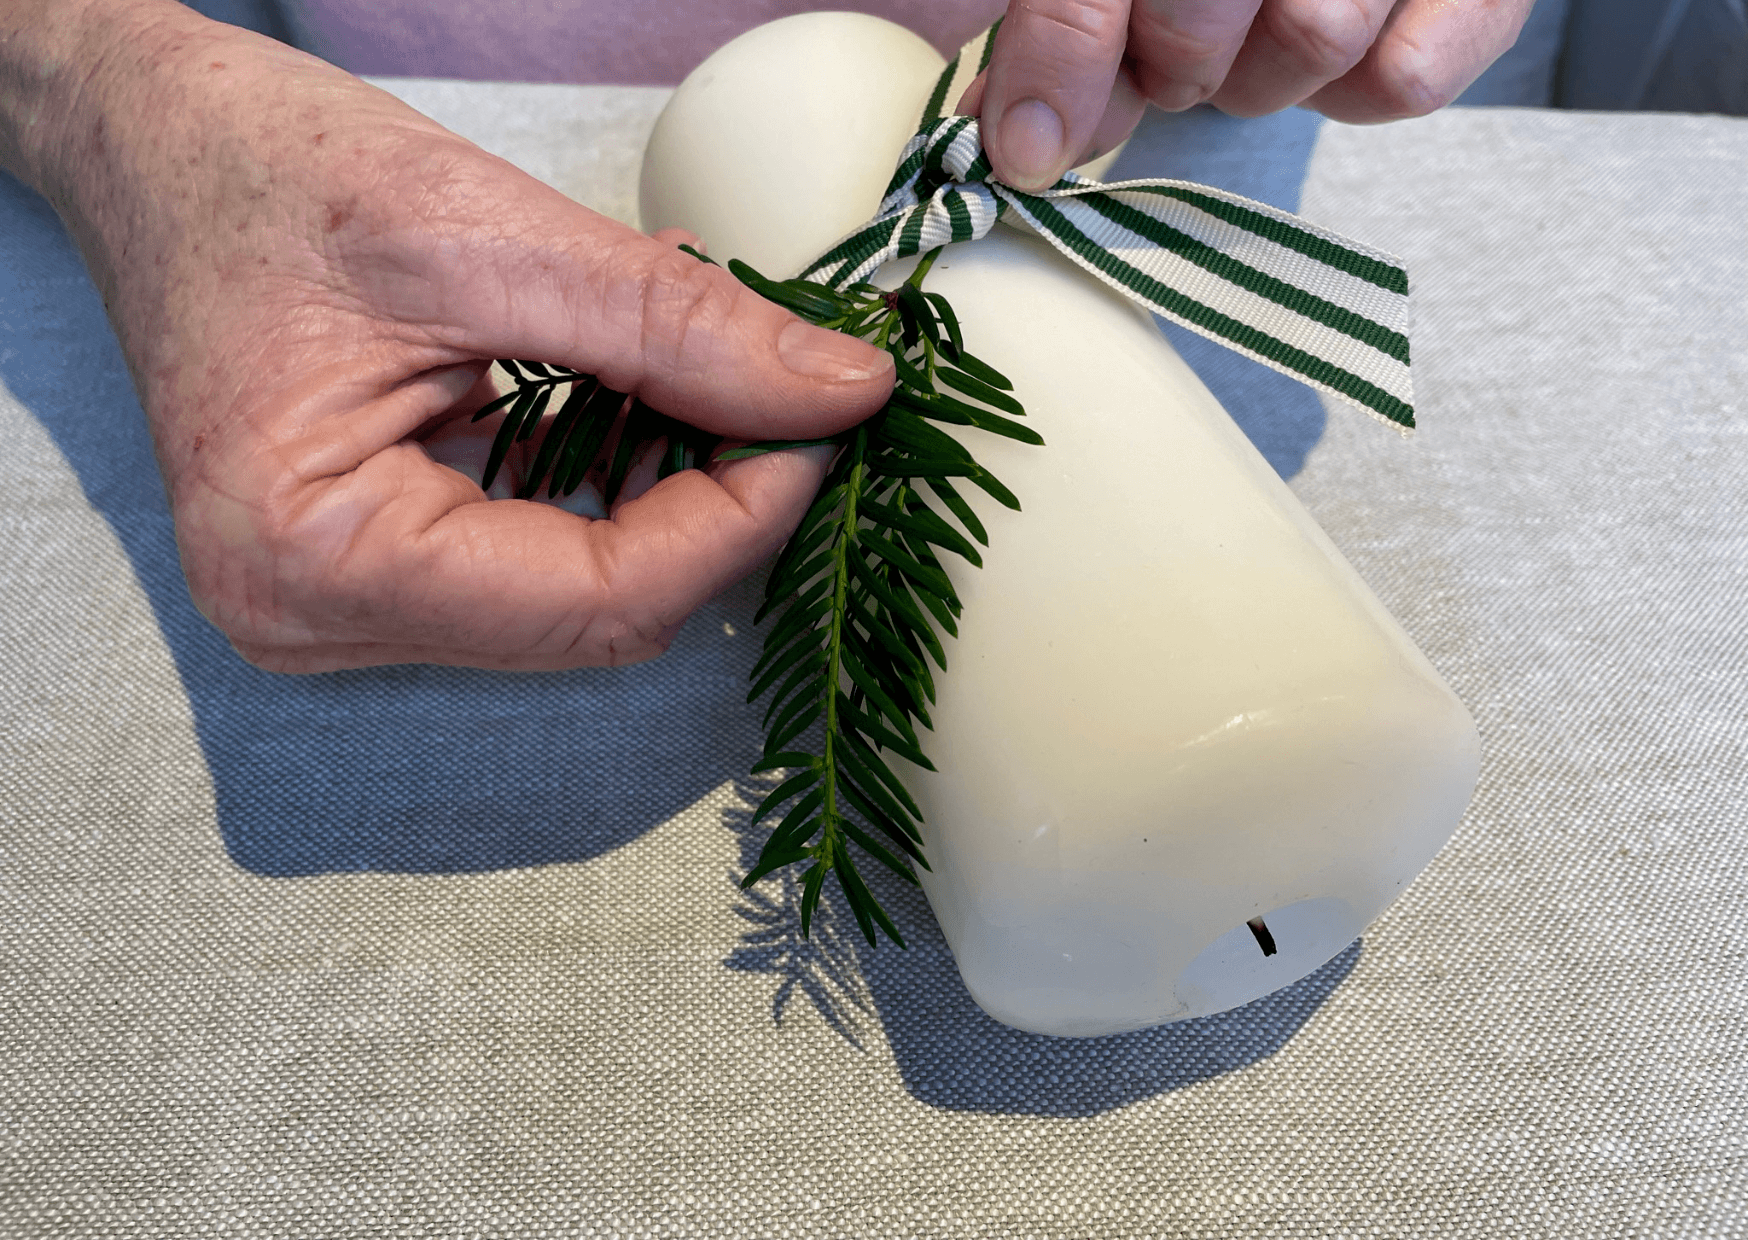
3.) Take your foliage and strip off the bottom leaves to create a neat stem.
Decorating Pillar Candles
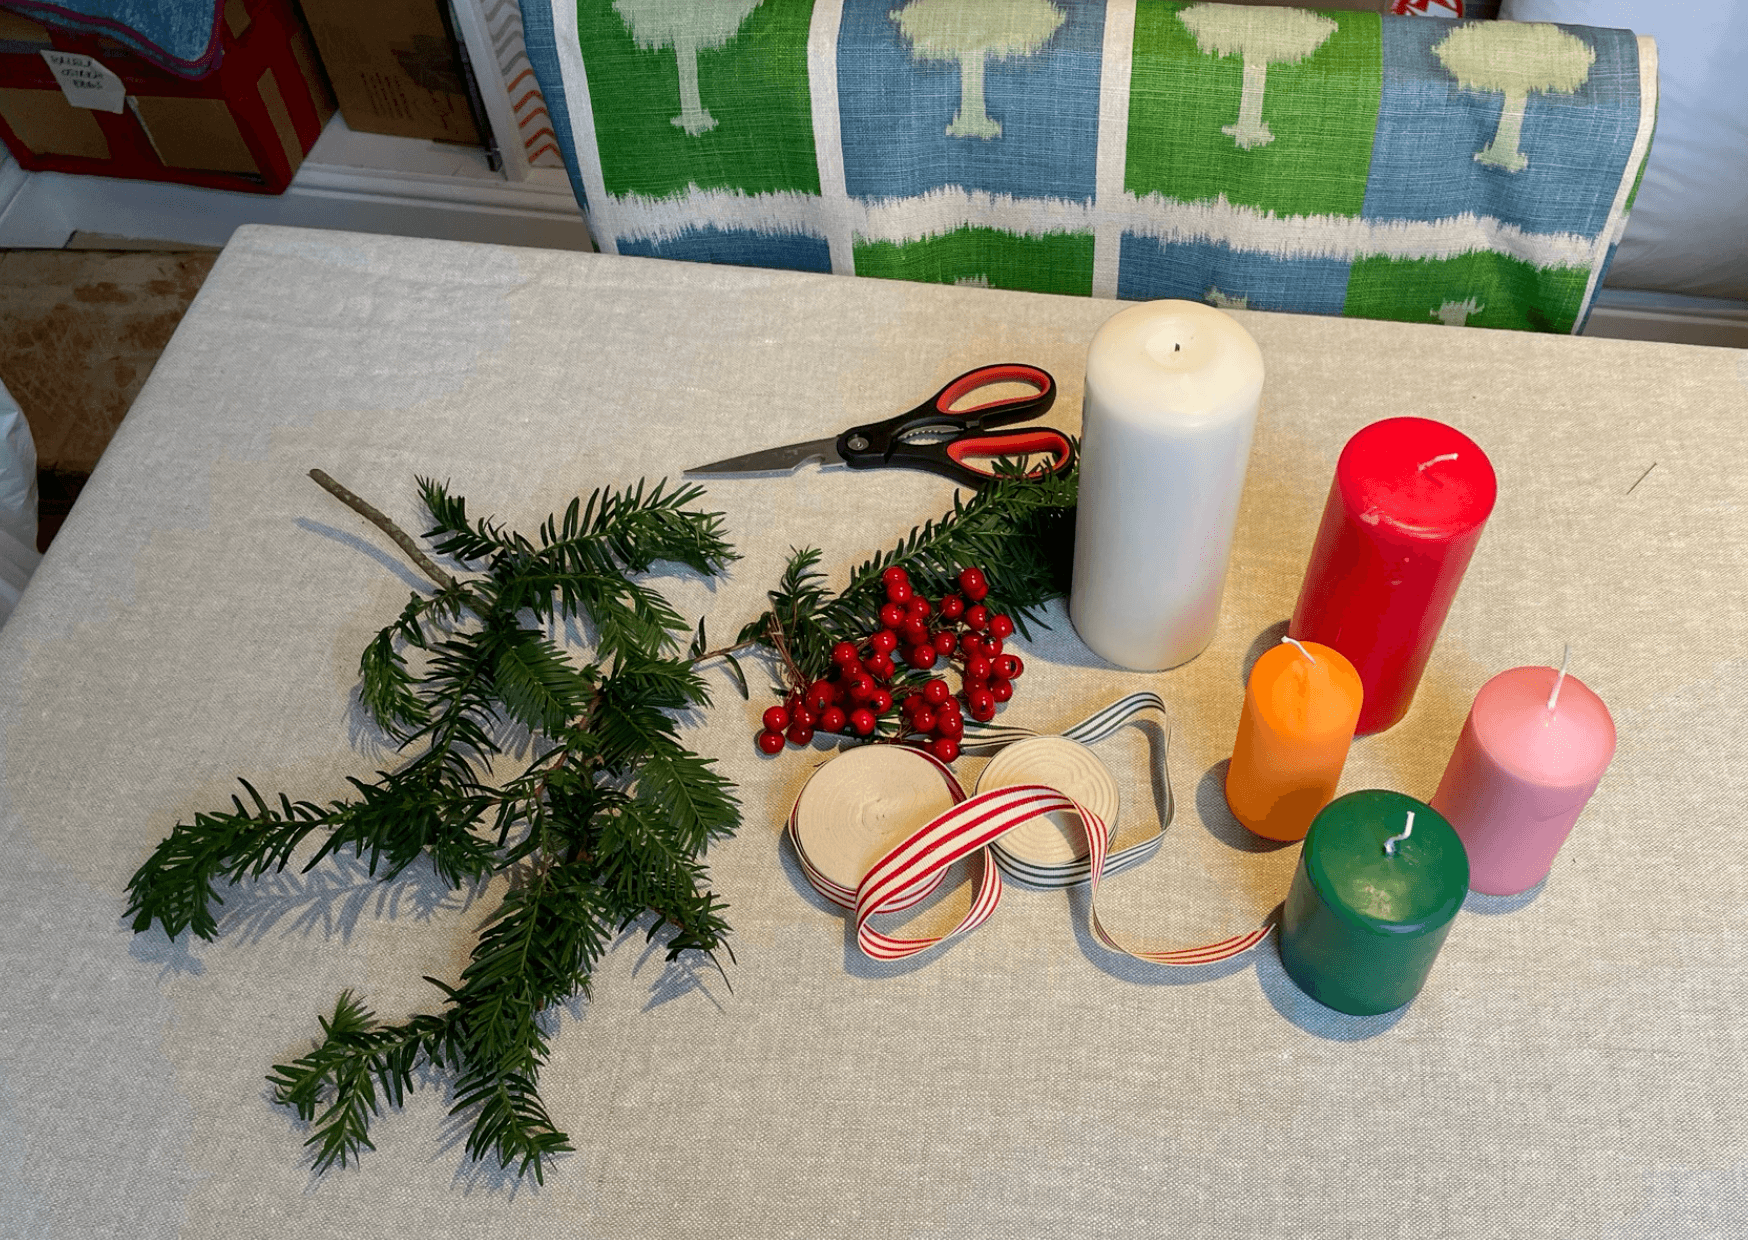
You will need:
Foliage – we sourced ours from the garden
Decorative ribbon – we got ours from Sophie’s Ribbons
Decorative berries, or anything else you wish to include!
Scissors
A candle
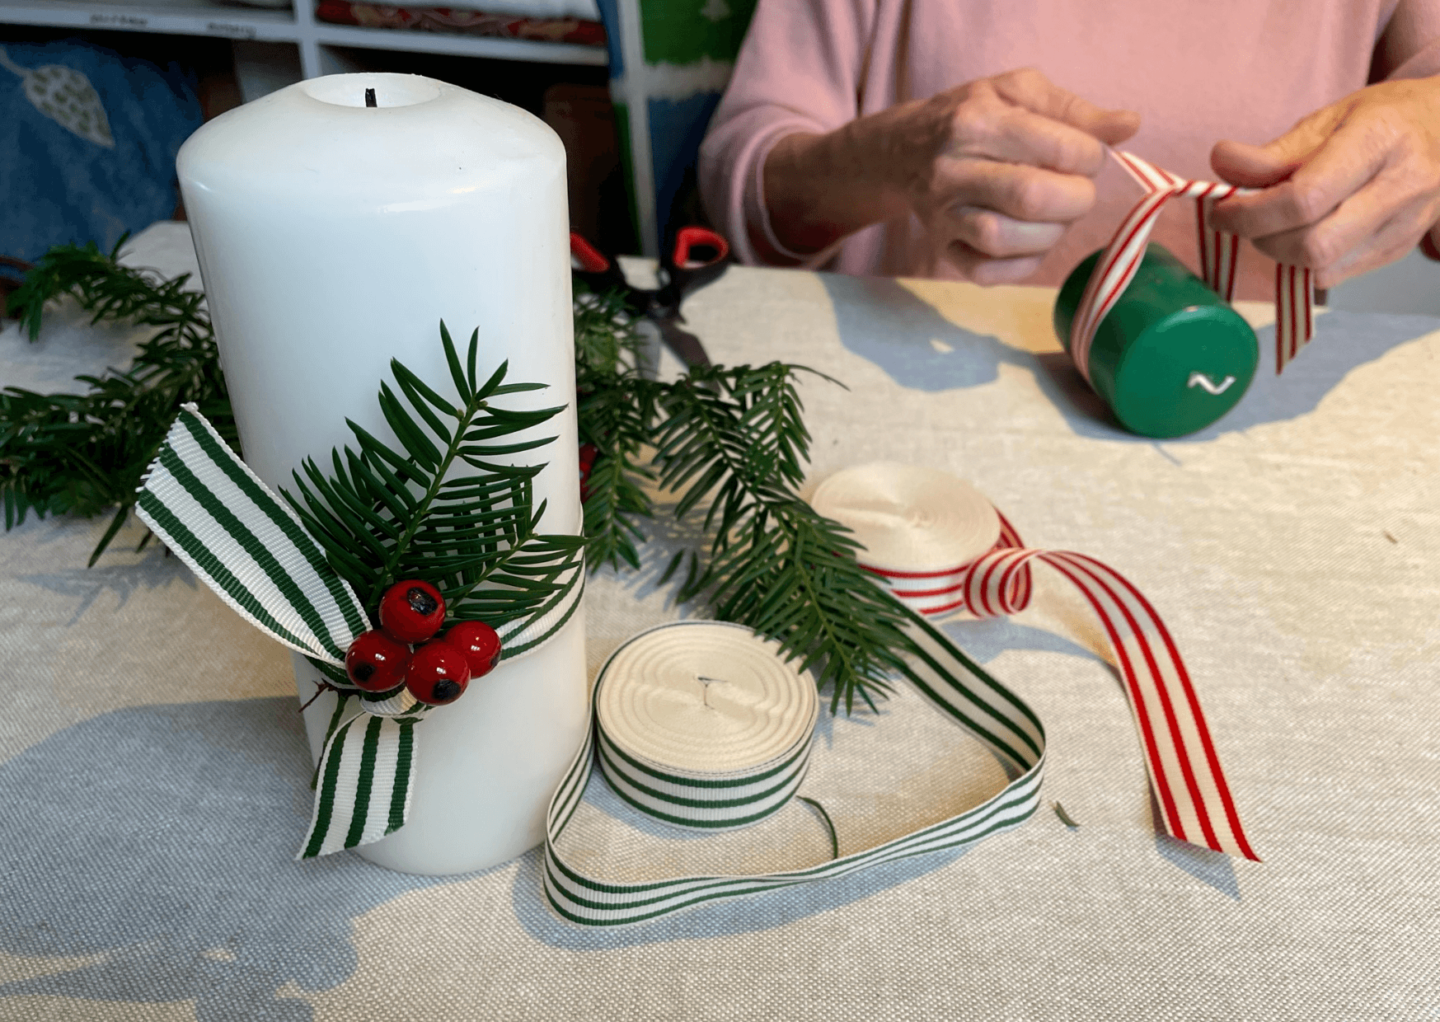
1.) Cut the ribbon. You should cut enough to fit around the circumference of your candle twice.
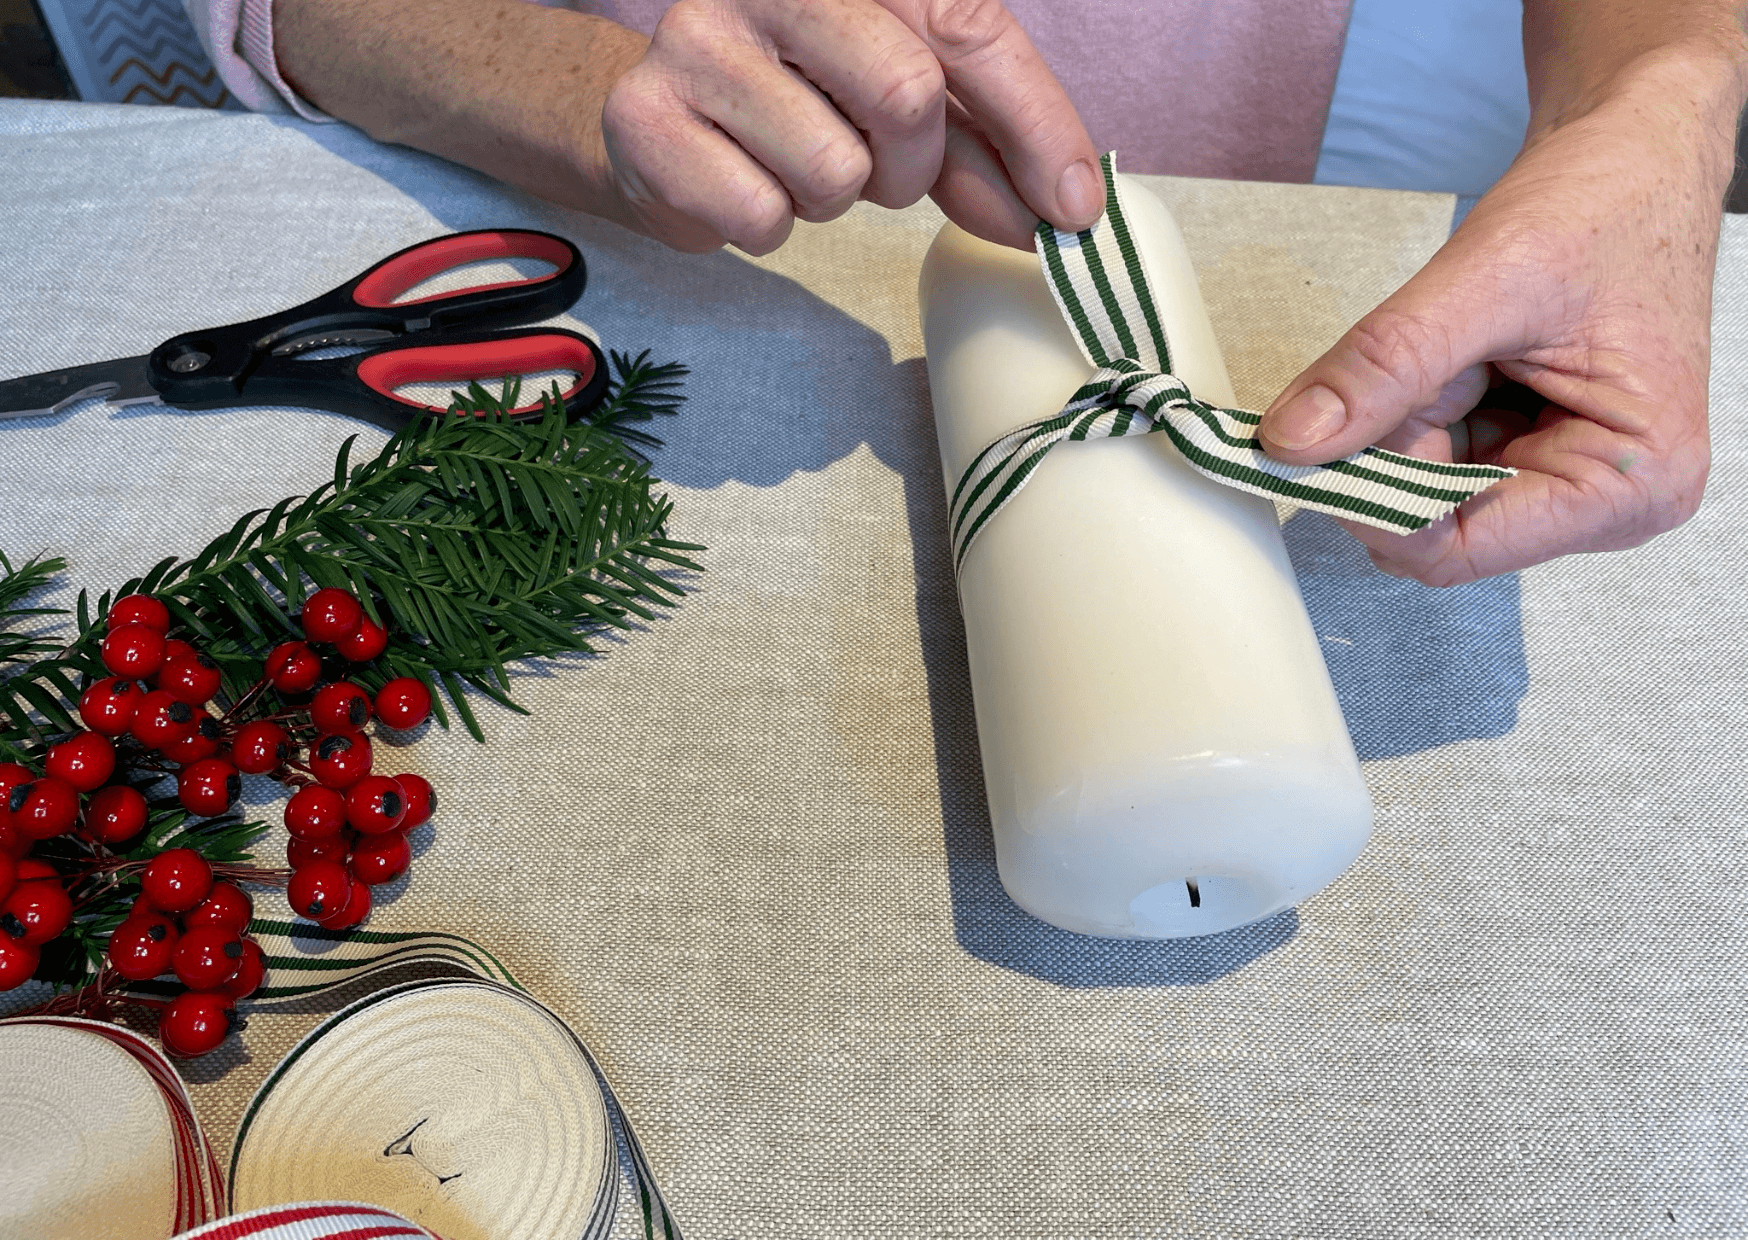
2.) Tie a simple double knot around the centre of the candle.
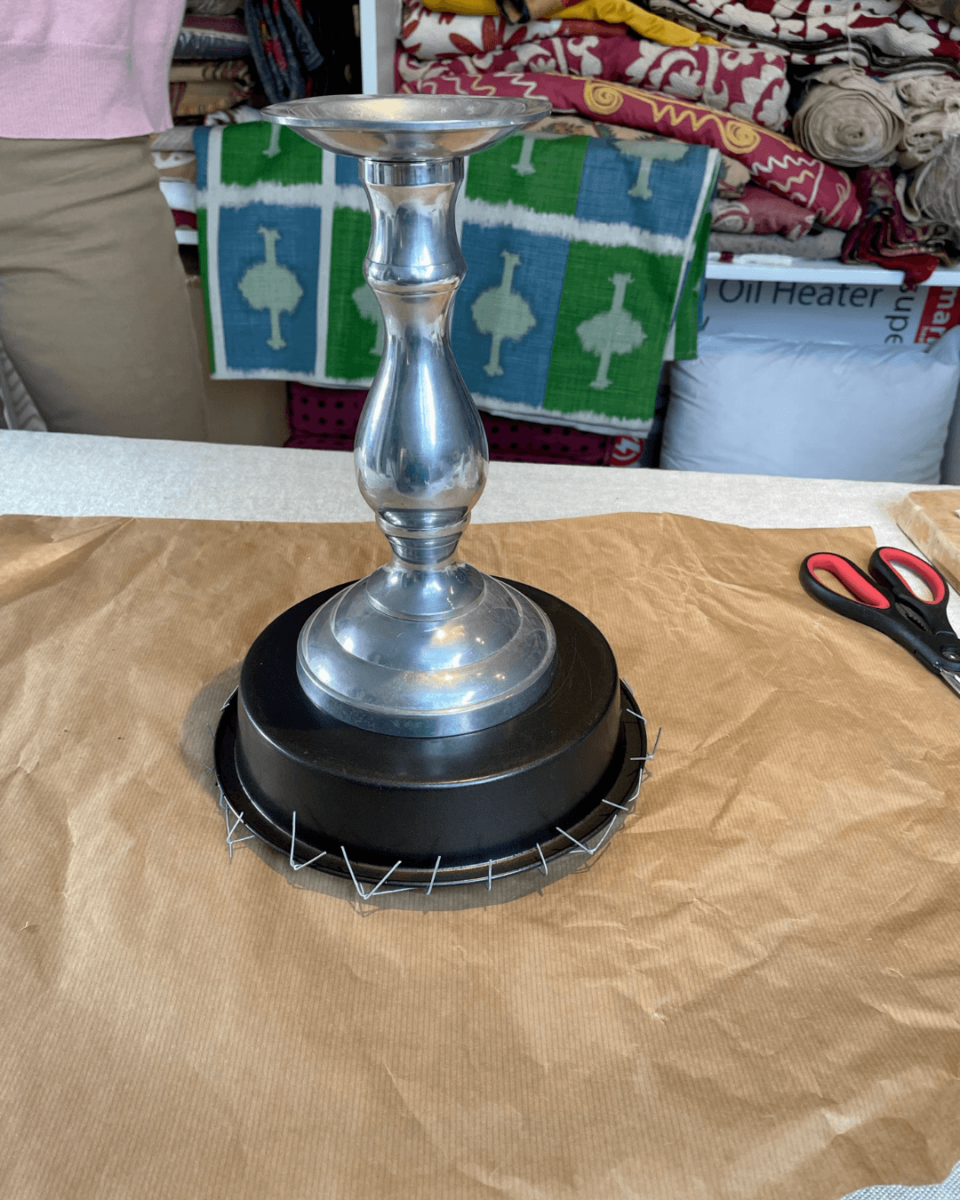
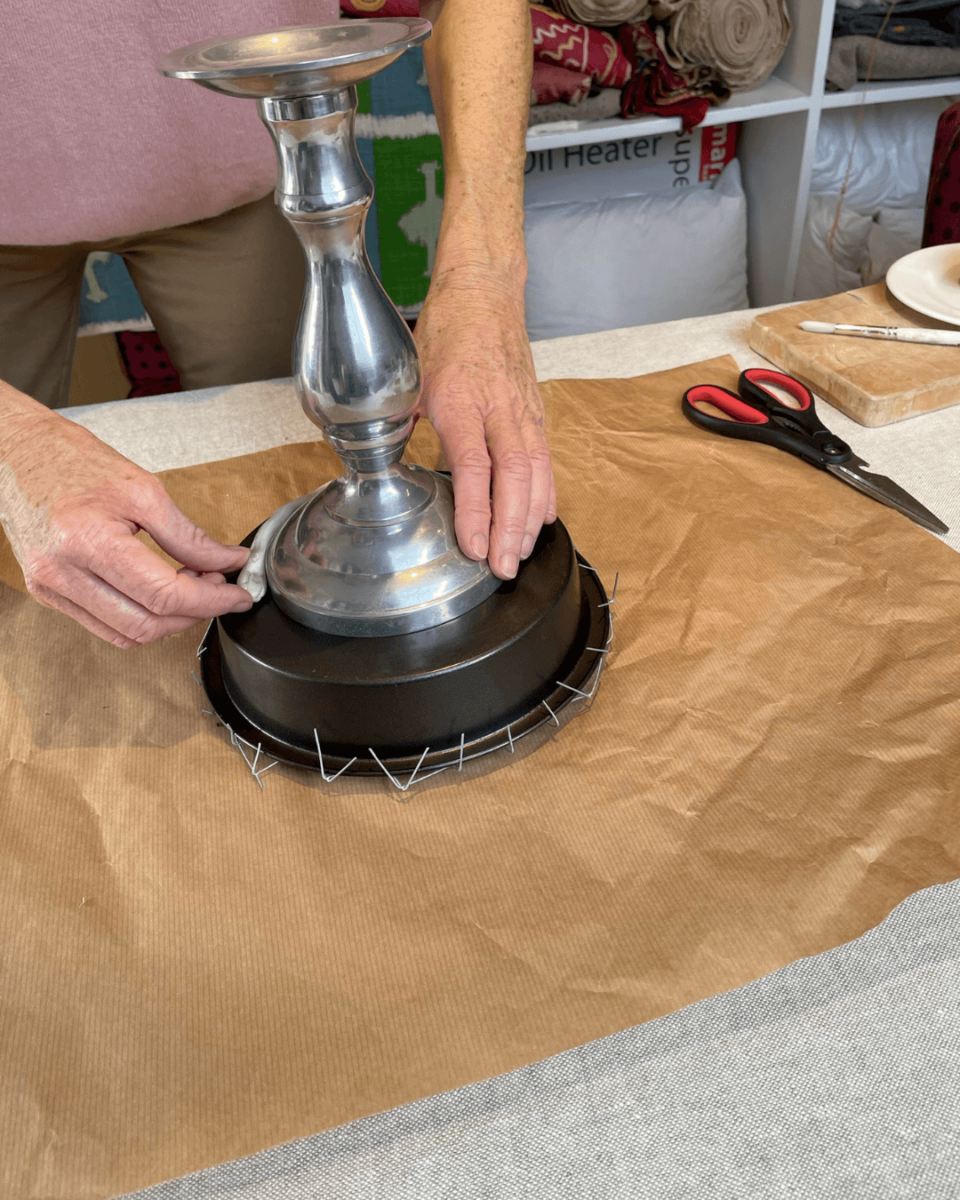
2.) Place your cake tin upside down and place the wider end of your candle stick on the base of the cake tin.
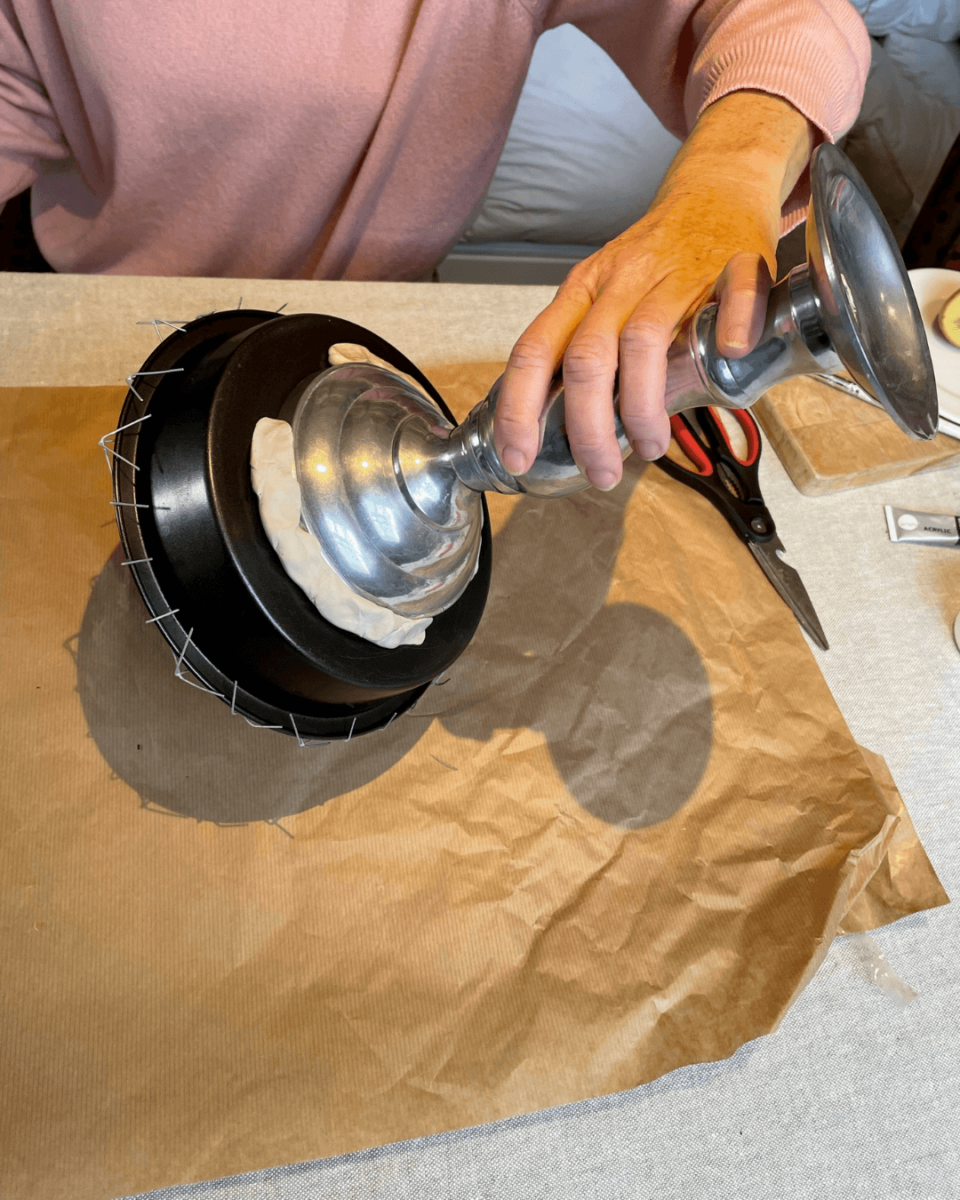
3.) Use your sticky tack to secure the candlestick to the base of the cake tin. It sounds clumsy, but this really does stick!
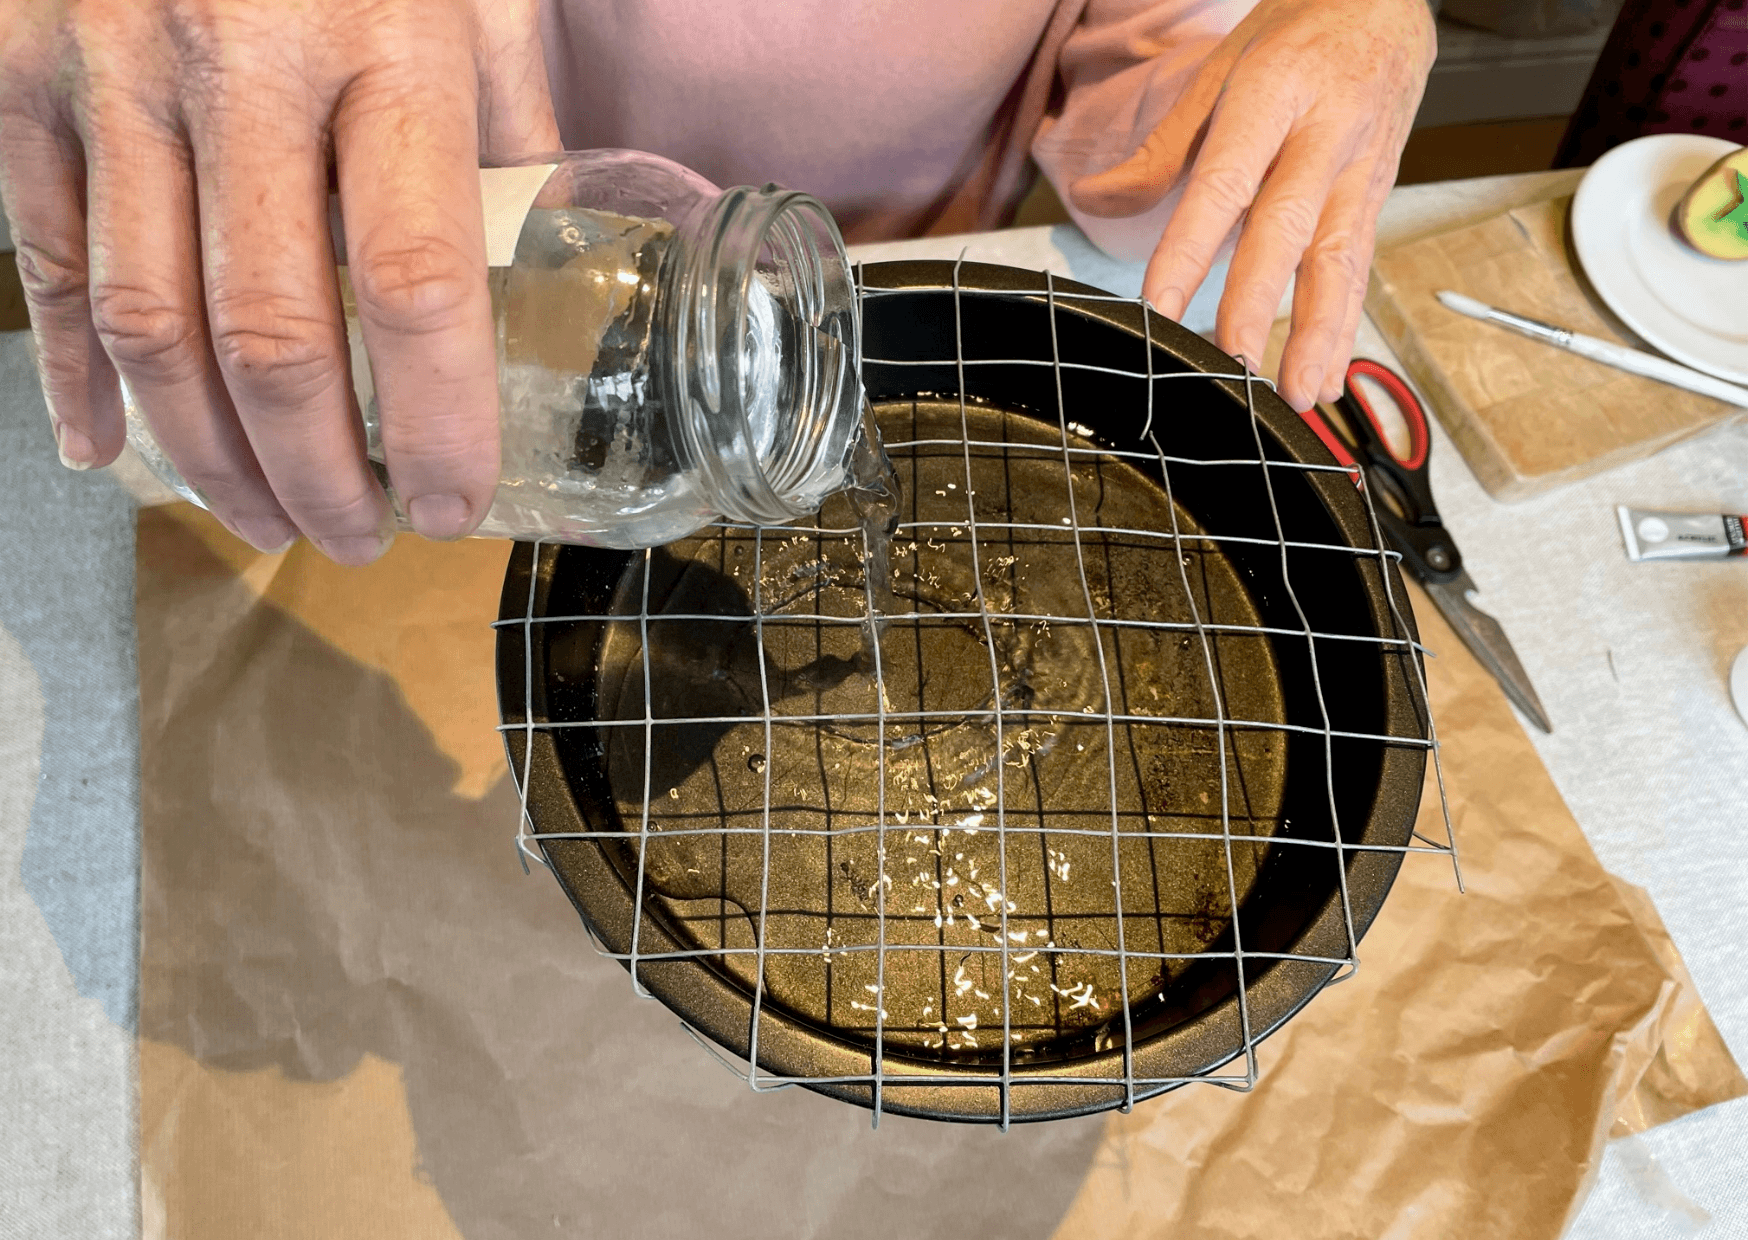
4.) Fill your cake tin with water until it’s halfway full.
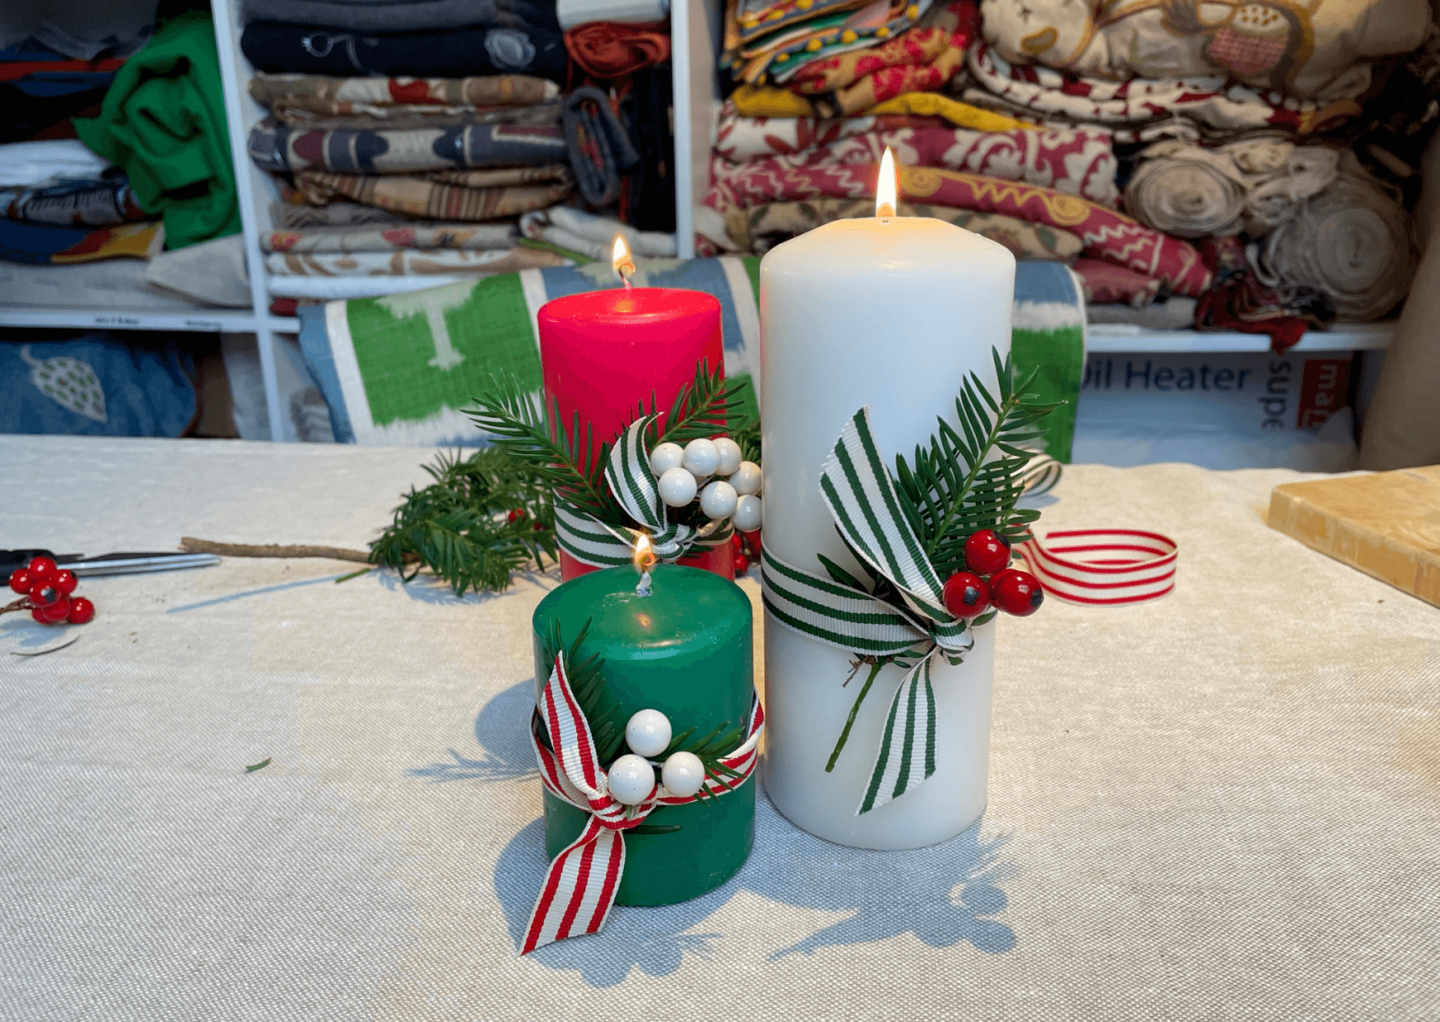
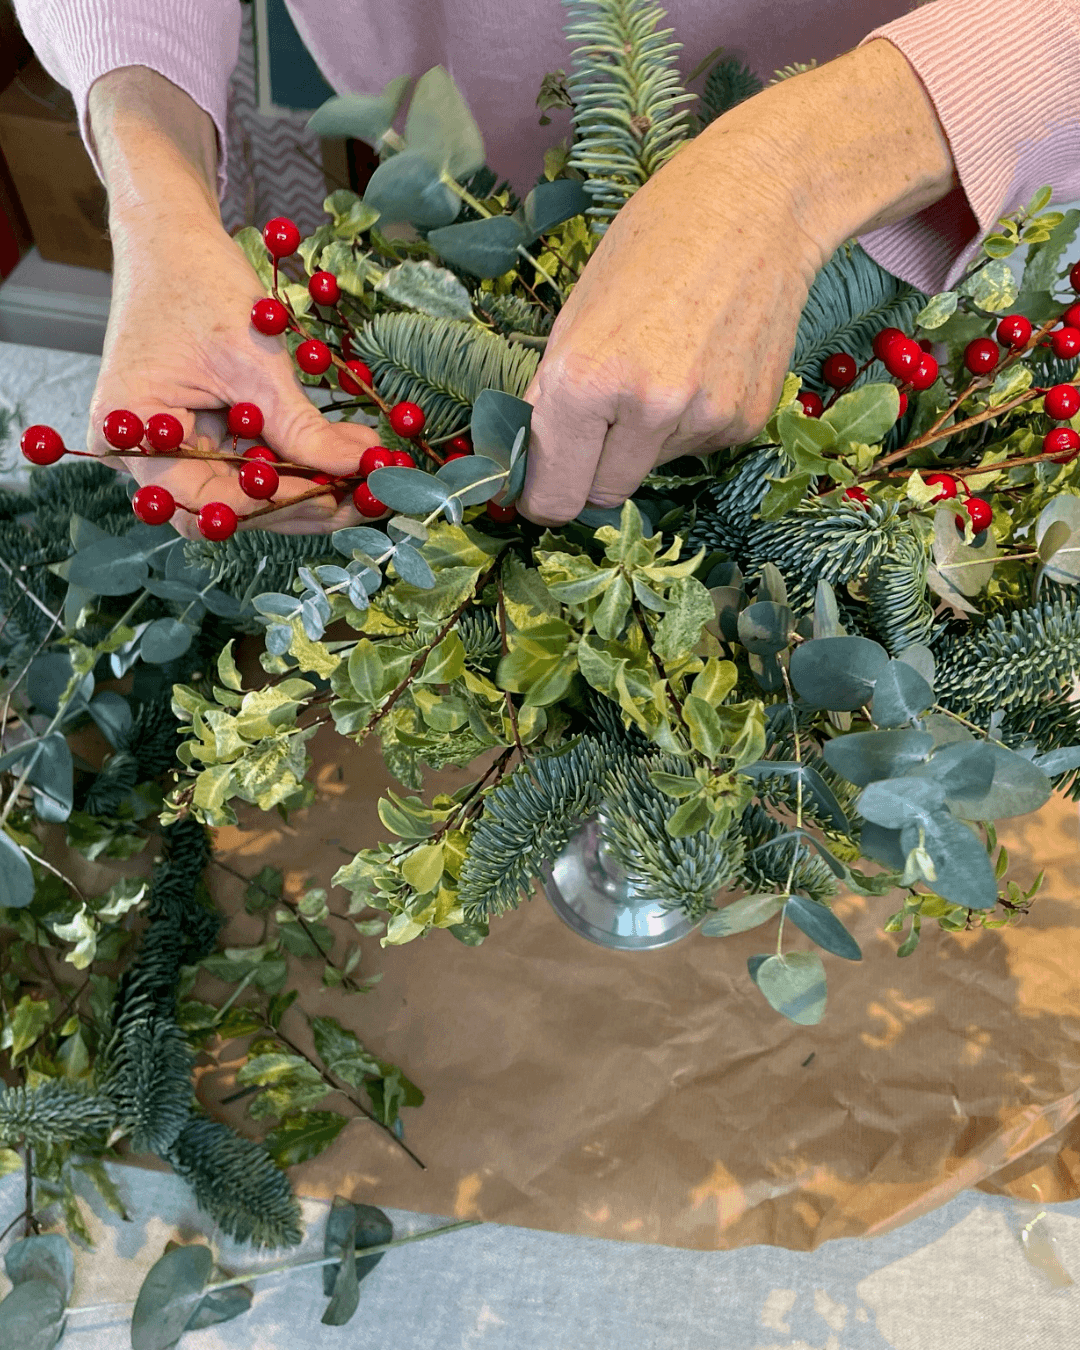
5.) We like to add a splash of colour! To do this you can include decorative items such as berries. They can be artificial or real. Just tuck these behind the ribbon in the same way. Now your candles are complete!
Table Centrepiece
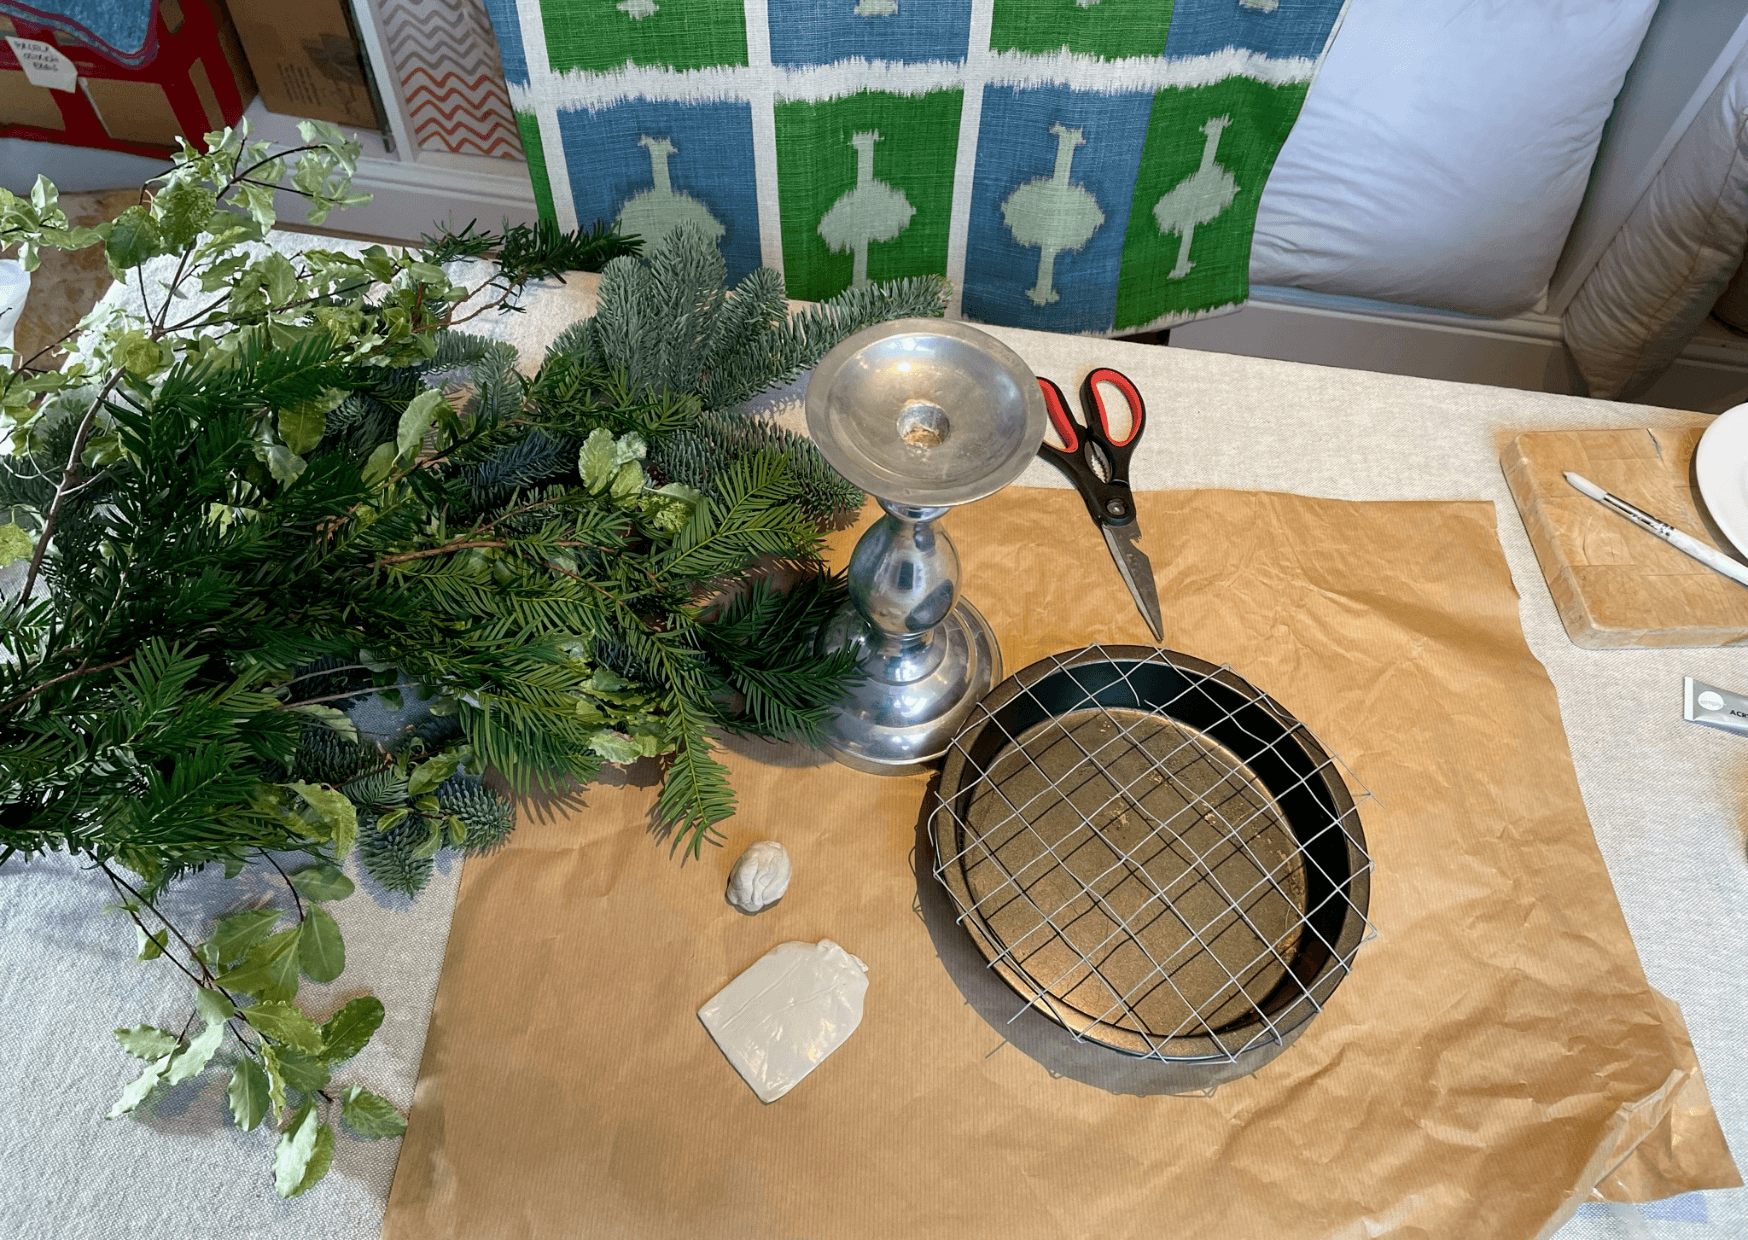
You will need:
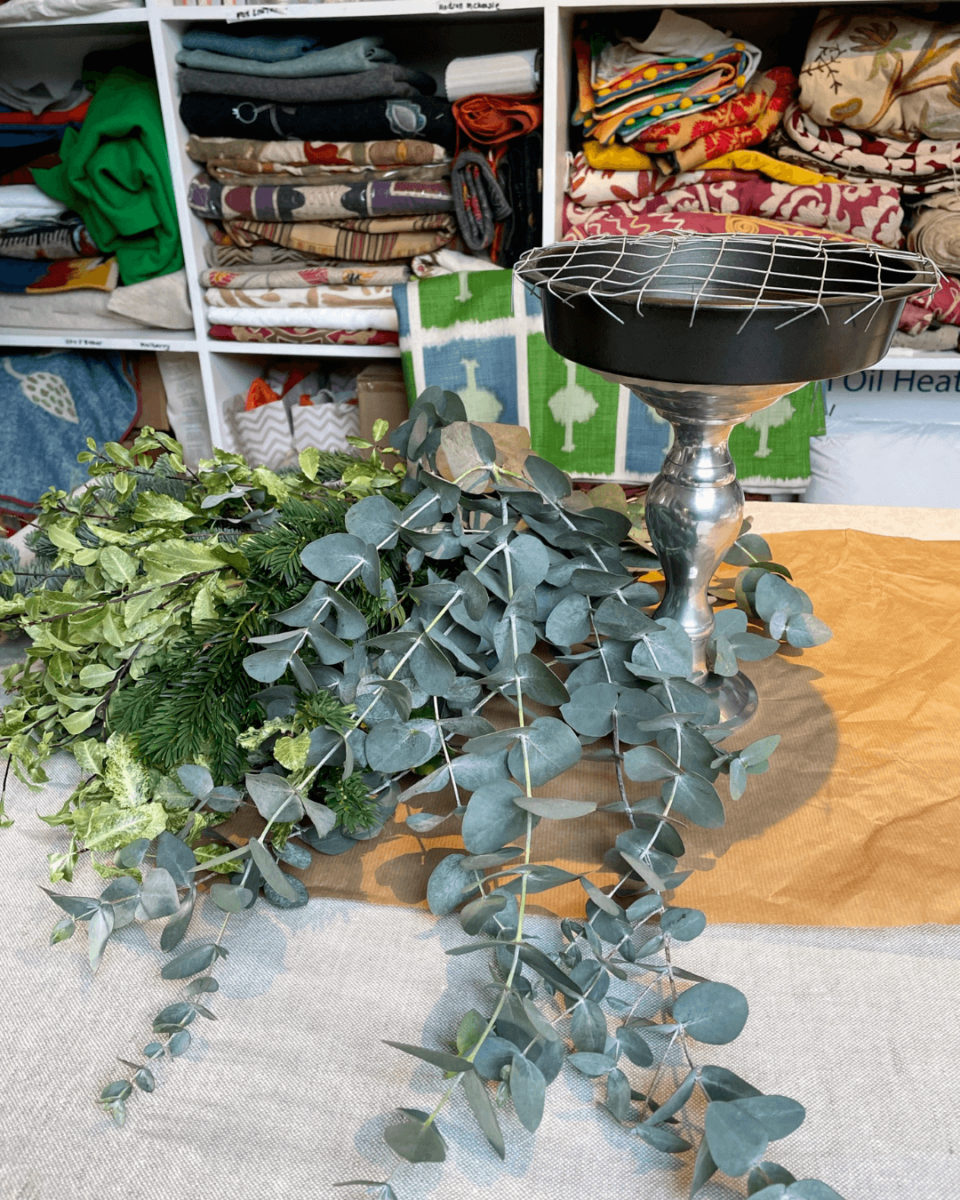
A mixed variety of foliage – we like to use different shades of green and textures
A cake tin
A large candlestick
Chicken wire
Sticky tack
Decorative items such as berries and frosted pine cones – you can use anything you like
1.) Take your cake tin and fold some chicken wire over the top. This will create a mesh which will later hold your foliage in place.
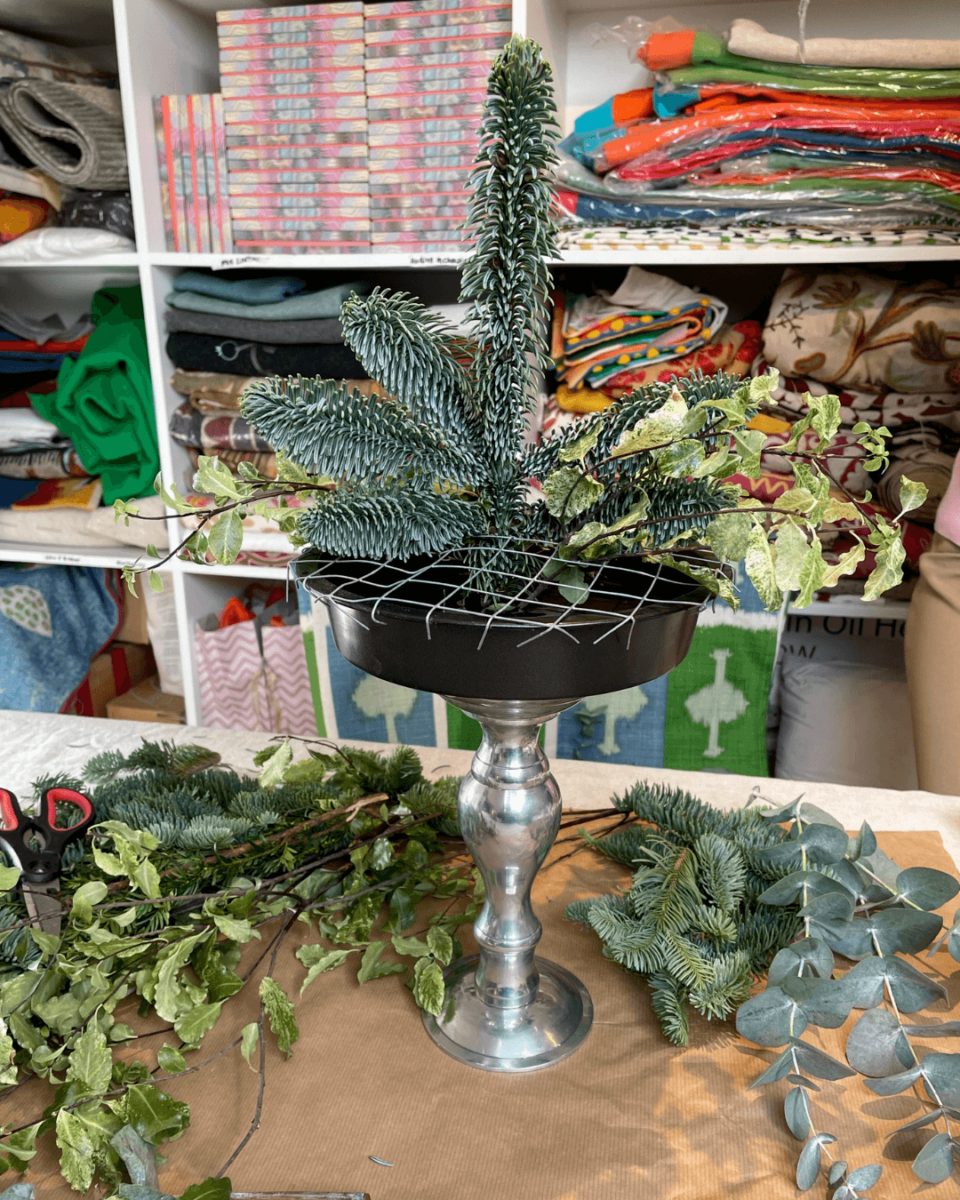
5.) Take your foliage and cut it into neat stems. You ideally want a variety of different lengths to build your centrepiece.
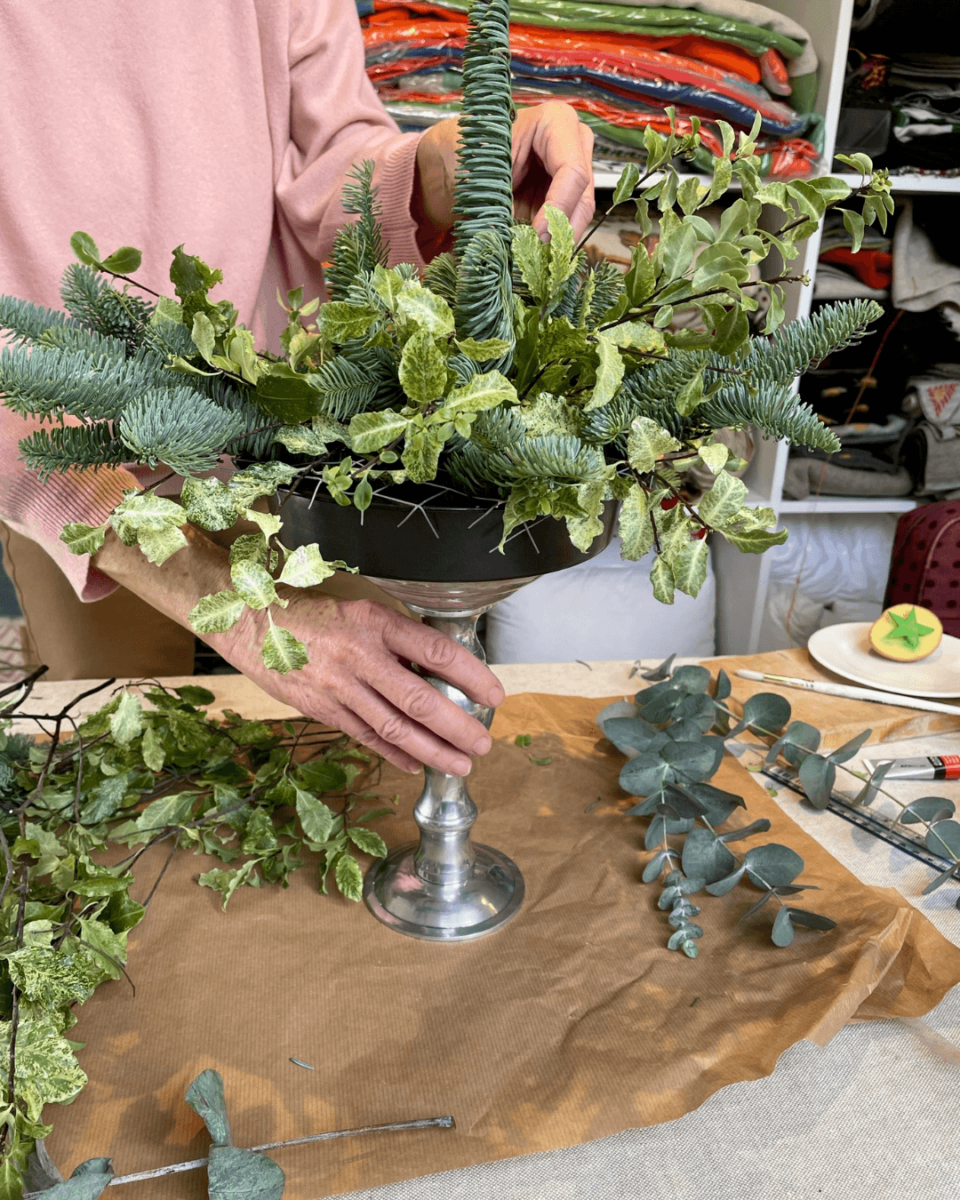
6.) Place the longest stem in the centre of the chicken wire. Now the fun can really begin! Place your remaining stems to surround the longer piece until you’re happy with their arrangements.
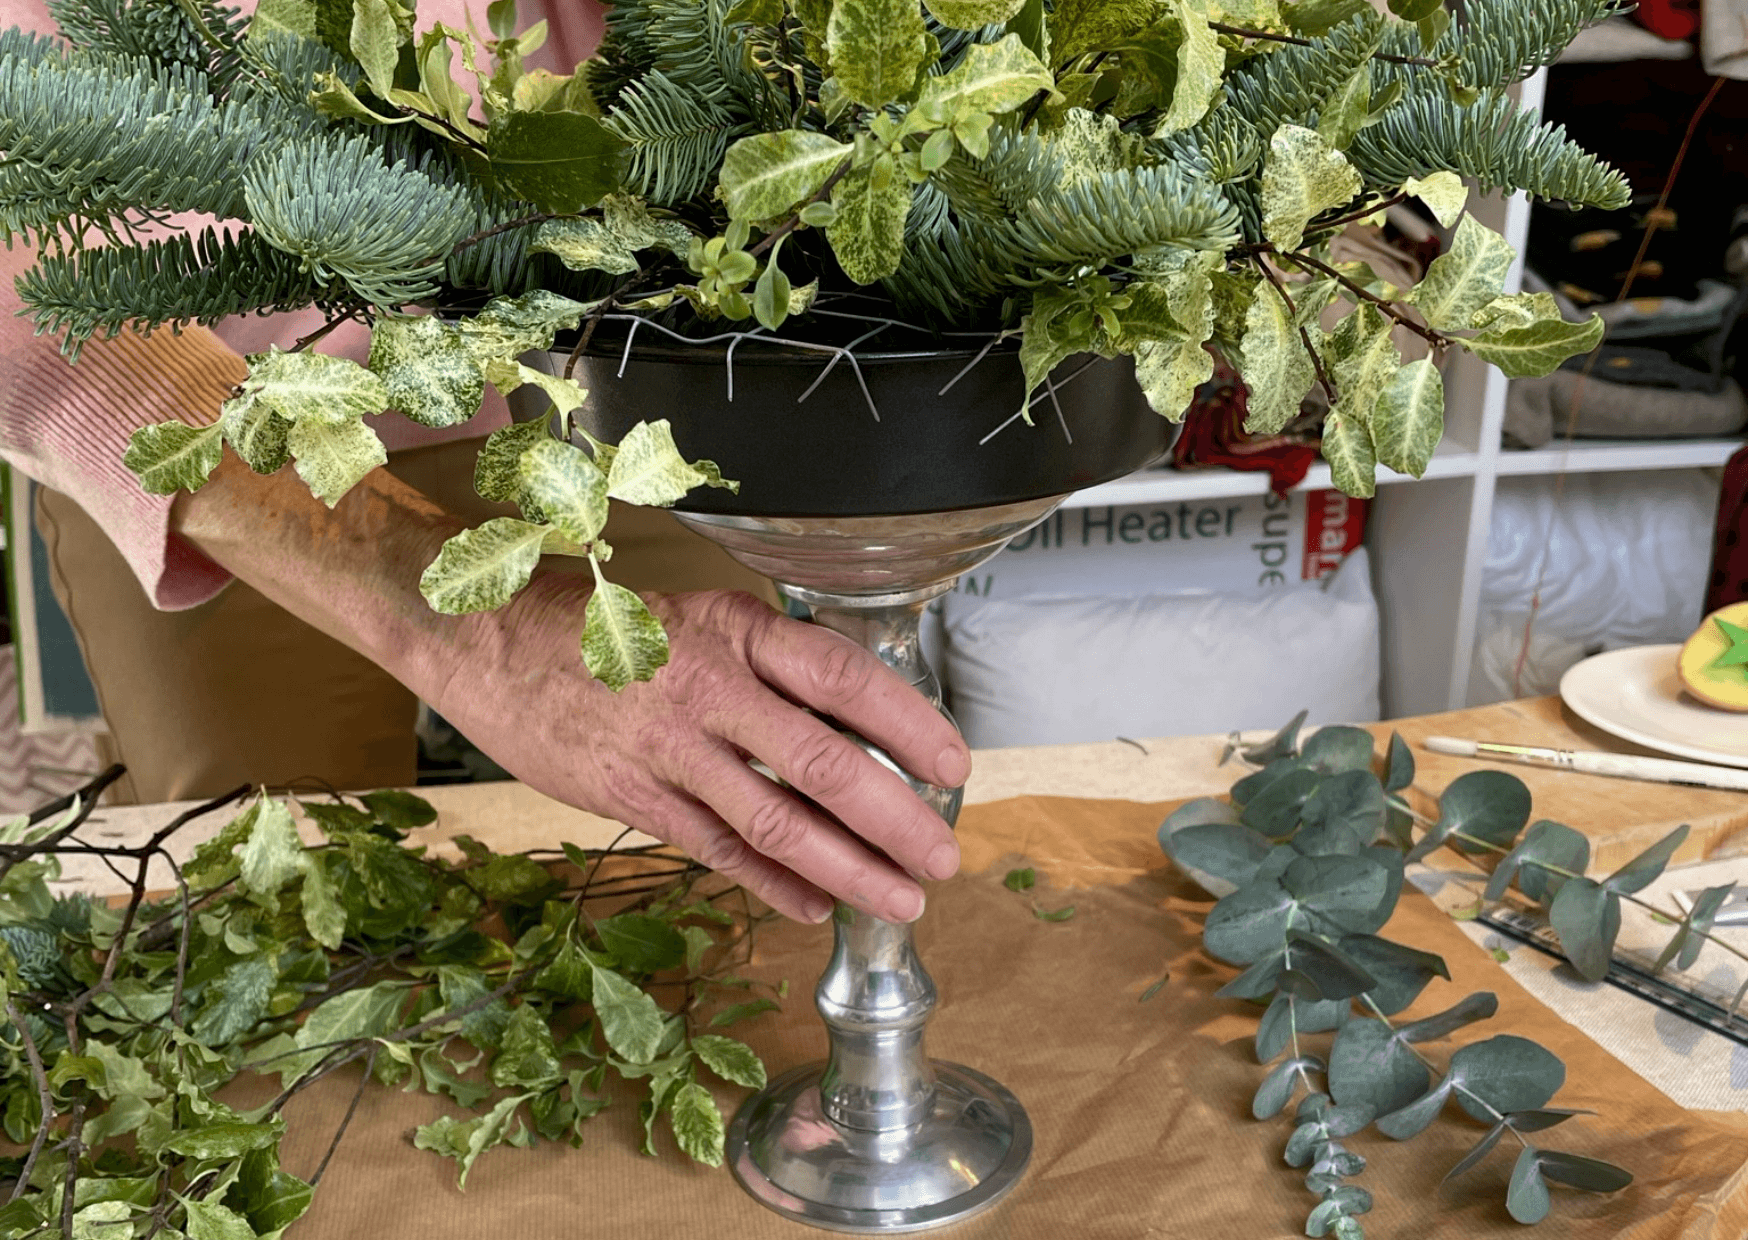
We like to keep our arrangements looking as natural as possible. Whilst doing so, be sure to turn your arrangement and review each angle.
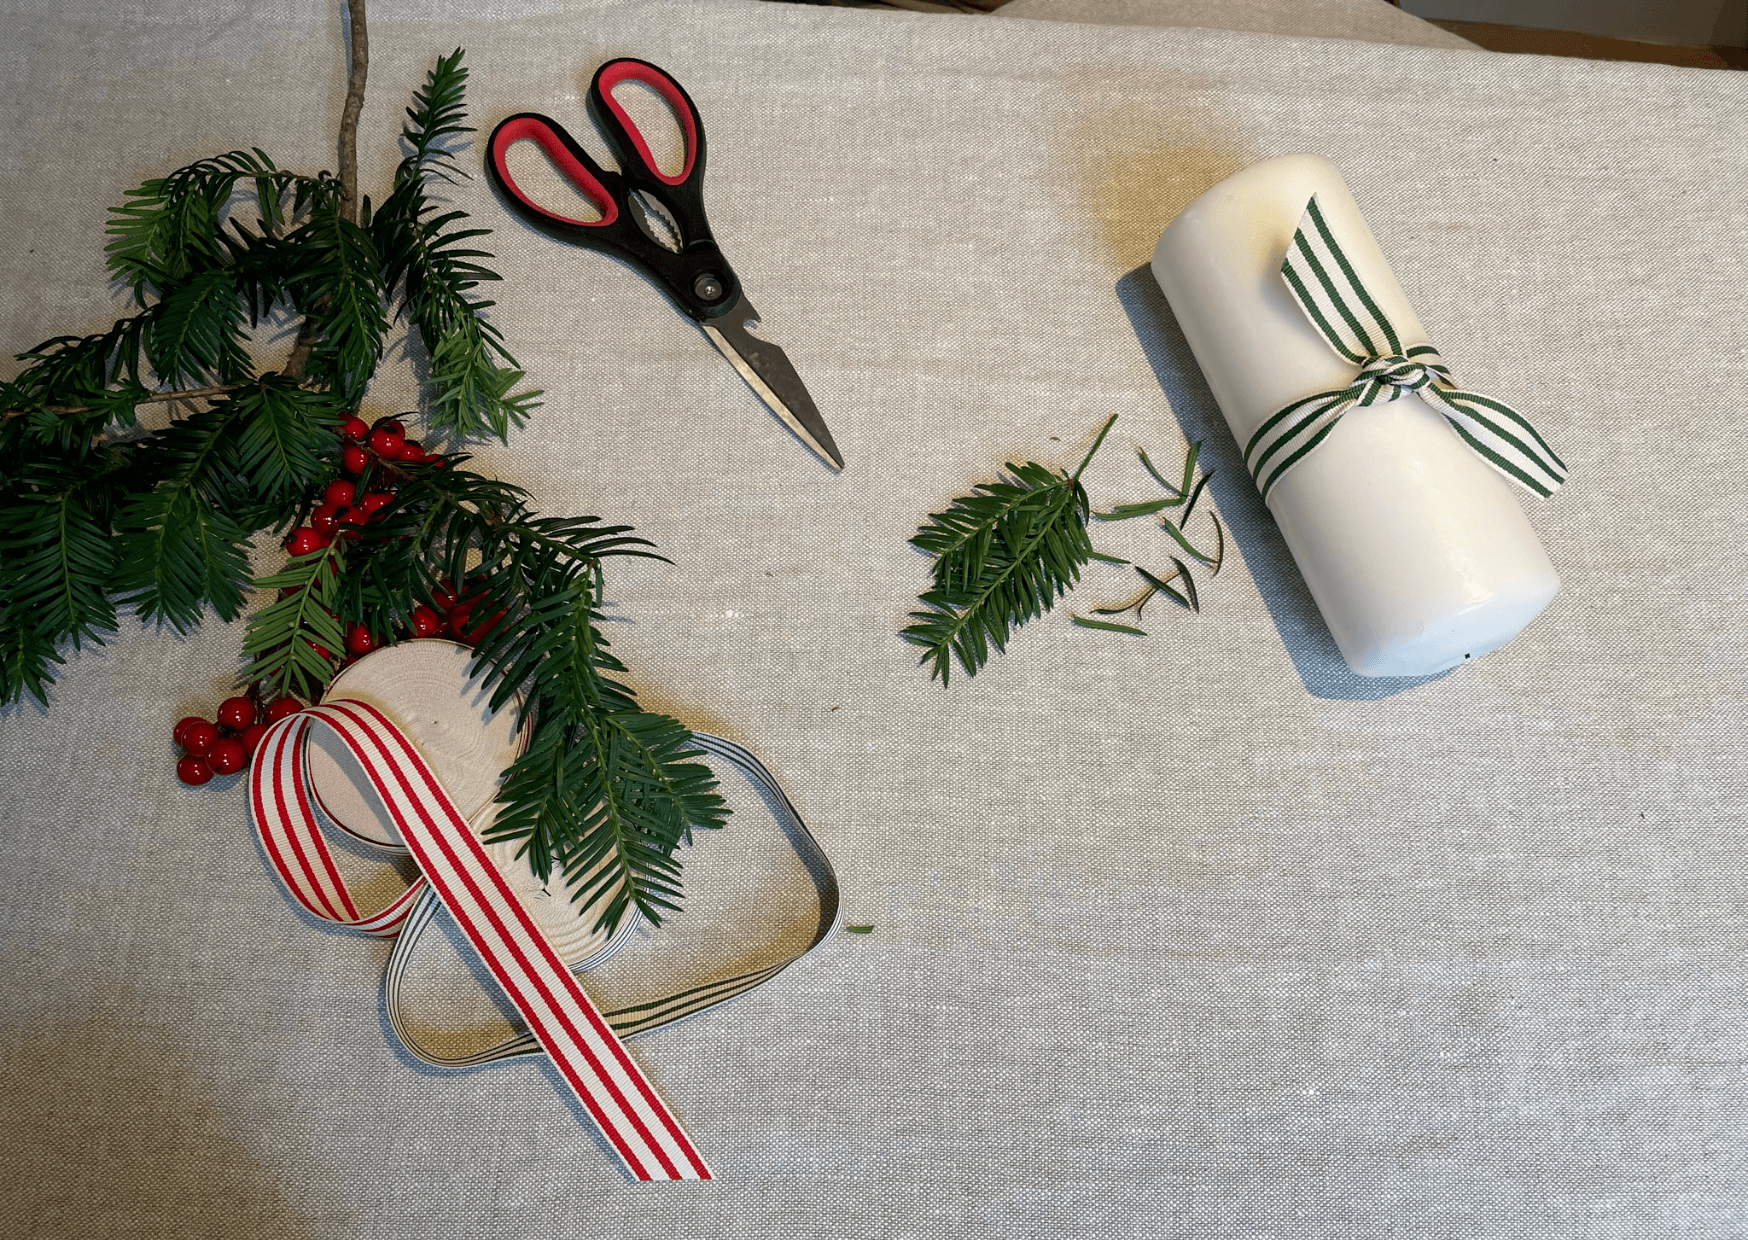
4.) Tuck the stem behind the ribbon.
We hope we’ve inspired you to get creative at home this Christmas. Share your festive tablescape with us on Instagram @KitKempDesignThread
7.) Once you’ve built up your arrangement with foliage, you can include fun touches including frosted pine cones and decorative berries.
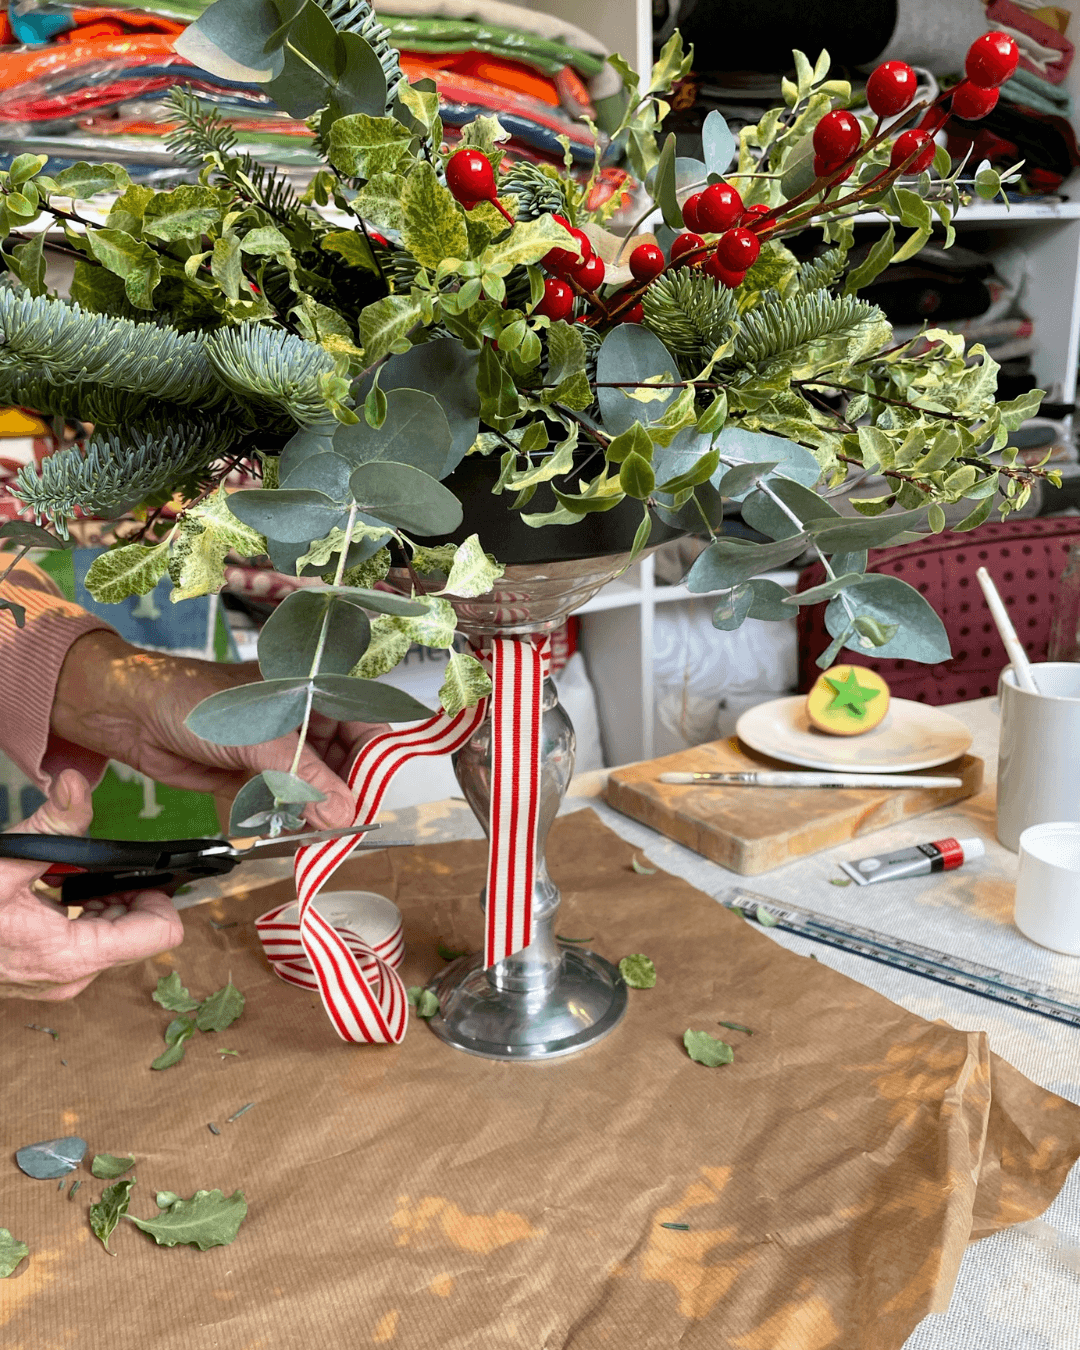
8.) To complete your centrepiece, you can tie a ribbon.
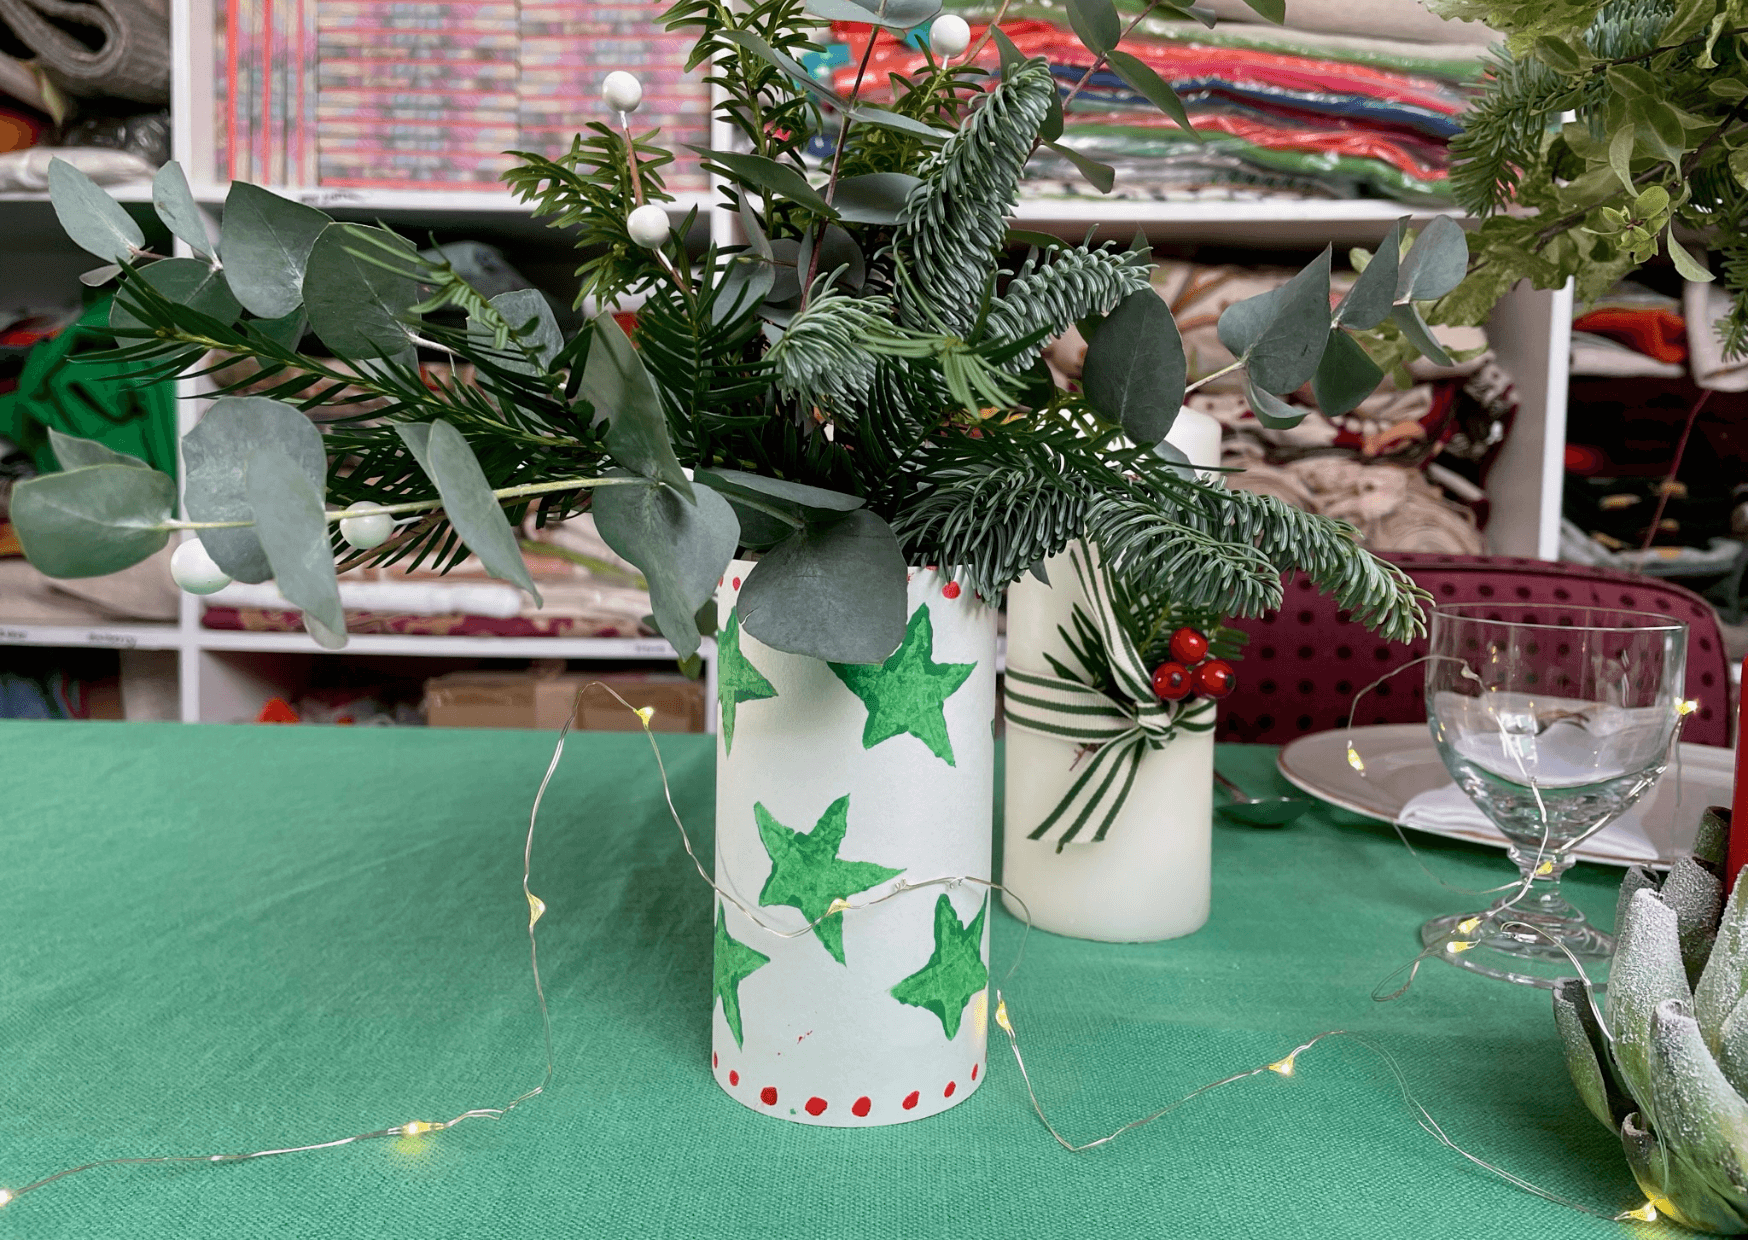
Potato Block Vases
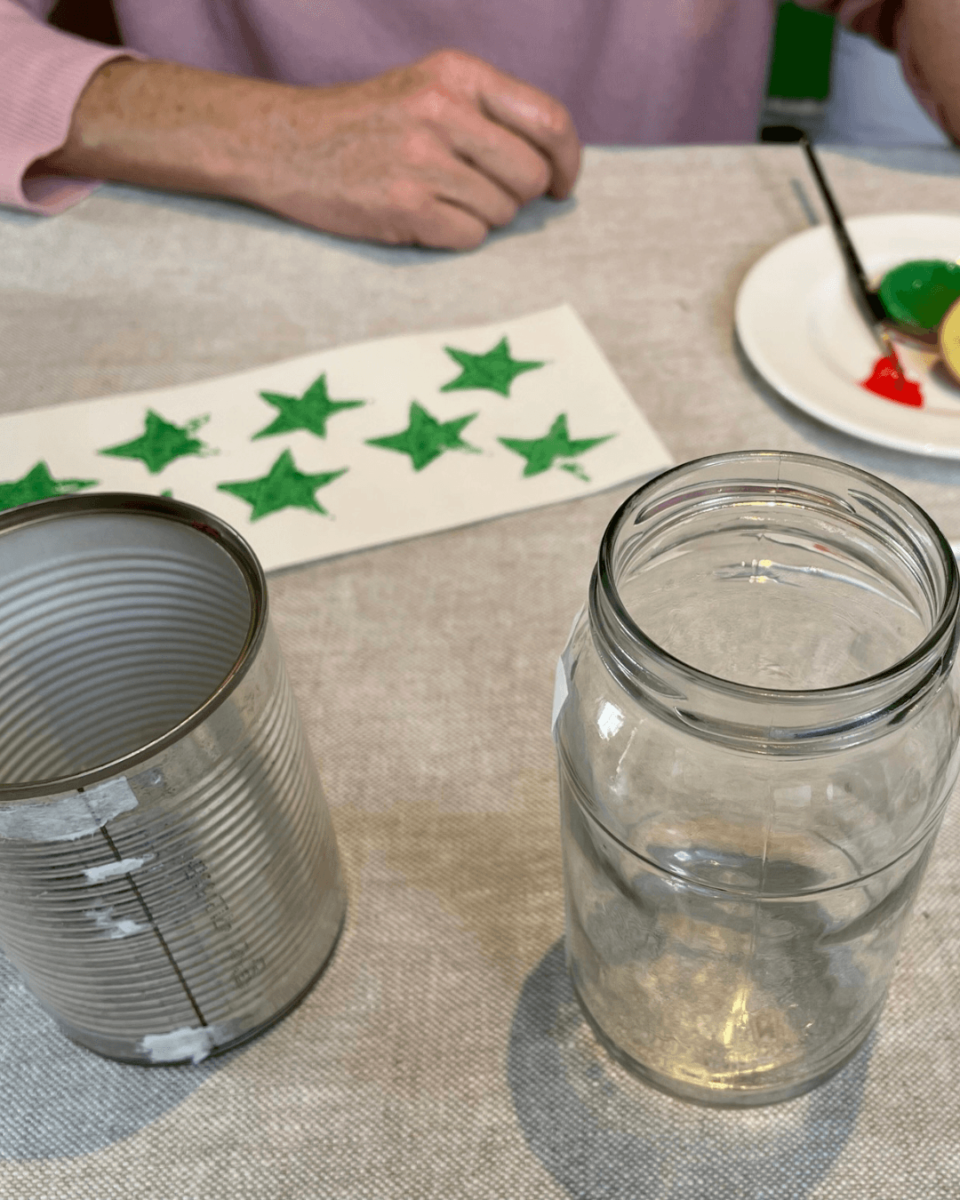
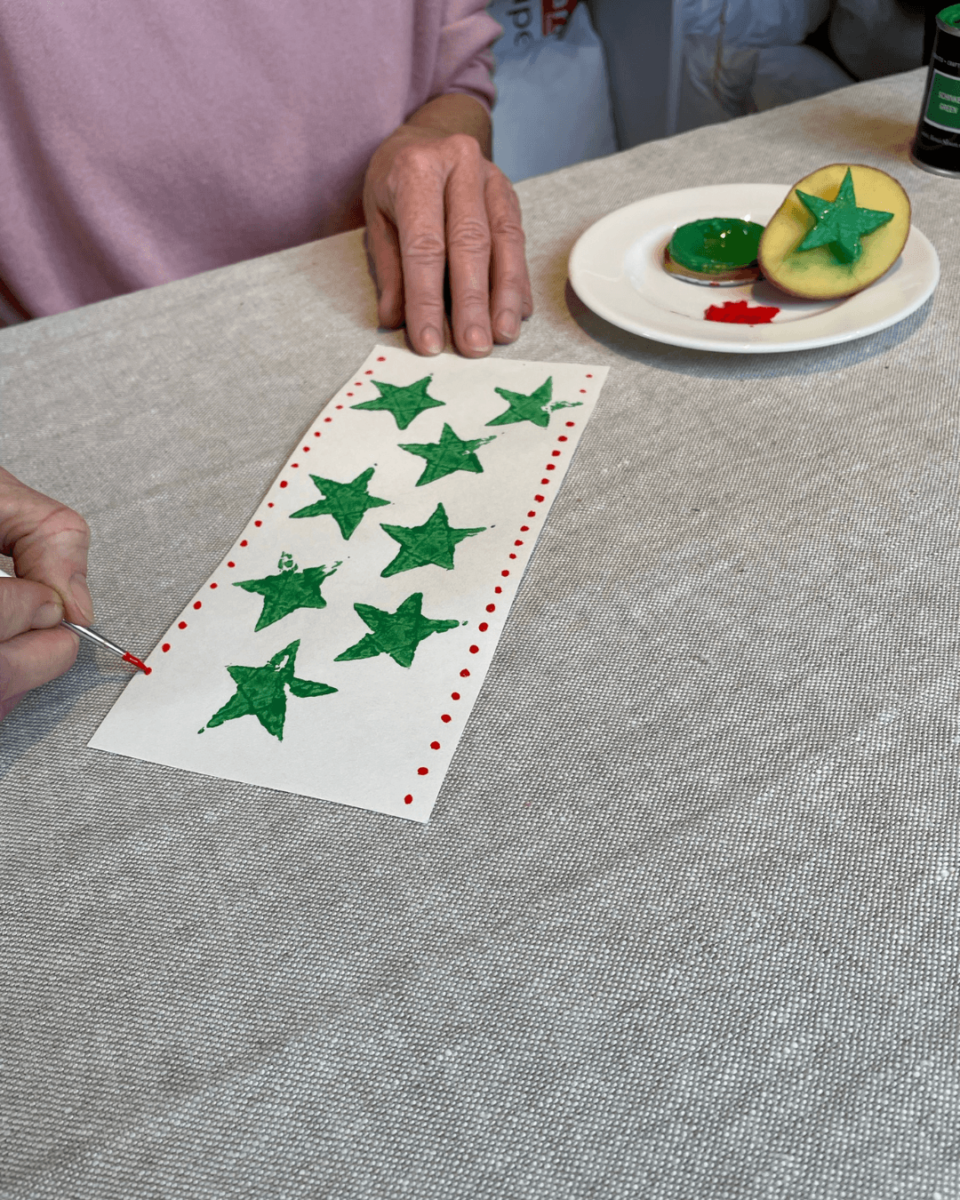
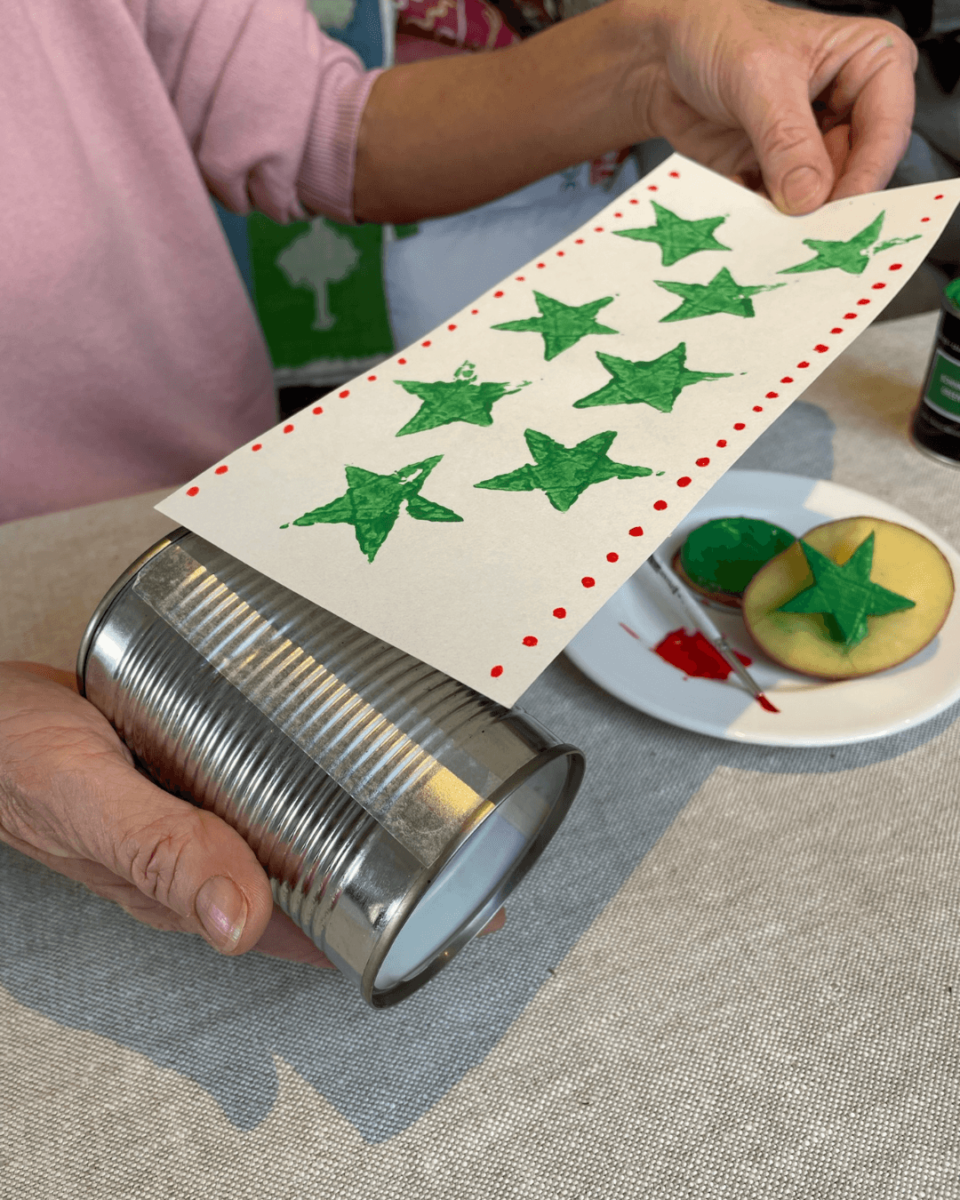
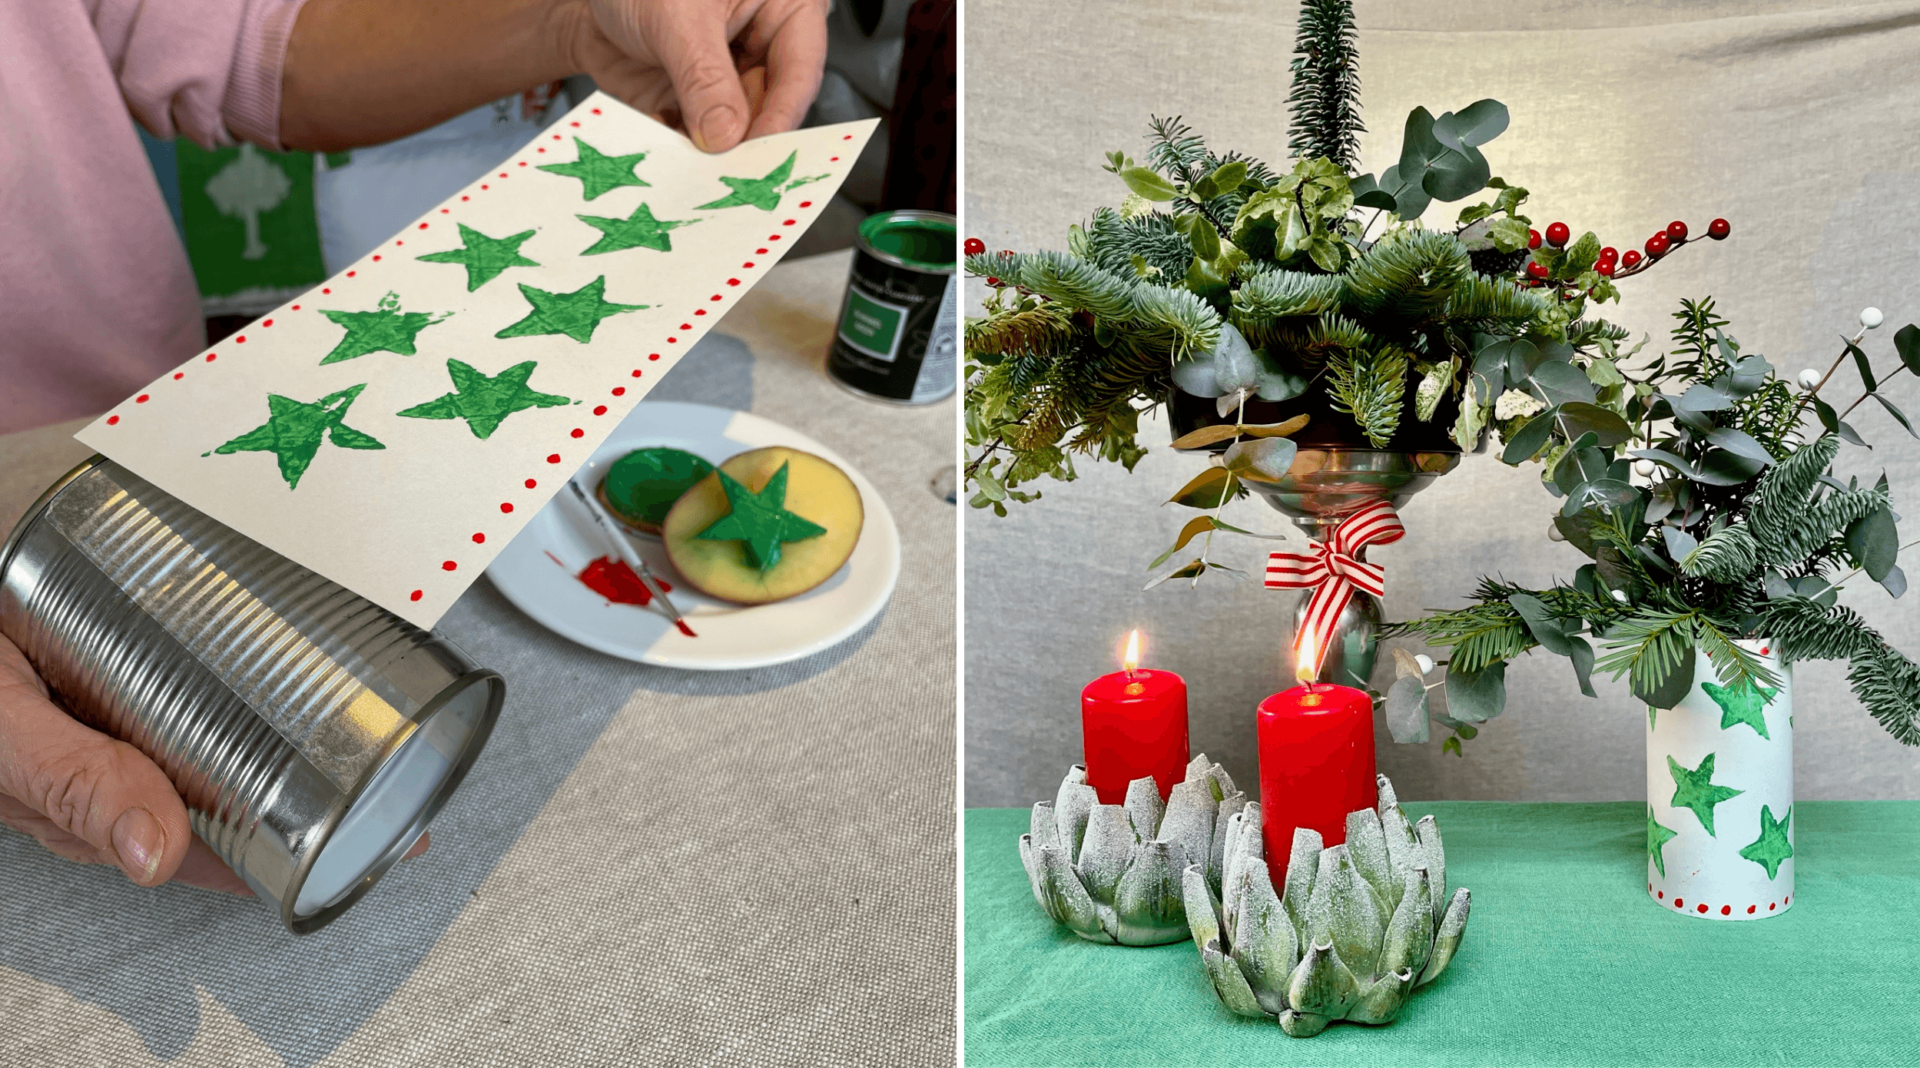
One of our favourite crafts to do at home is potato block printing. For a fun and final touch, we’ve also created our own vases with potato block designs. Here we’ve used an old food tin and jam jar to stick our designs to with double-sided sticky tape. Find our blog Design Threads: Potato Block Printing to learn how.

