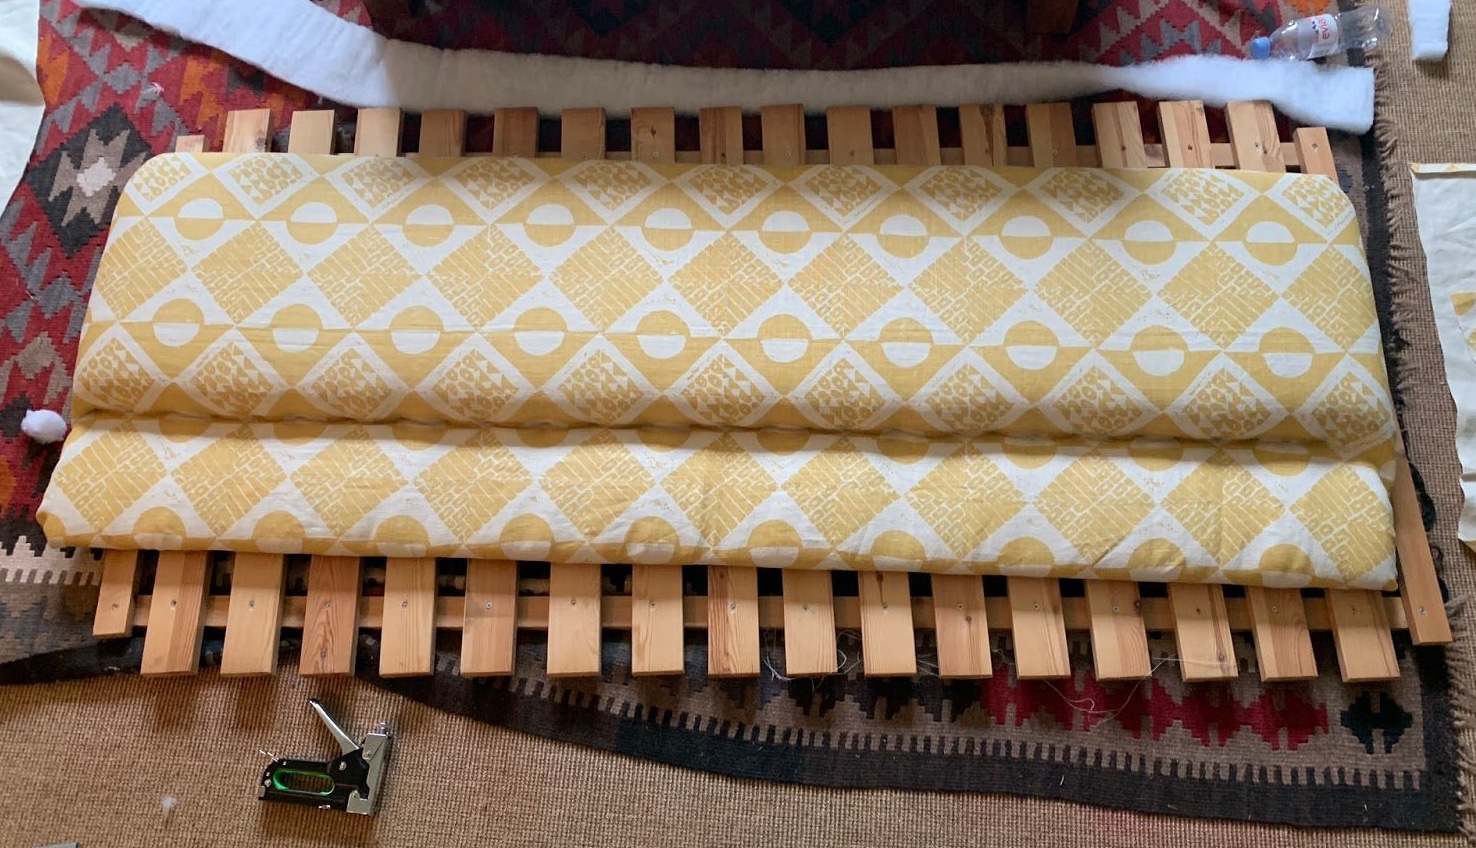
It is no secret that at the Kit Kemp Design Studio, we love headboards! They can command a room scheme, displaying large swathes of fantastic fabrics and have become hallmarks of our bedroom designs.
To fill my time productively during lockdown, I wanted to try and make a headboard for myself. Upholstery has been an enthusiasm of mine for some time as a result of a short course a few years ago.
Modern upholstery uses materials like foam and wadding, as opposed to the traditional methods, which require horse hair and stitching. I was able to get in touch with a few professional upholsterers before starting, asking tips and advice on the best suppliers and techniques and here’s what I learnt.
Tools and materials:
– Plywood – I ordered one large sheet of Plywood and cut it to the correct size
– Fabric – enough to cover each edge of your plywood shape by 10 cm
– Foam – I pre-ordered the foam from a supplier I found on google. It is a good idea to ensure the foam slightly overlaps the wood so you can create nice curved edges.
– Wadding – enough to wrap around the foam and plywood
– Spray Adhesive
– Staple Gun
– Tape Measure
– Fire-retardant fabric
The first step is to take the measurements. I was making a headboard for a peculiar shaped room, where the bed sits under the window.
The wooden board should sit in line with the bottom of the mattress, up to the required height, however the foam should start at the top of the mattress and continue to the height of the wooden board. Having said this, I like to add 1cm all around so the foam is slightly bigger than the wood, giving you the opportunity to create nicely rounded, soft edges. Cut your chosen fabric to size, ensuring you have 10 cms extra, so the fabric can reach round and be stapled to the back of the board.
Now you should have all of the elements you need to get started, I like finding a clean and clear space to lay everything out.
Place the wooden board down on a flat surface. Take your spray adhesive and spray 3 coats onto the foam, leaving for 15 – 30 seconds to dry before sticking the two together. Place the foam lightly on the board in the required position, once you are confident that it is right, push from the inside outwards, pressing the foam securely onto the wooden base.
Once the wadding is all secured with staples approximately 2cm apart, the fabric can be added, this is the fun part – now you’ll see your headboard come alive!
When we upholster our headboards for the hotels, we always add a fire-proof barrier cloth between the wadding and the outer textile as an extra safety precaution.
If your fabric has a pattern repeat that needs to be kept straight, place the fabric in position and start stapling one side then the other. This helps to keep everything in line and looking smart. Tension is important, you don’t want to end up with excess fabric, so pull the fabric firmly and evenly. Corners are tricky and I had to do a bit of creative thinking when it came to this particular part. Nevertheless, that’s what we love about doing things ourselves and a little snip and neat fold did the trick.
The next step is to use the wadding to create a softer shape, therefore place the wadding over the foam and turn the board over so you can start stapling the wadding to the back. To create equal tension all round, I would suggest stapling one side and then the other. Don’t be afraid to pull the wadding tight to create those round edges.
The end product was really quite exciting and I loved seeing it take shape! I highly recommend you give it a go at home. It is a task that does require a little space and potentially some man power at times, but all this hard work is definitely worth it!
Please do send us some of your own creations on Instagram using #designthreads and tag @kitkempdesignthread. We can’t wait to see what you get up to.
Weekly Book Recommendation from Much Ado Books
Elizabeth Gilbert brings us to New York City of the 1930s and 40s in this sparkling show-biz-inflected novel.
Vivian is a country girl when events conspire to land her in New York City, where her aunt runs a decrepit theatre. Her adventures, mistakes, growing friendships and hard-won success make a page-turning excuse for a portrait of the city before and during the Second World War.


