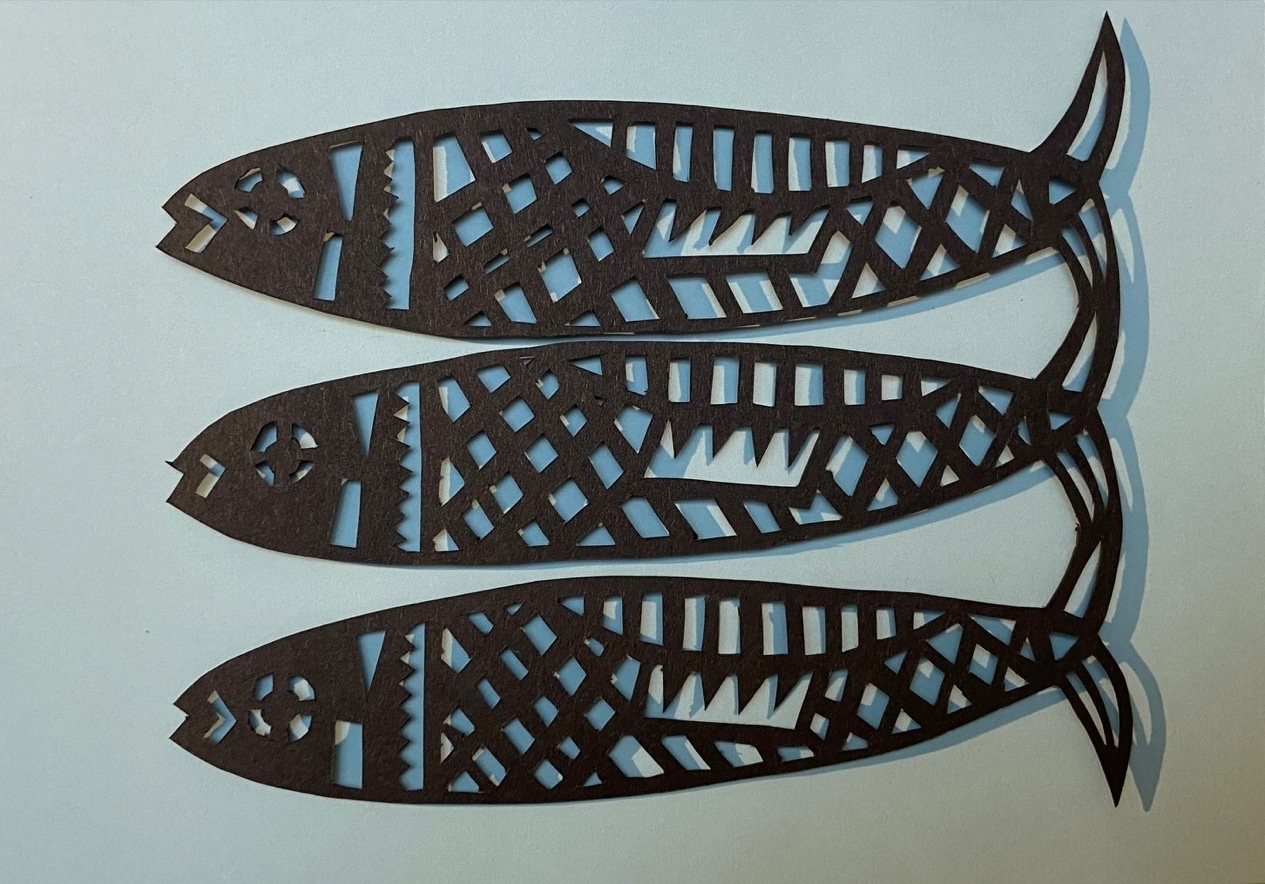
This week, to keep us busy during lockdown round two, we were inspired by the illustrator and specialist paper-cut artist Poppy Chancellor.
Paper-cutting is a simple concept but the end result is so effective, as seen in her graphic and often humorous creations. We decided to try our hand at paper-cutting at home in isolation and we hope you feel inspired to do the same! Please tag us using #designthreads for us to share your creations.
Paper-cutting is a perfect home activity as minimal equipment is required. Here is our step by step guide. For a more in depth guide Poppy has published a wonderful craft book called ‘Cut It Out!’ which has everything you need to know and more including 30 designs that you can cut out and use yourself.
You will need:
– Cutting Mat
– Scalpel
– Paper (preferably 160-180gms card)
– Adhesive Foam Mounts
– Pencil
Step 1:
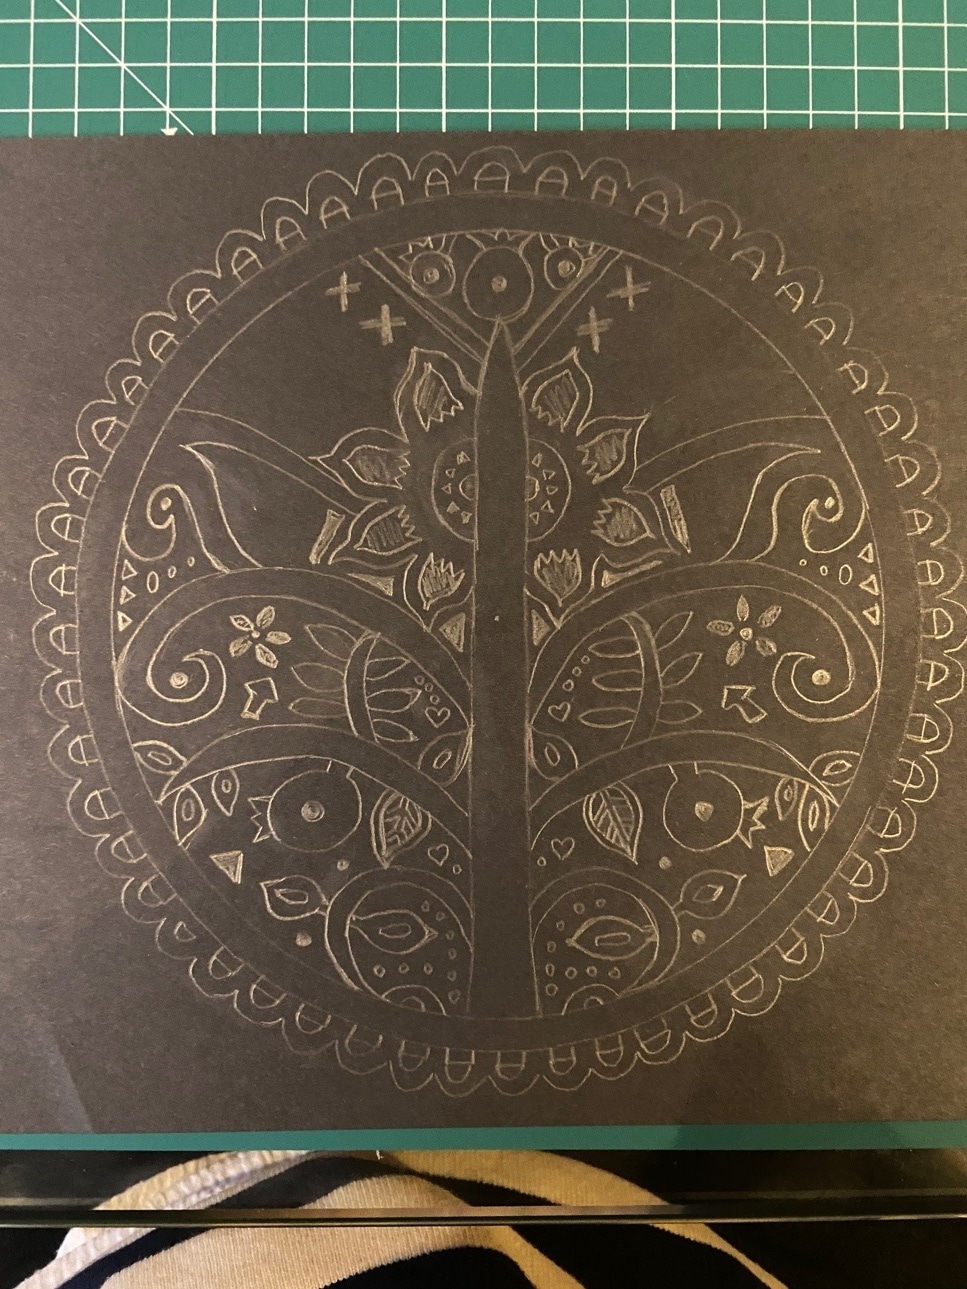
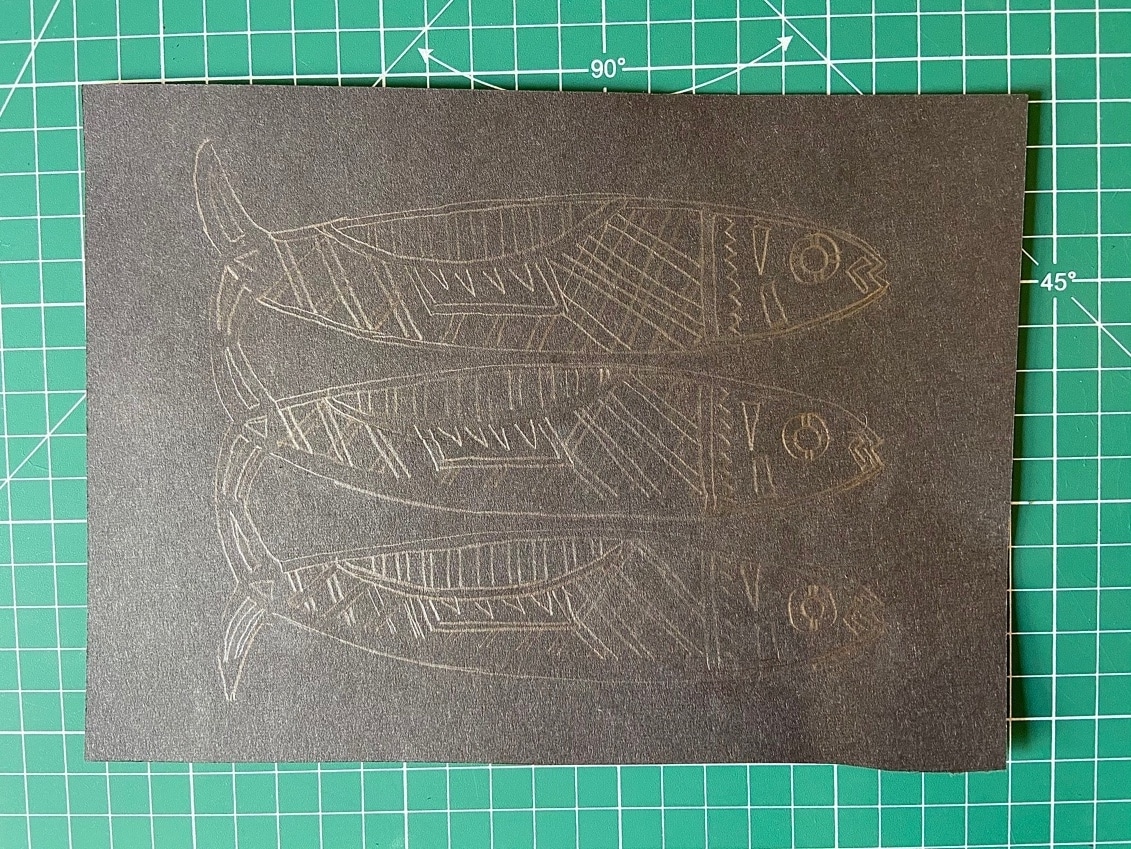
Choose your design. This can be something hand drawn or if you are not feeling too confident with a pencil, you could pick a favourite artwork to inspire your design. For our paper-cut, we took inspiration from Folk Art motifs and nature, including trees, flowers, leaves and pomegranates.
Step 3:
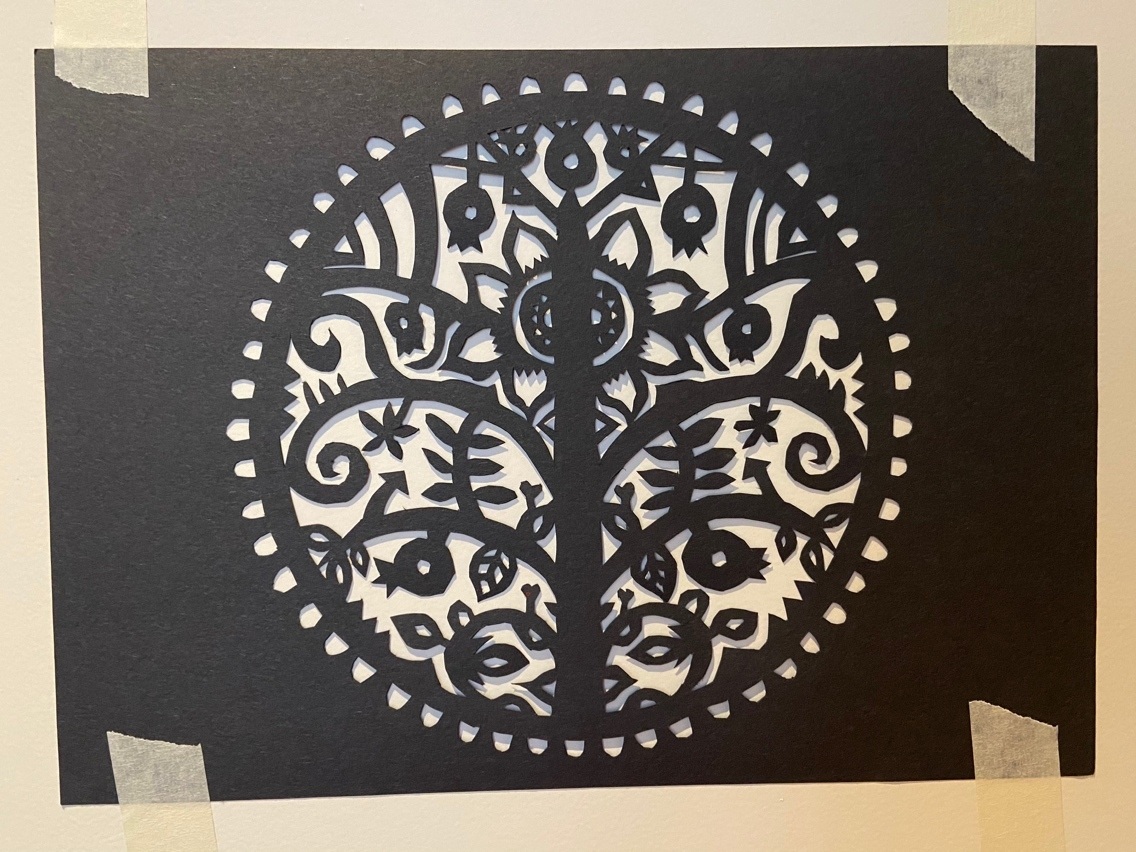
Once you’ve cut out your design, hold it up to a wall to make sure you haven’t missed anything. The side with the pencil marks will be the back so flip it over to look at the clean side.
Step 2:
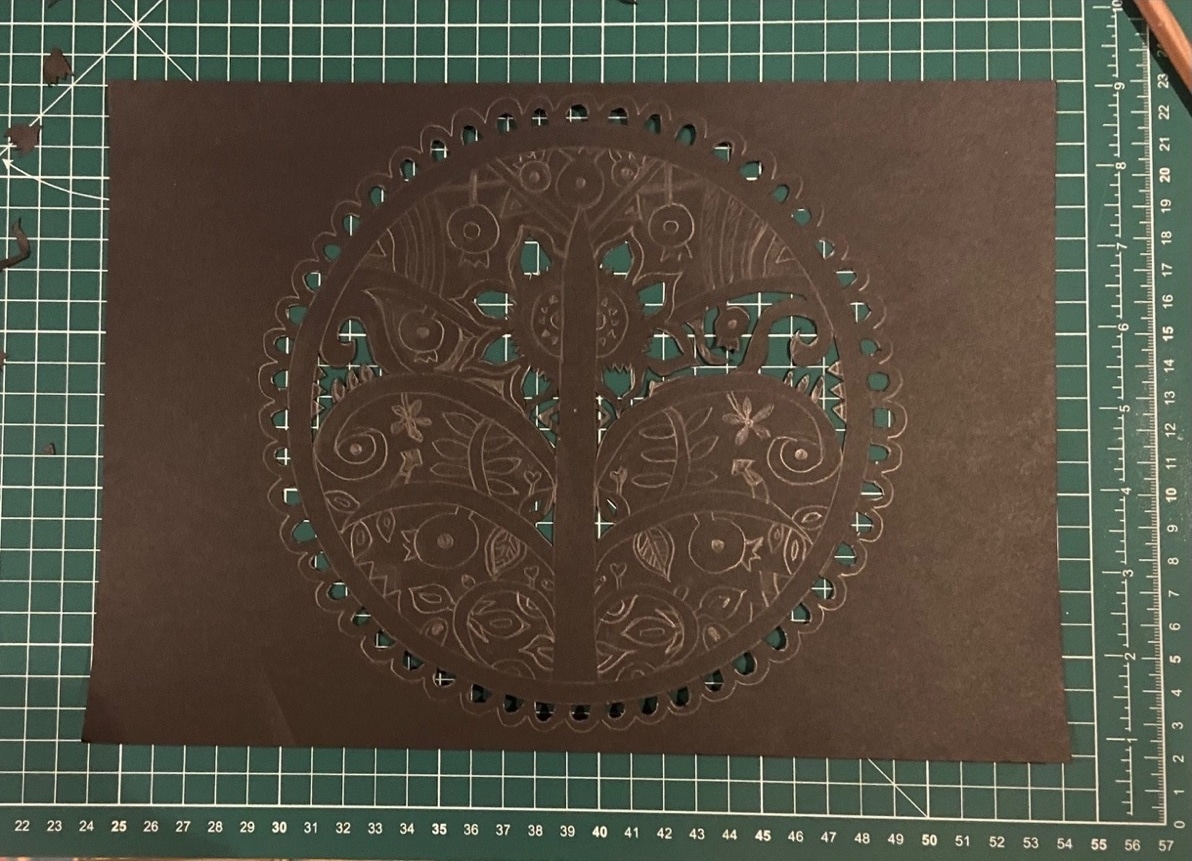
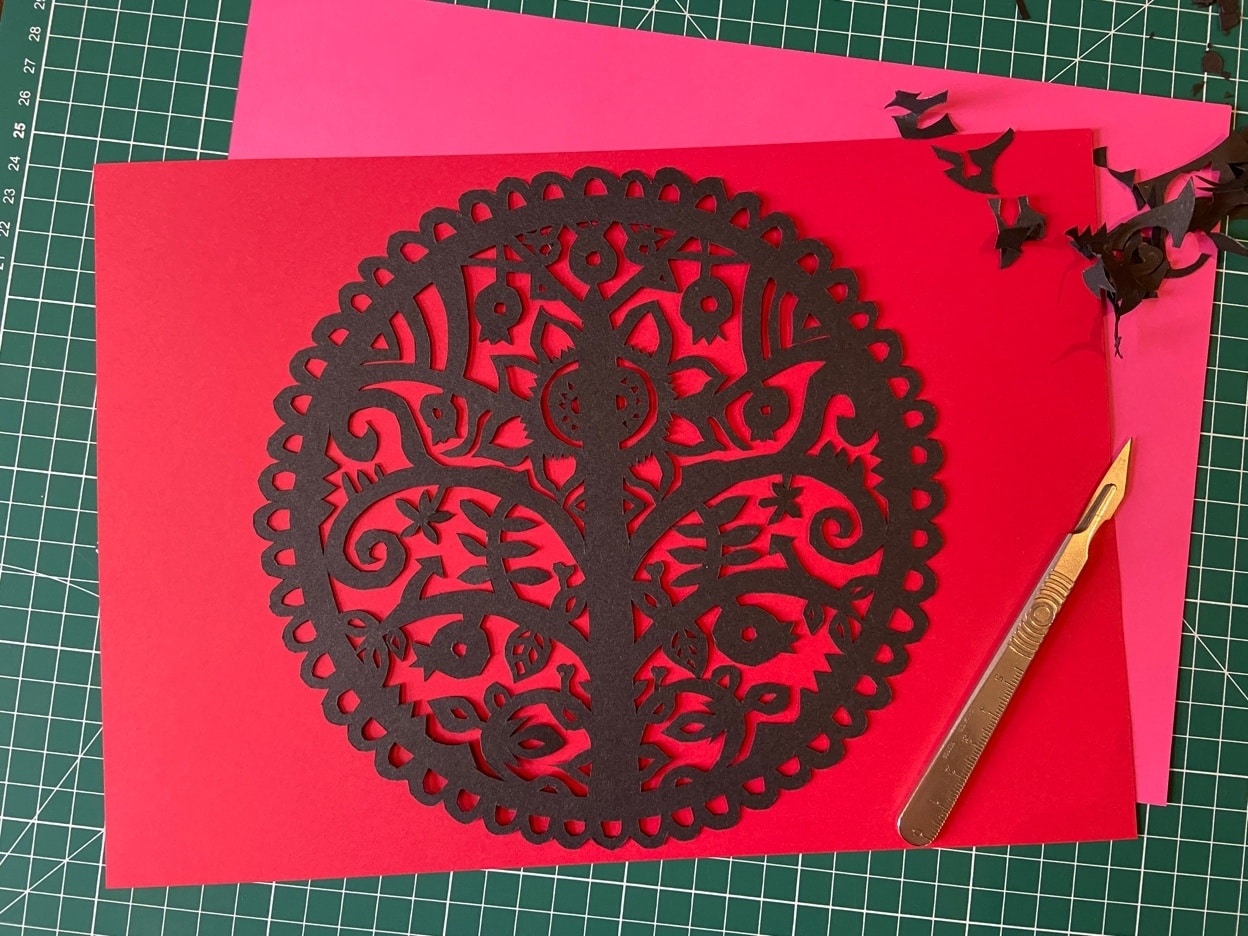
Once your design is complete, make sure you have your cutting matt and scalpel to hand and start cutting! Always cut with the scalpel coming towards you and go slowly so that you don’t slip and cut though something you weren’t meant to (or yourself). It’s best to cut the smaller more delicate areas first to avoid tearing.
Step 4:
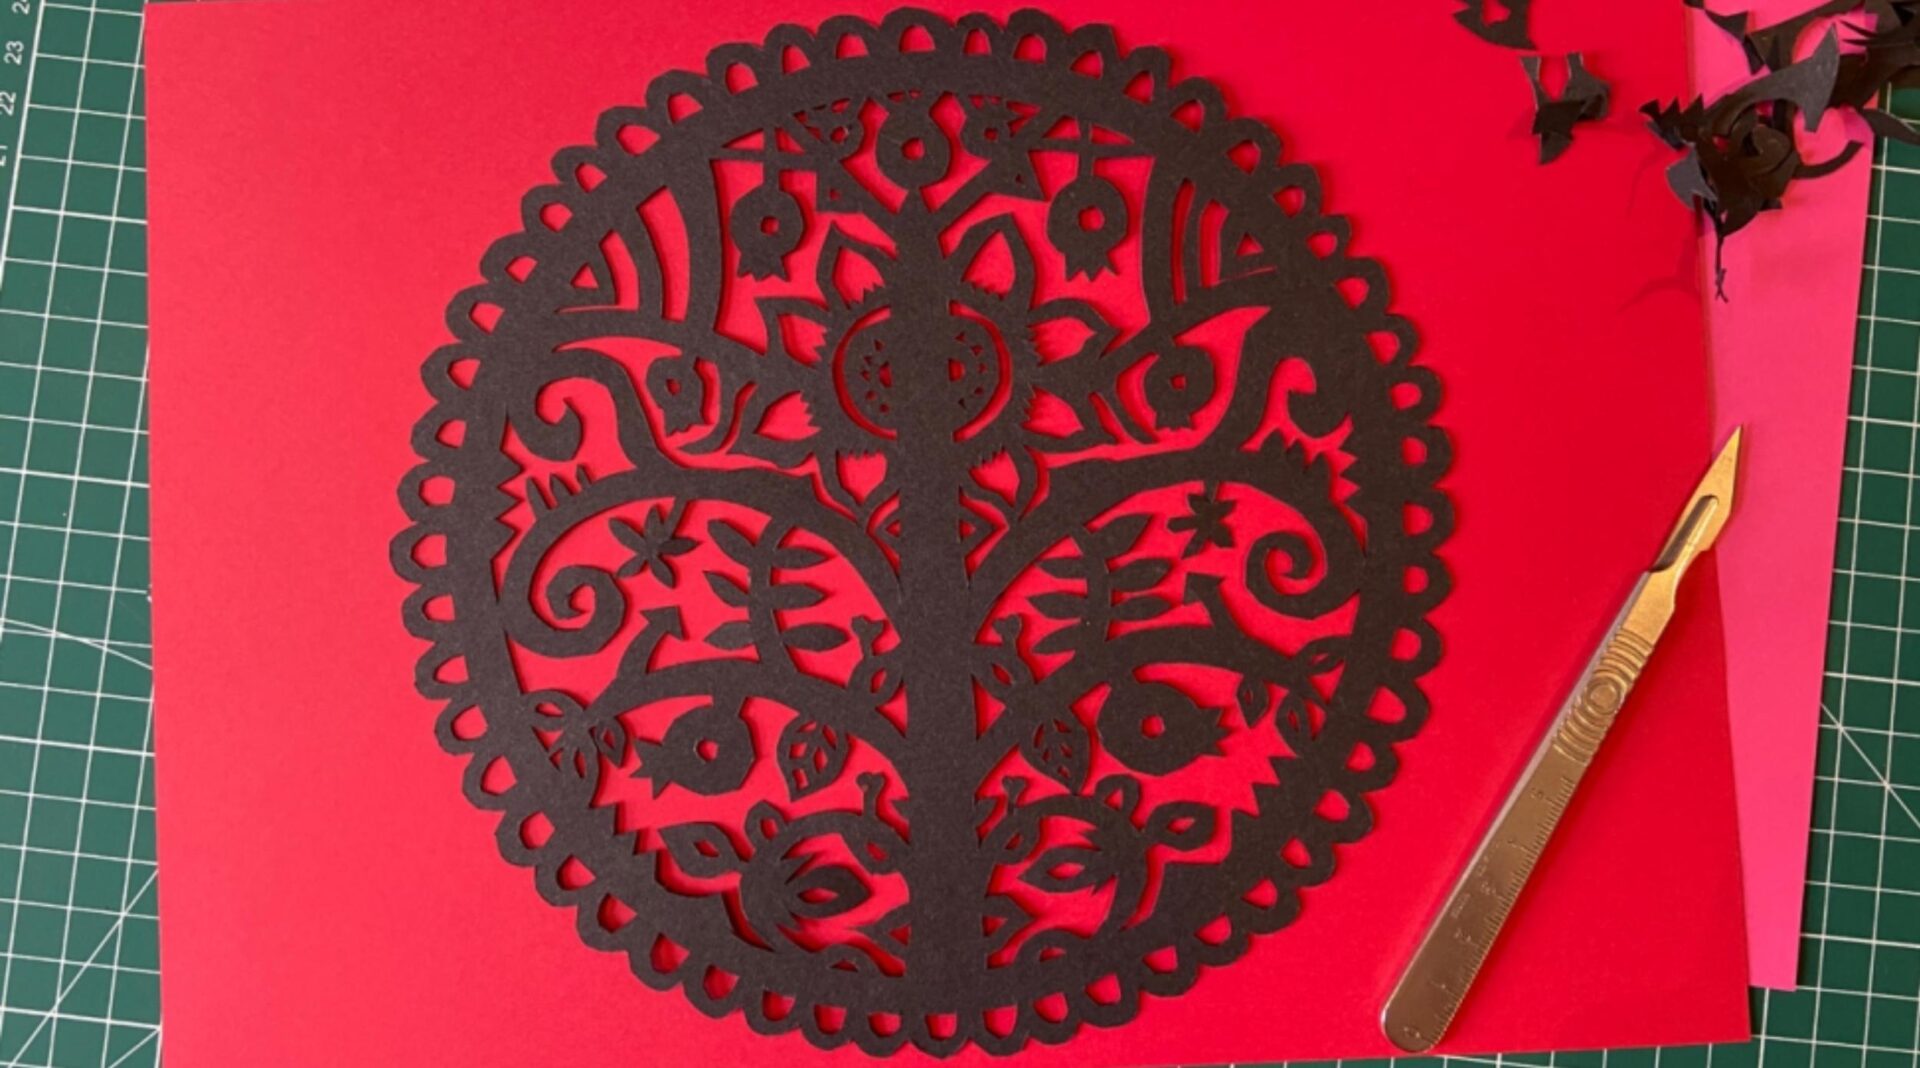
Choose a coloured card to mount your paper cut and cut around the outside edge of the design to finish it off.
Step 6:
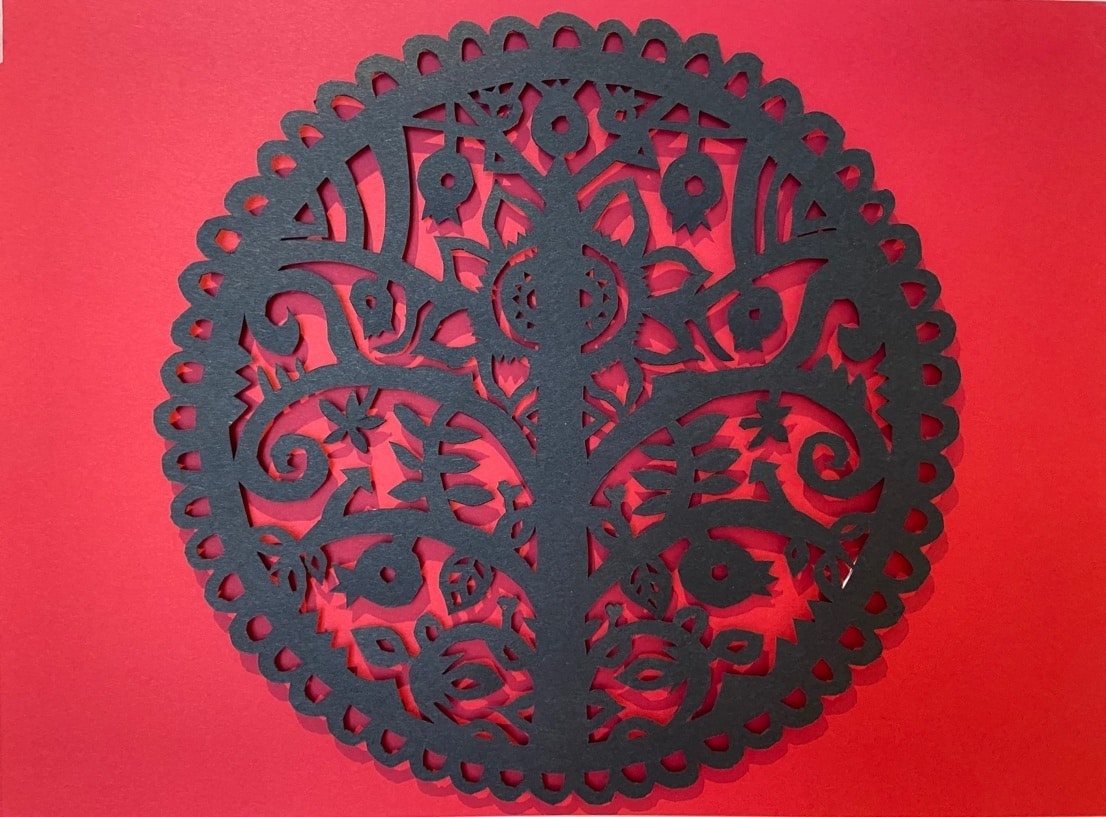
Flip over your paper-cut and stick it down. Voila you have your paper-cut work of art!
Step 5:
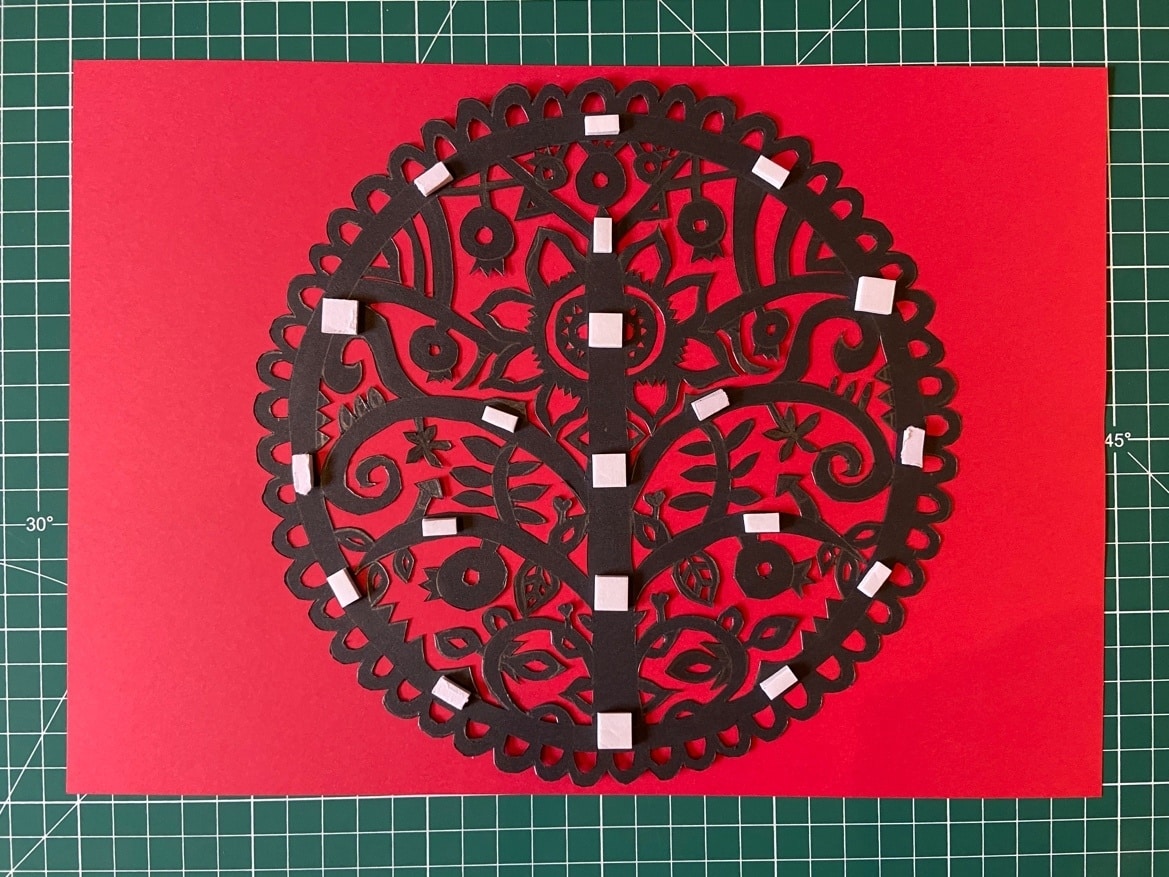
Cut up small adhesive mounts and stick them evenly across the back of your design. Now it is ready to stick down.
These can be personalised so are fabulous as gifts, greeting cards, Christmas decorations or just as an artwork to jazz up your walls at home. They are also great additions to any collage. If you are creating an artwork, frame it in a box frame so that you don’t lose the floating effect.
All you need is some patience, inspiration and a steady hand! We can’t wait to see what you come up with!

