
Design Threads: Mosaic
Day to DayWith summer somehow over, we are cheering ourselves up with the happy news that our London hotels are opening their doors once again. Mosaic is such a whimsical and playful surface material. It is a joyful addition anywhere at home. From textural ornate bird baths, to intricate flower pots, mosaic is a great way to bring colour to something that might otherwise be stone or terracotta, breathing life to your garden scheme...
With summer somehow over, we are cheering ourselves up with the happy news that our London hotels are opening their doors once again.
In the design team we have been working tirelessly to bring them back to life. We know each of them like the back of our hand, but even today when we walk their lobbies, restaurants, terraces and cosy little nooks, something special will catch our eye.
This week, it was the many colourful mosaics that stood out. Remembering long beach days as a child when shells and other treasures were hoarded and saved for mosaic projects, I knew we had a Design Threads to add to our ever growing collection of creative pursuits at home.

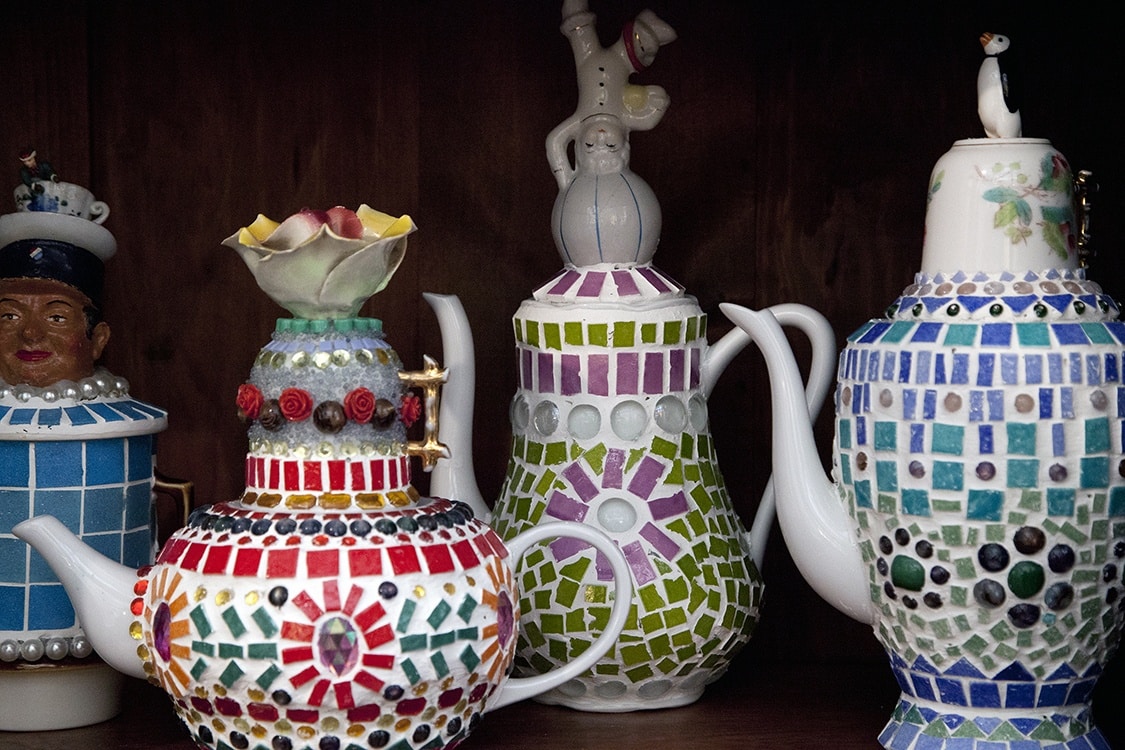
Mosaic is such a whimsical and playful surface material. It is a joyful addition anywhere at home. From textural ornate bird baths, to intricate flower pots, mosaic is a great way to bring colour to something that might otherwise be stone or terracotta, breathing life to your garden scheme.
Up in the rooftop garden at Ham Yard Hotel, we added a touch of craft and colour with mosaic details, like this little bird hotel created by Mimi de Biarritz.


Head downstairs and you will discover the Anrep Room, so-named for its reproductions of artist Boris Anrep’s marble mosaic scenes, depicting the labours and pleasures of life, which can be found on the floors of the National Gallery in London. Here, they hang in front of our ‘Mythical Lands’ mural.

At The Whitby Hotel in New York, our tiny jewel box terrace is watched over by our lazy mosaic mermaid, a nod to the seaside town of Whitby in England and a point of interest in this tiny space.
In the Sculpture Garden at Crosby Street Hotel, we added little mosaic details from the bird bath and a plate mounted on the wall to bring the space to life.


Here are our top tips for mosaic:
Tools & Materials:
– A pot, box, birdhouse or other such surface to decorate. The options are endless
Mosaic materials, ceramic plates and old tiles etc. Collections of pre-cut mosaic pieces can also be found on craft sites such as Etsy.
– Hammer or tile cutters
– Protective gloves
– Protective goggles
– Polymer-fortified, thin-set mortar
– Grout
– Mixing trays
– Sponge or cleaning cloth
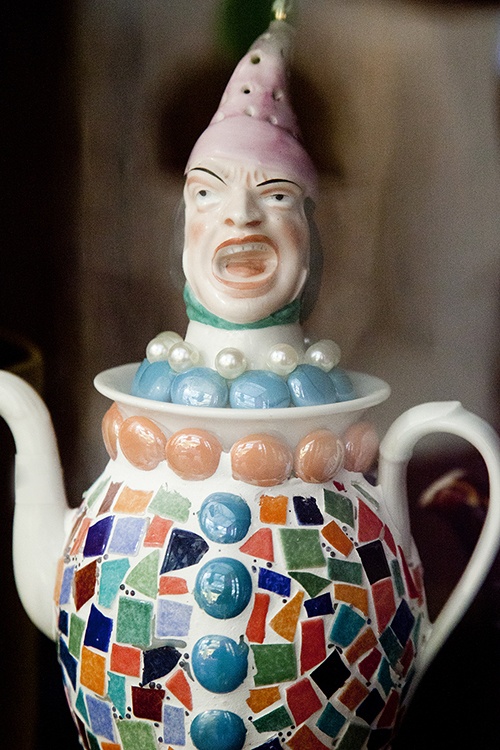
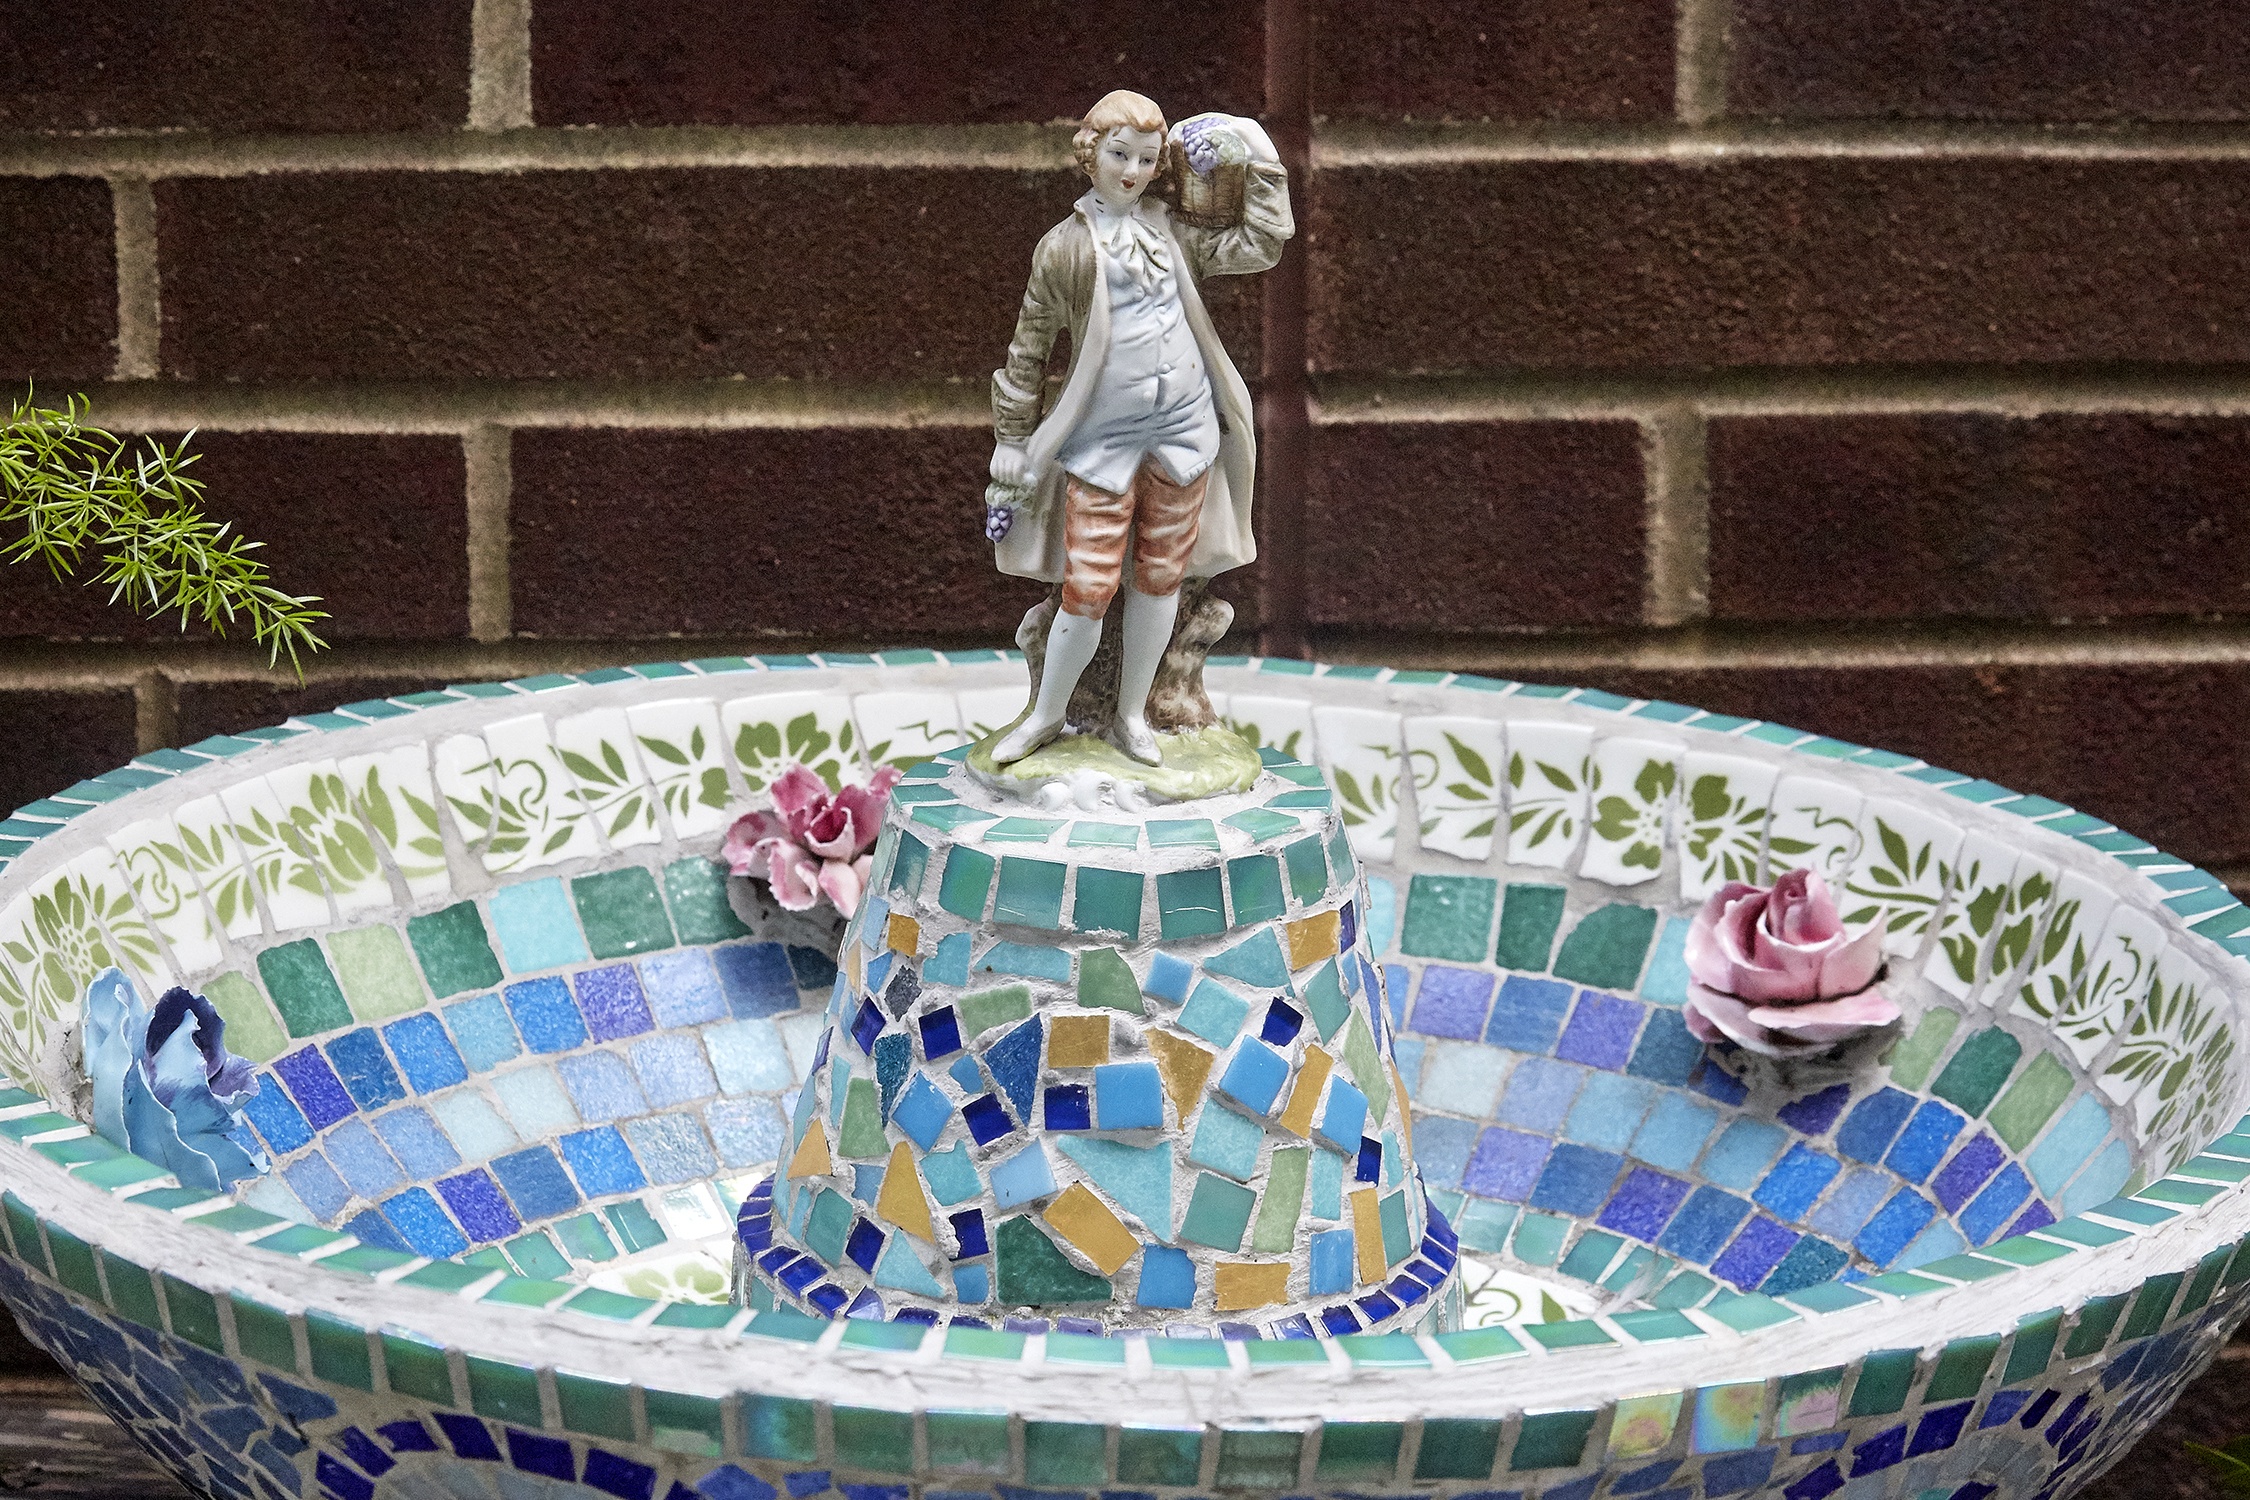
Last year, for my takeover of the loft at Bergdorf Goodman in New York, we added mosaic birdbaths topped with little figurines, also by Mimi de Biarritz, which would look just as good in a home as they do outdoors in the garden.

Top Tips
Whether you are using a bird box or a terracotta pot, make sure you prepare your surface. Ensure it’s cleaned and ready to receive the glass tiles. Allow the surface to dry before adding tiles. You’ll want to make sure all the moisture is gone so that your tiles adhere to the pot.
Tile and material selection is extremely important as it will create the look and feel for your mosaic. We like vintage china plates and colourful broken ceramics to make the piece come to life, anything with added texture is great! If there is a painted scene or motif, even better – these can be used as the central focus for the piece you are creating.


When breaking up your tile or ceramic plate to make up the little pieces, be sure to use protective goggles and gloves. A hammer or a tile cutter is perfect for the task.
For the adhesive we recommend a polymer-fortified, thin-set mortar for the best results. This way it won’t lose its stick over time and the piece can be used inside or outside.

Creating your design is the best bit. We like to start by creating a map or drawing of how you want the piece to look. To create your mosaic design, spread a thin layer of mortar on the back of each tile piece and fix the piece to the flower pot. Refer to your map or sketch if you created one before you started the project. Leave ¼ inch space between pieces of tile to make room for the grout. Go back and resize if your tile pieces are too large or are not fitting properly. Add any other design elements such as stones or beads to generate additional interest.
After the sticking process, leave your piece to dry overnight – patience is key! After the tile pieces are completely set you can start to grout the piece. You’ll need gloves for this project as you’ll be placing the grout on your pot with your hands. Combine water to the grout to create a mixture with a ‘peanut butter’ consistency.
Scoop a handful of grout and slather it all over the pot. Be sure you take care to fill in every section between the tiles.
Use a clean, damp cloth to wipe excess grout from the piece, taking extra care to remove grout that was smoothed over the tiles.
Take a thin wire brush and brush over the entire piece when you’ve finished grouting to ensure all excess grout falls off the tiles. Go over your artwork, pot or bird house with a clean cloth to remove brush marks.
Leave your piece to dry for 2 hours after grouting before use!
Tag us in your mosaic designs on Instagram with #designthreads and @kitkempdesignthread. We can’t wait to see what you get up to.