
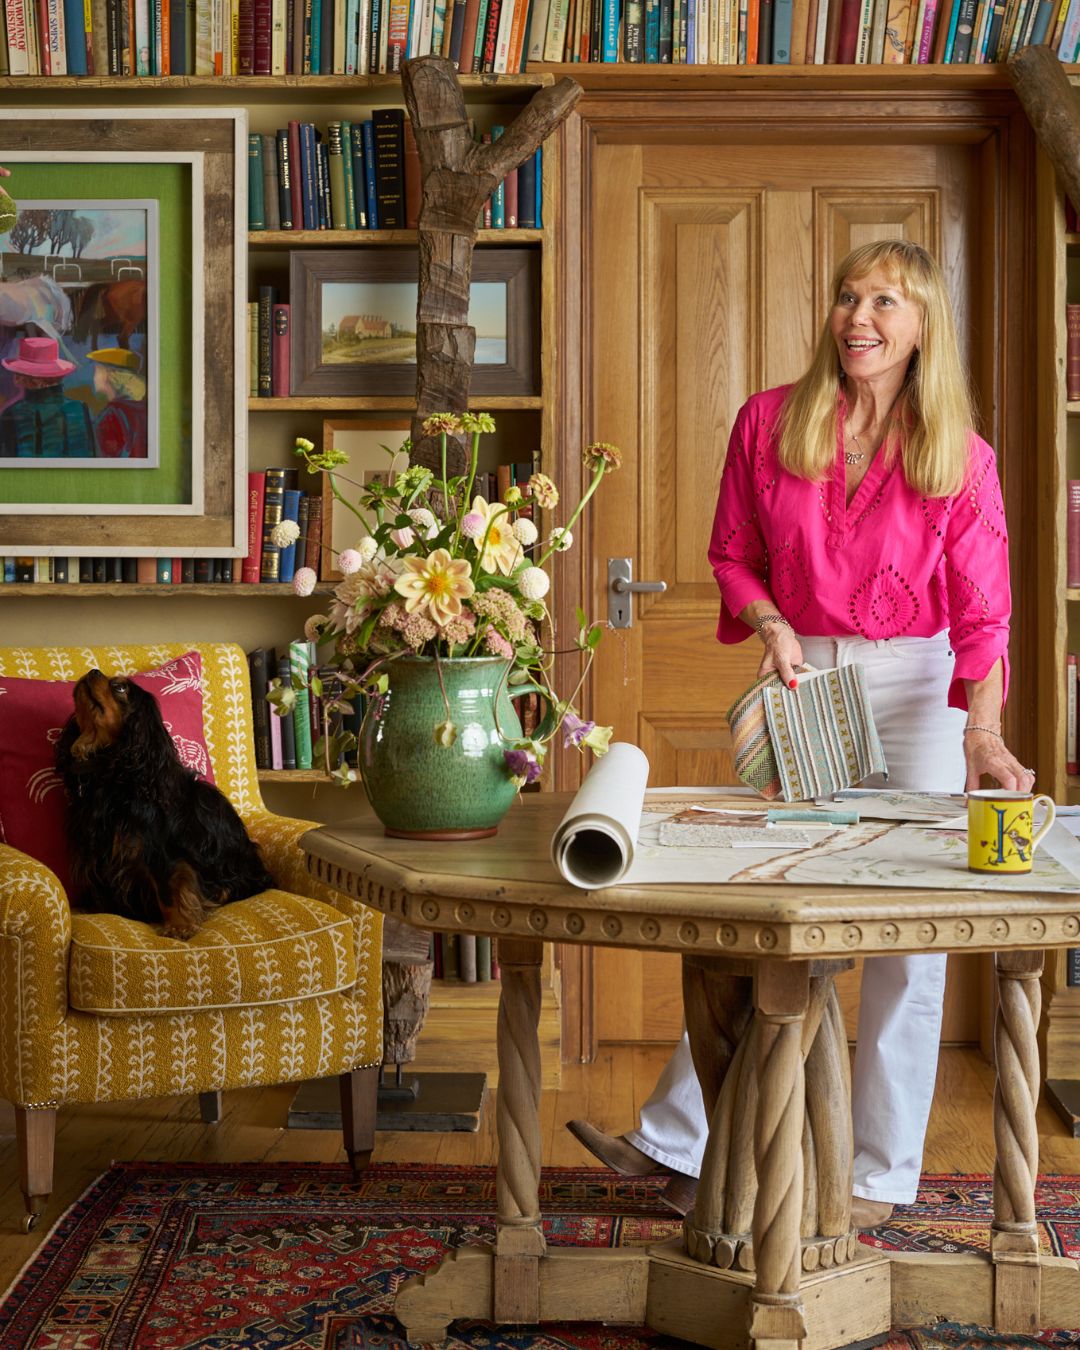
The most crucial part of the design process is finding inspiration and brainstorming your scheme. A mood board is the perfect tool to bring your ideas to life, allowing you to explore elements such as imagery, scale, and texture. At our Design Studio, we love creating mood boards, and today on the blog, we’re excited to share our step-by-step guide to crafting your own.
Step 1: Materials and Fabrics
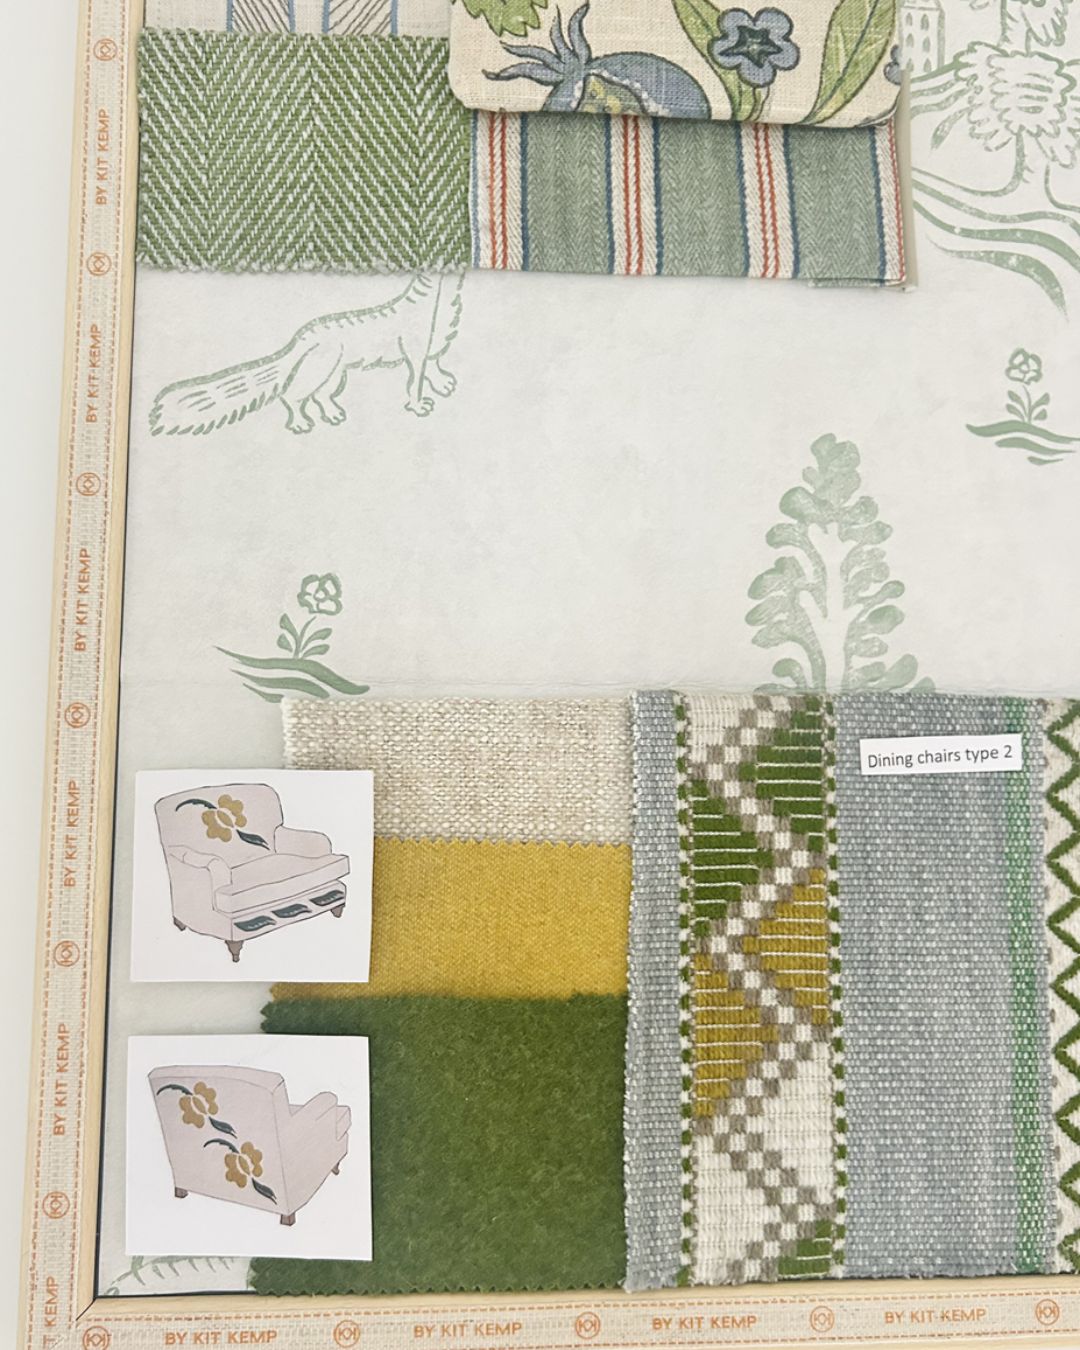
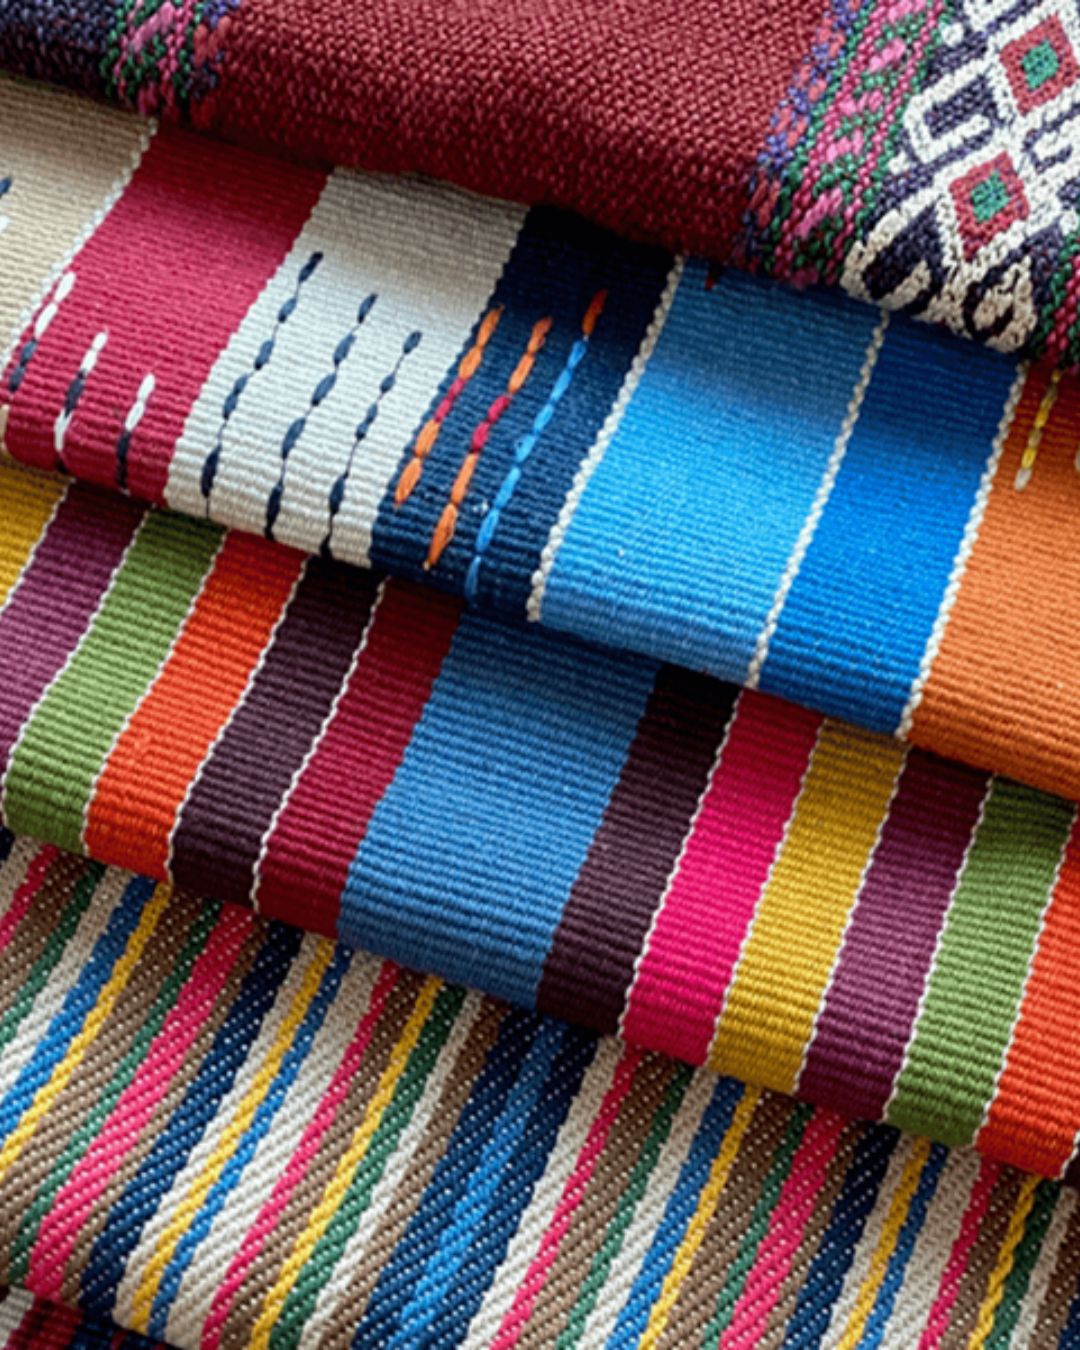
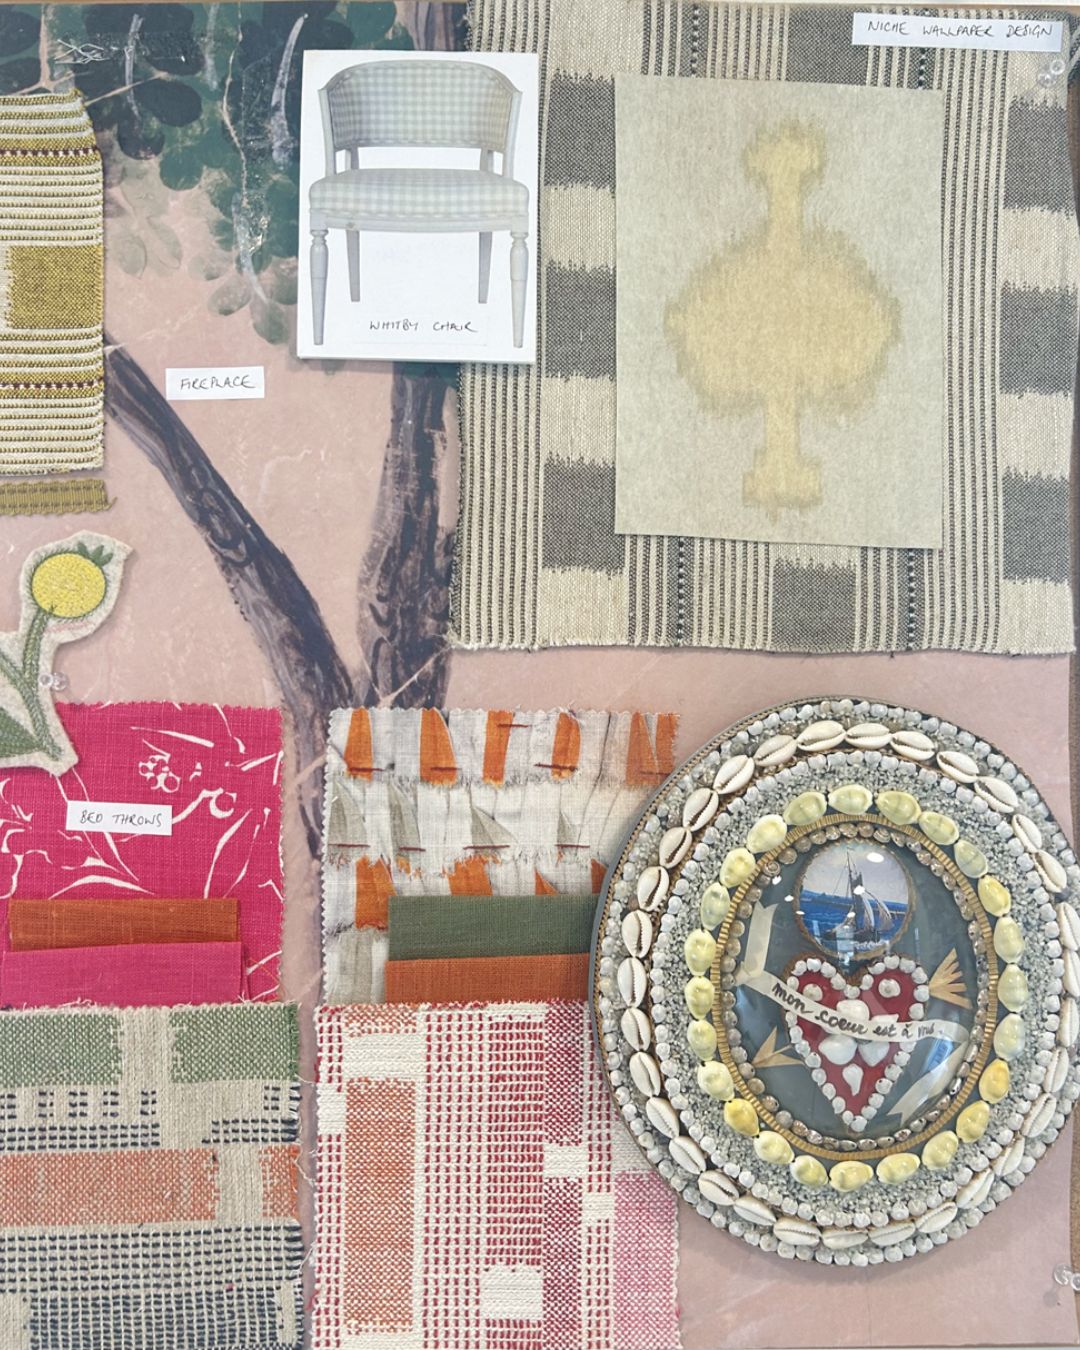
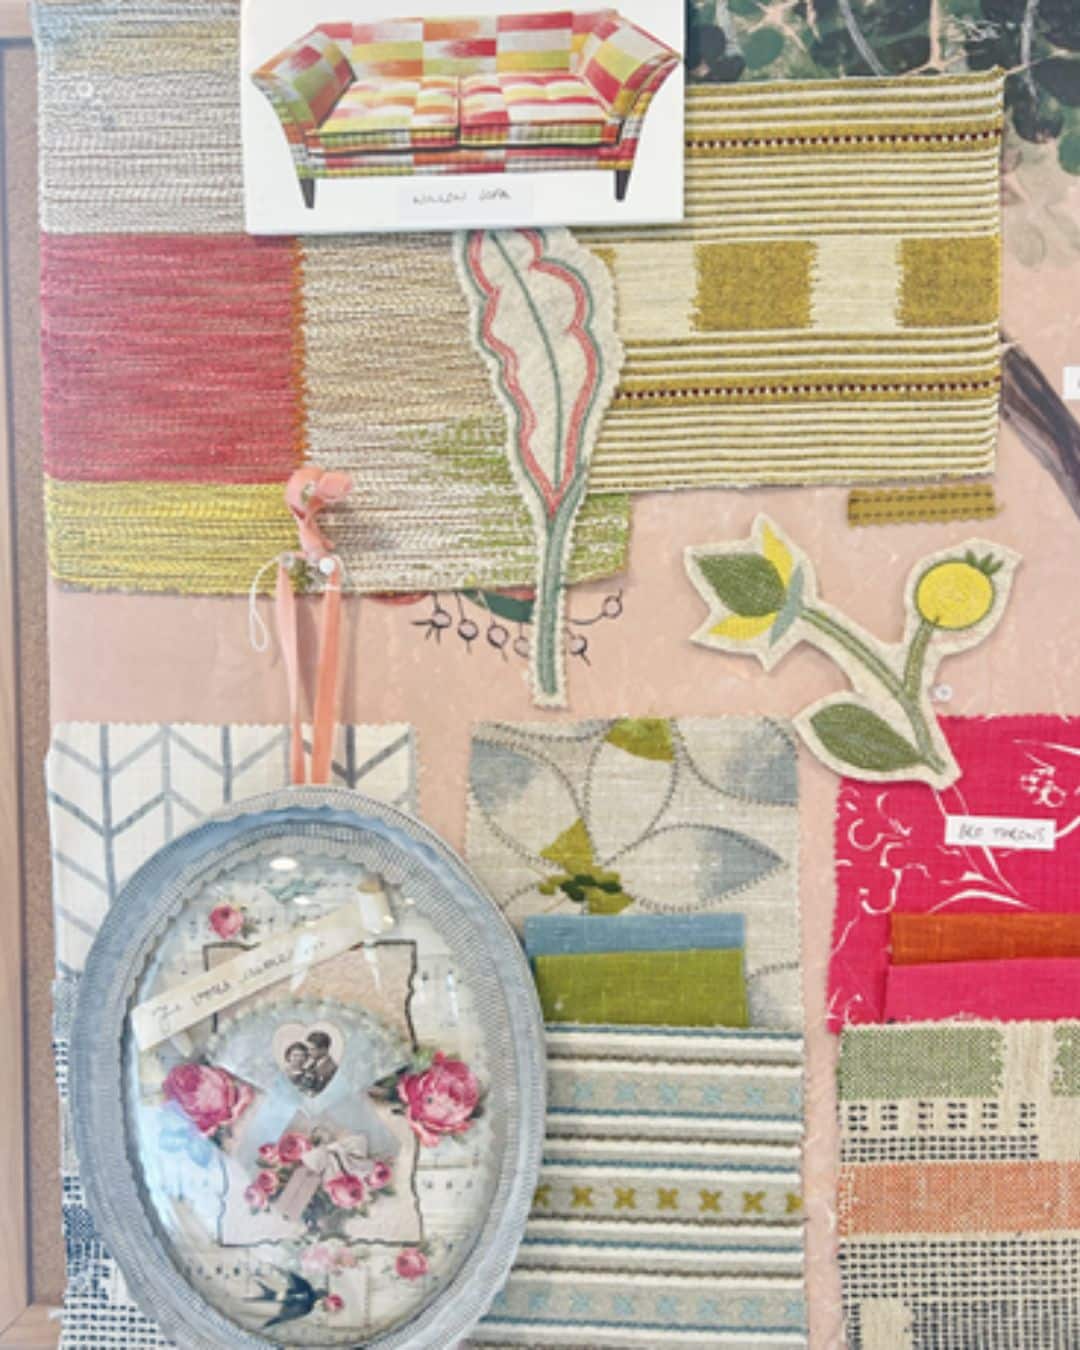
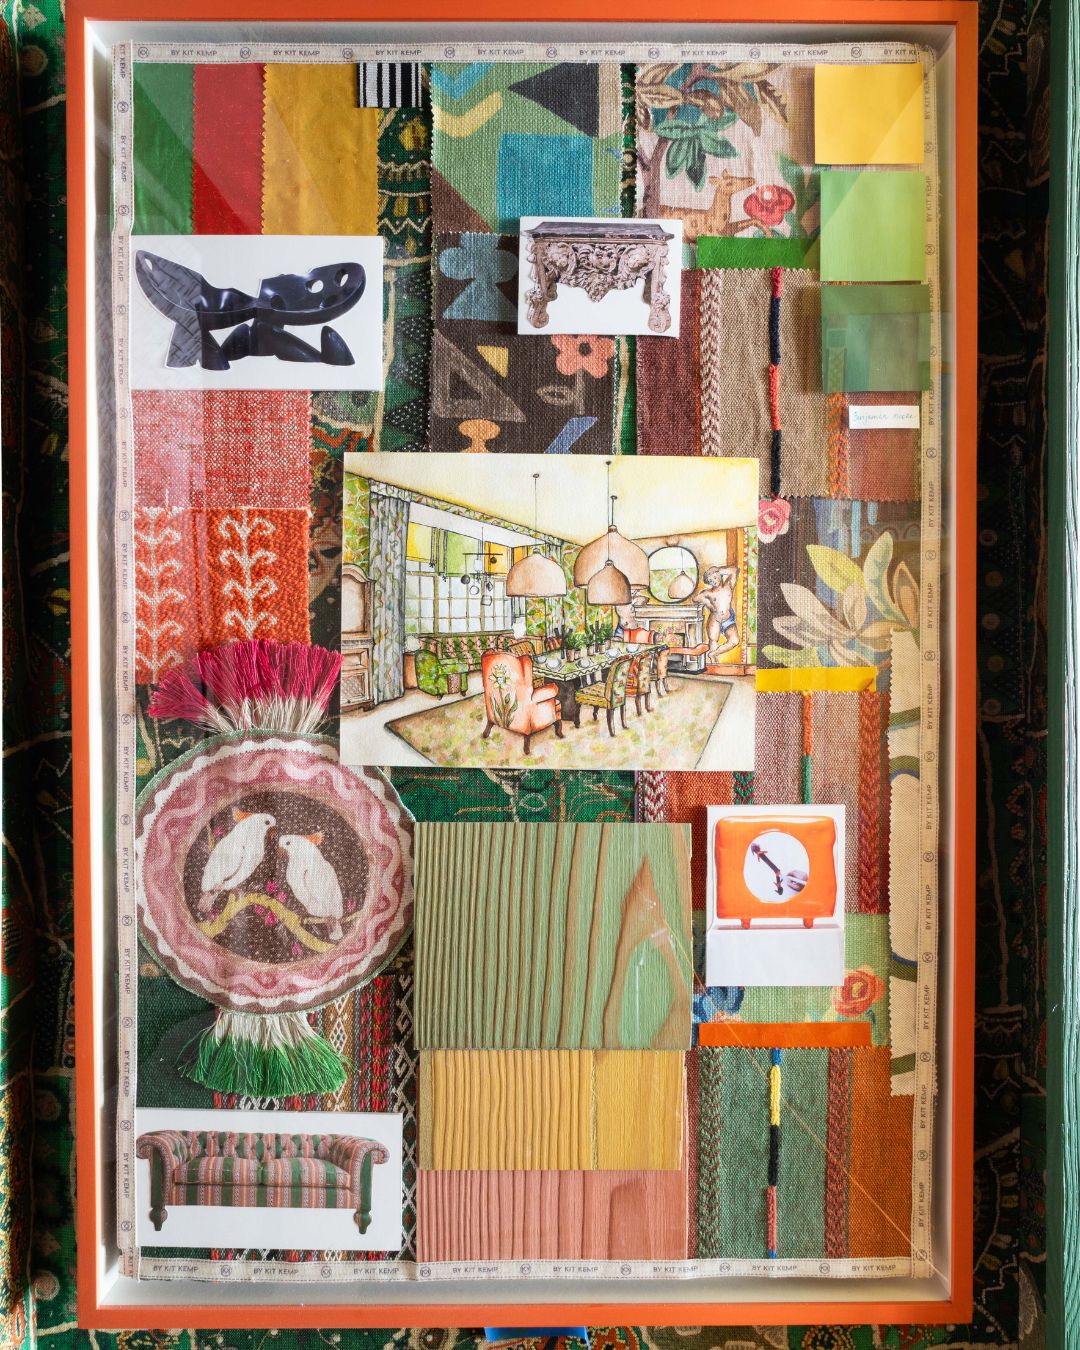
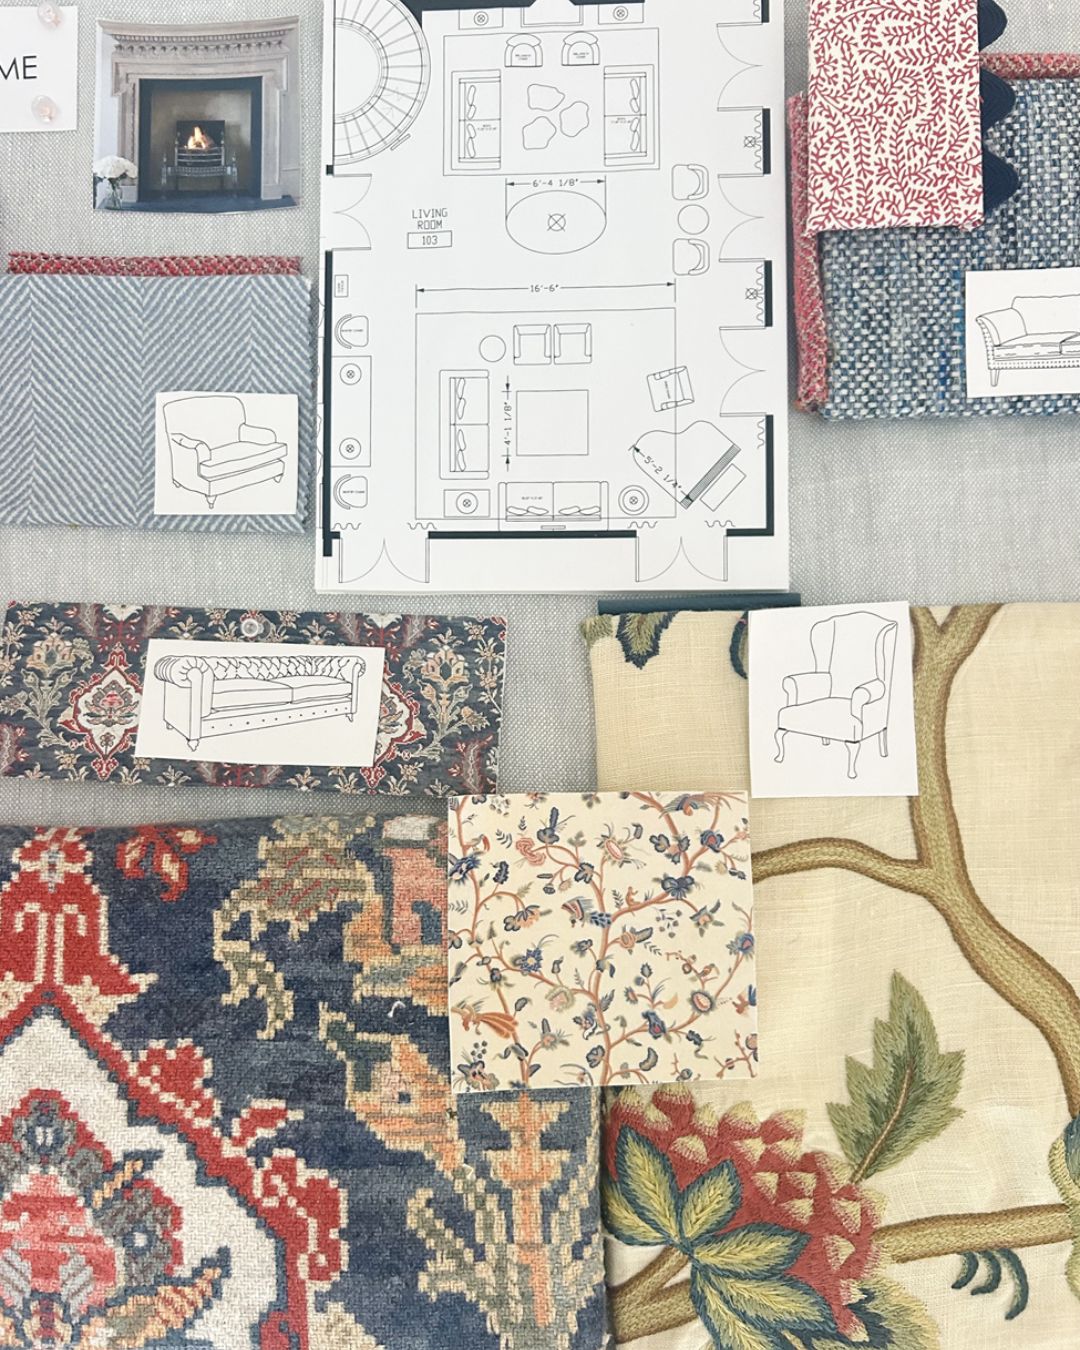
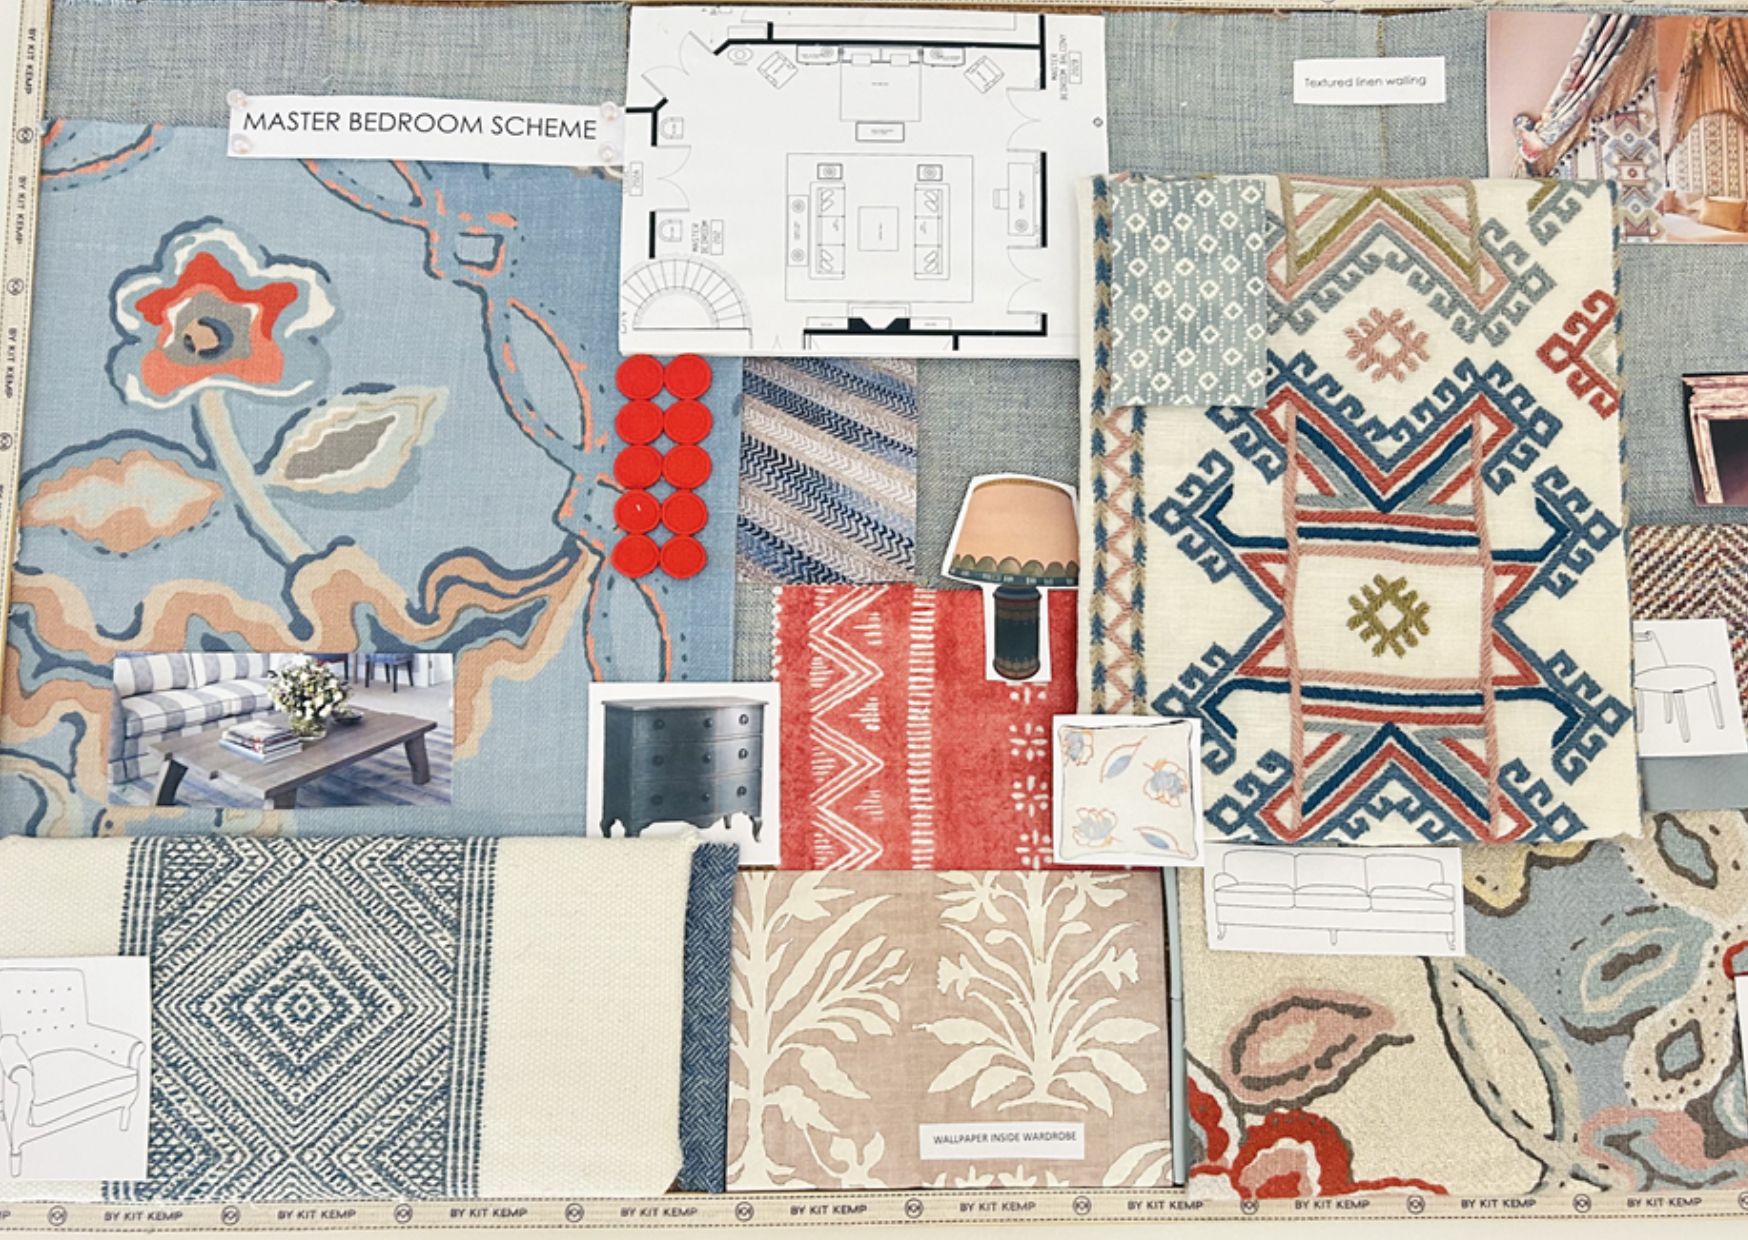
Start with a base board, ideally a pin board, as it makes pinning and gluing easier. We often cover our boards with a fabric from the scheme, transforming the board into a piece of art. Adding a trim later can give it a polished, finished look. When selecting fabric cuttings, choose pieces that showcase as much of the design as possible, especially for patterns with large repeats. Ensure that textured fabrics can be both seen and felt.
Step 2: Layout
Arrange your board with a thoughtful layout, considering the relationships between different areas and the positioning of furniture. This step is vital for establishing a cohesive design and ensures that all elements work harmoniously together.
Step 3: Layer
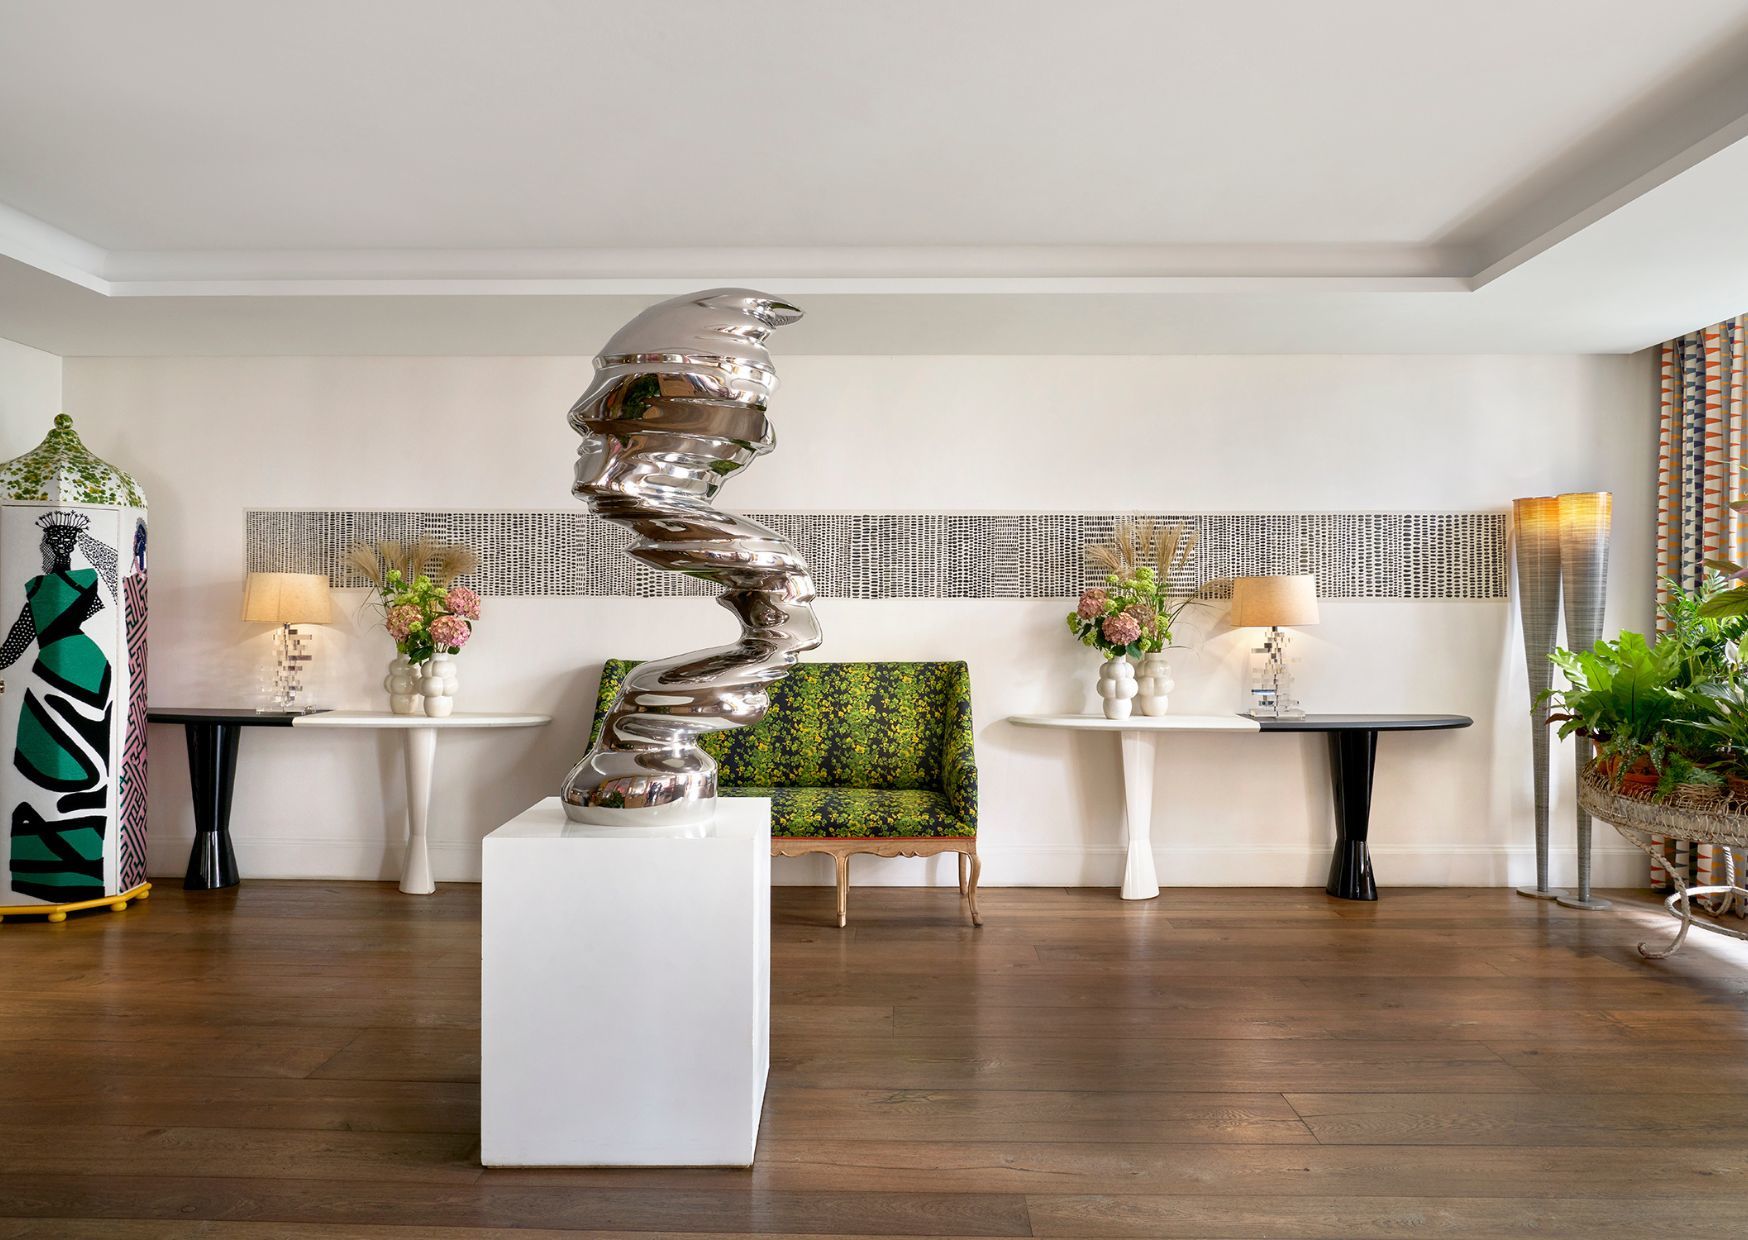
Layer fabrics and images to create a coherent translation of your scheme. Organise your materials logically so that viewers can easily follow the flow. For example, on our mood board for Kips Bay, we arranged fabrics in the order that corresponds to their placement in the room. This is where you can exercise your creative freedom, collaging elements in a visually appealing way.
Step 4: Imagery and Accessories
Incorporate images of furniture, décor, and accessories by painting, printing, and cutting them out. To add character and personality, consider adding charming appliques. You can even label your images and accessories to make the layout clearer and more organised.
Step 5: Paste and Stick
Finally, secure all your fabrics and images by sticking and pinning them down. This step ensures everything stays in place, keeping your mood board intact and ready to inspire.
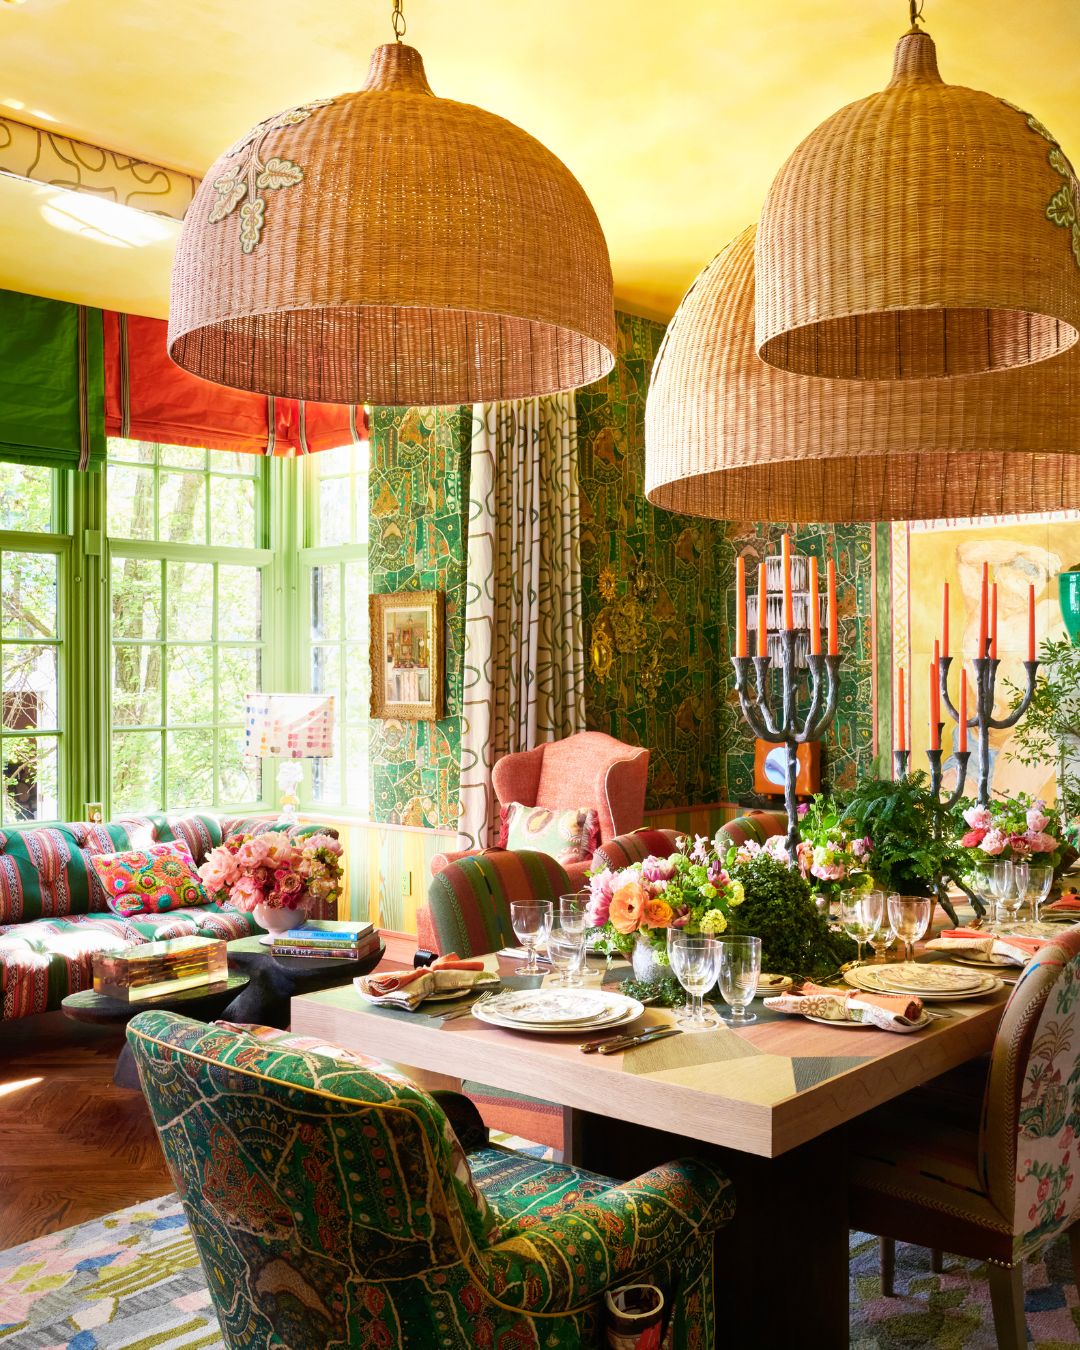
We hope this step-by-step guide inspires you to start creating your own mood boards. It’s a fun and easy way to showcase your creativity while keeping your scheme organised and cohesive. Watch as your ideas come to life!