
Creativity at Home: Make Your Own Washbag
How ToThis week, we took a couple different small pieces of fabrics which were left over from other projects and got creative. We decided to make a wash bag, handy for any weekend break or getaway. Unique, practical, and stylish! Here’s how we did it. We hope you'll try creating this yourself at home...
At our Design Studio, we love to make sure absolutely nothing goes to waste. We often have offcuts of our lovely fabrics left over and with a sewing machine to hand and a bit of imagination, the possibilities of what we can turn these into are endless!
This week, we took a couple different small pieces of fabrics which were left over from other projects and got creative. We decided to make a wash bag, handy for any weekend break or getaway. Unique, practical, and stylish! Here’s how we did it. We hope you’ll try creating this yourself at home…
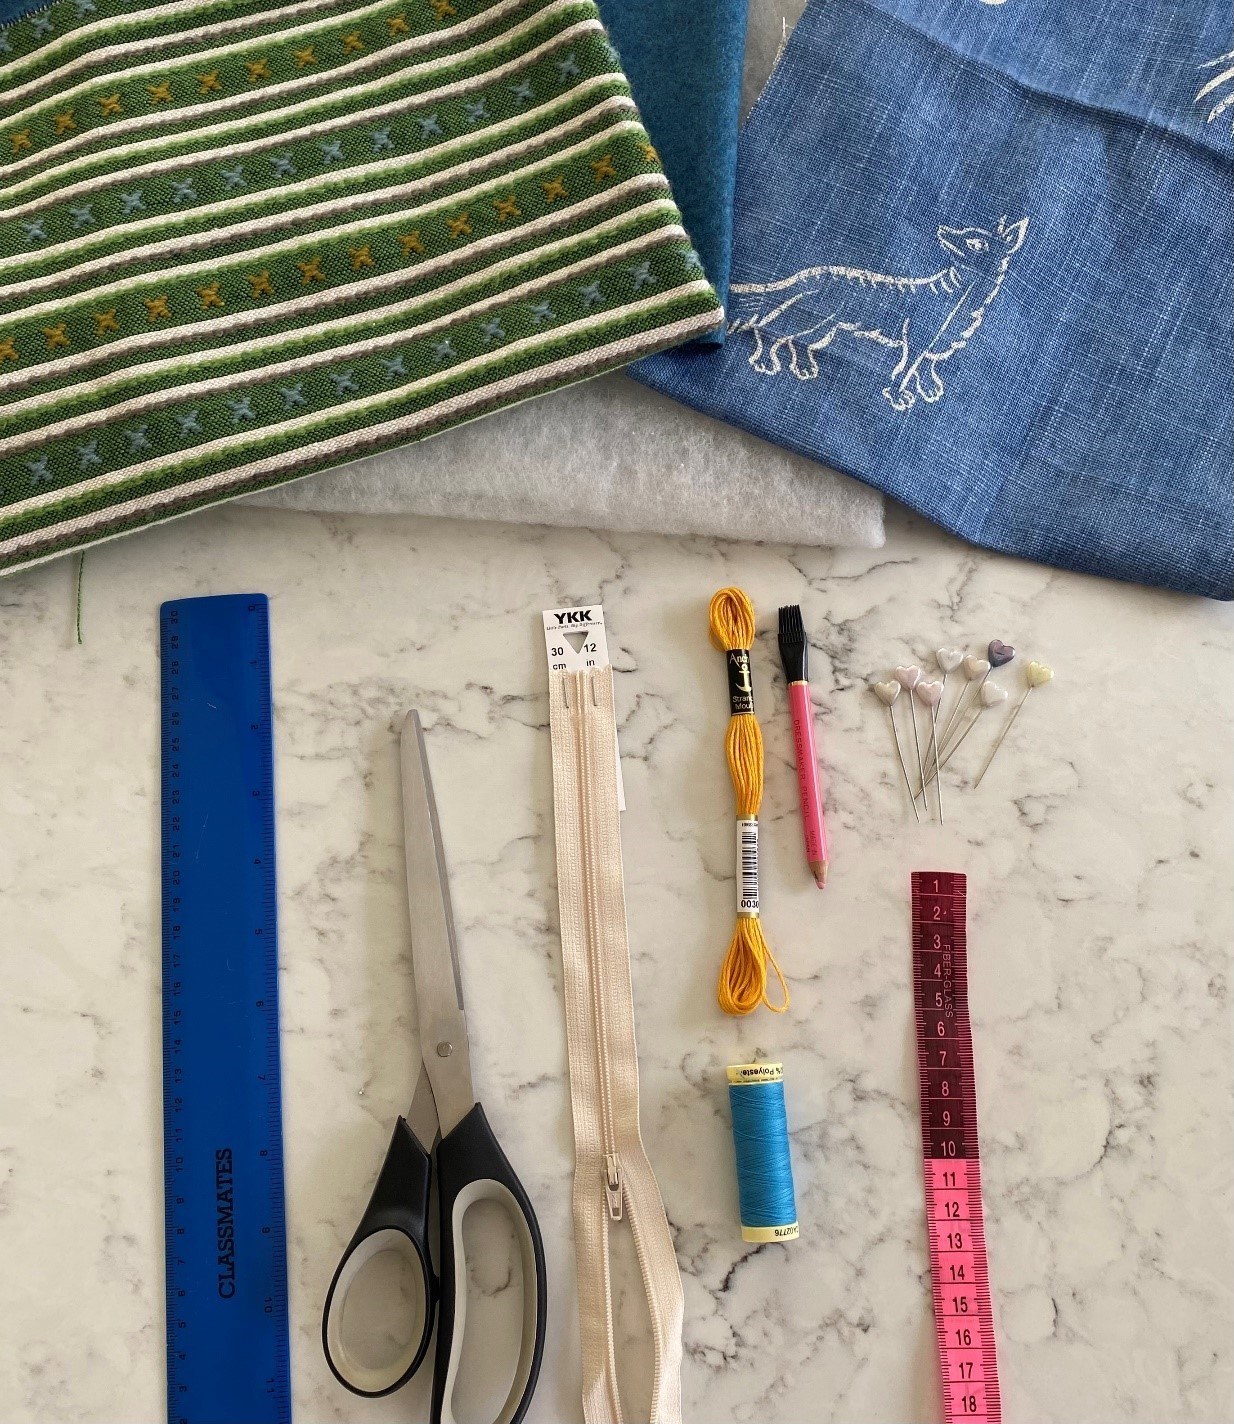
Step 1: Gather your supplies
To make one 24 x 12 x 12 cm washbag, you will need:
– 2 different types of fabric (roughly half a metre of each)
– ½ metre wadding
– Fabric scissors
– 30 cm zip
– Zipper foot for the sewing machine (not essential but makes it easier)
– Tailors chalk
– Tape measure and/or ruler
– Sewing machine with a cotton to match your fabric of choice
– Pins
– Optional: Small piece of felt with embroidery thread for applique
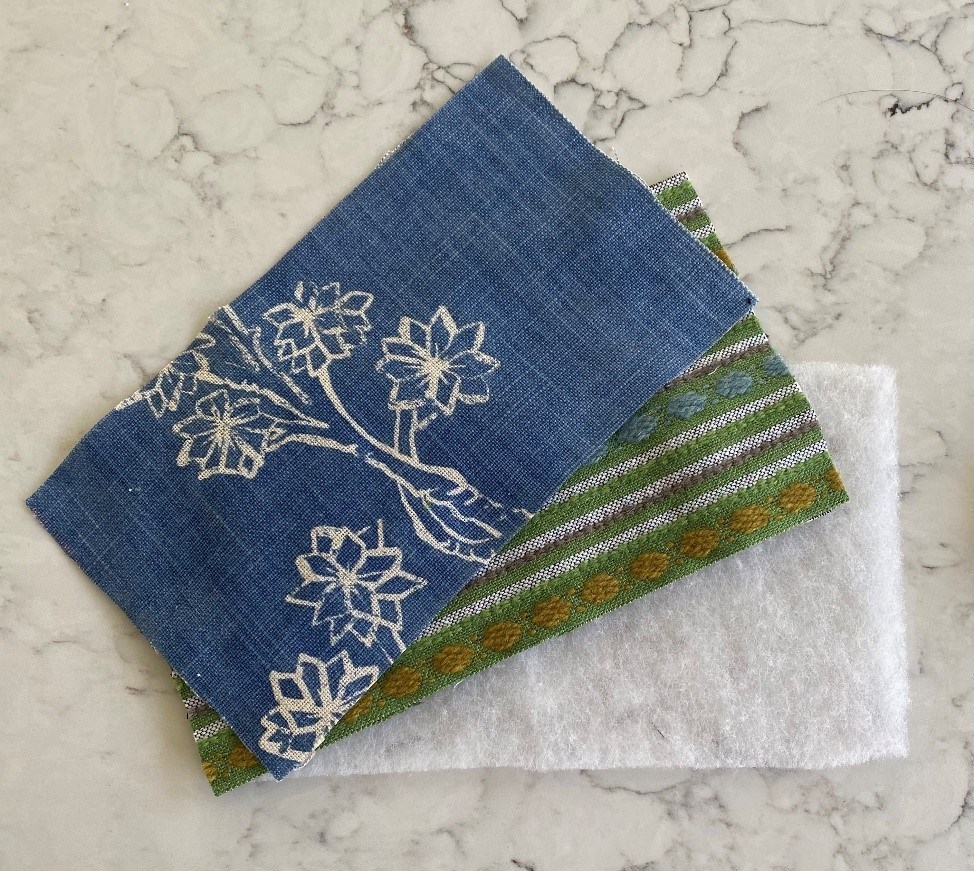
Step 2: Cut out your pattern pieces
To ensure even panel sizes, we recommend creating a paper template. You will need to cut 4 lots of 25 x 15 cm rectangles and 2 lots of 15 x 15 cm squares in each fabric. For each side of the bag you will need one outer fabric, one piece of wadding and one lining fabric – all of an identical size. To reduce cutting time, layer your fabrics before cutting, starting with the lining fabric at the bottom (wrong side up), the wadding in the middle and the outer fabric at the top (right side up).
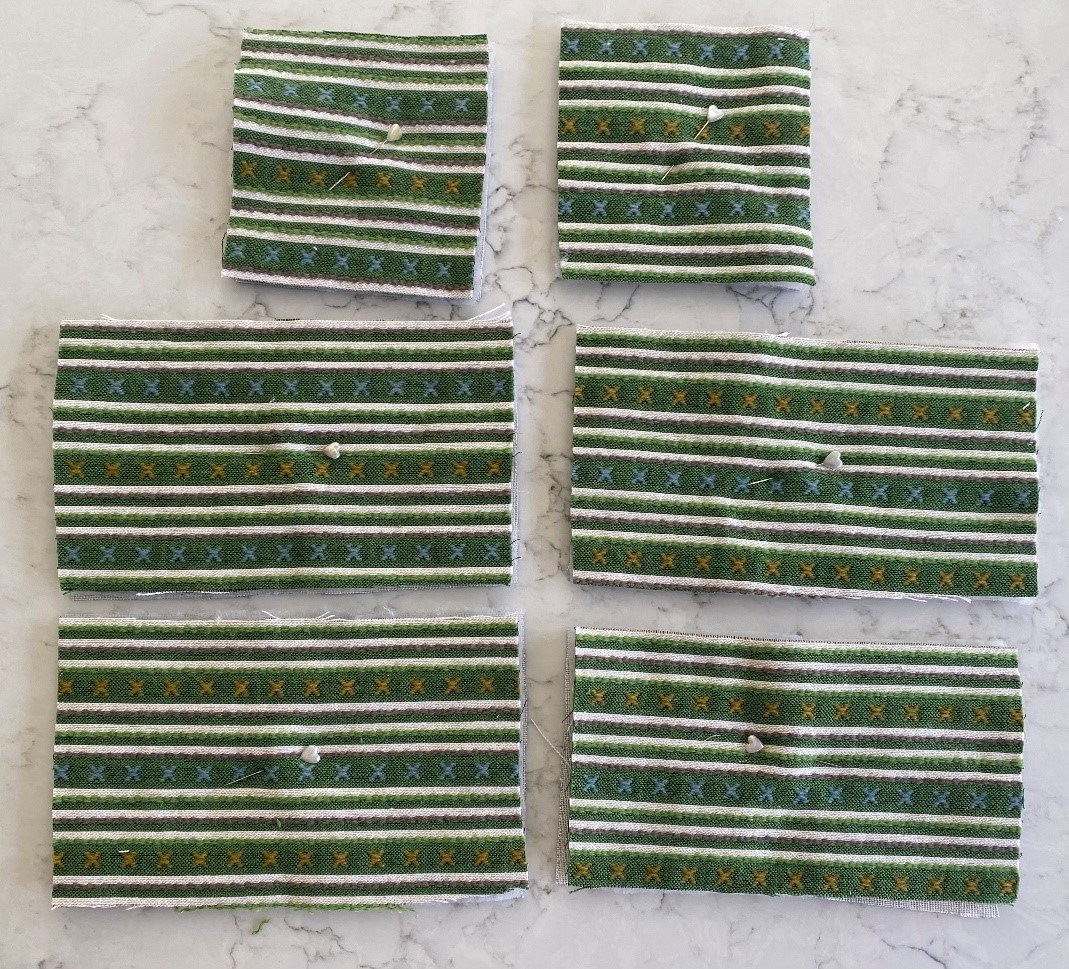
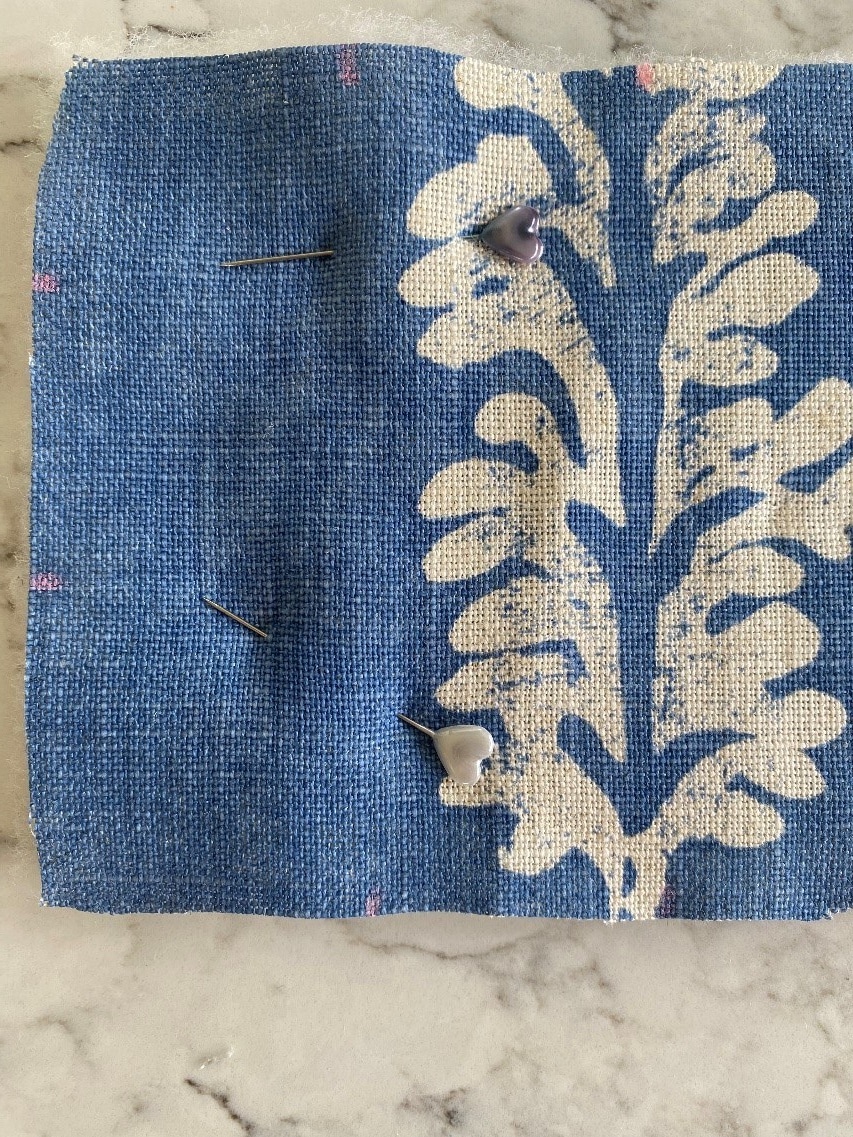
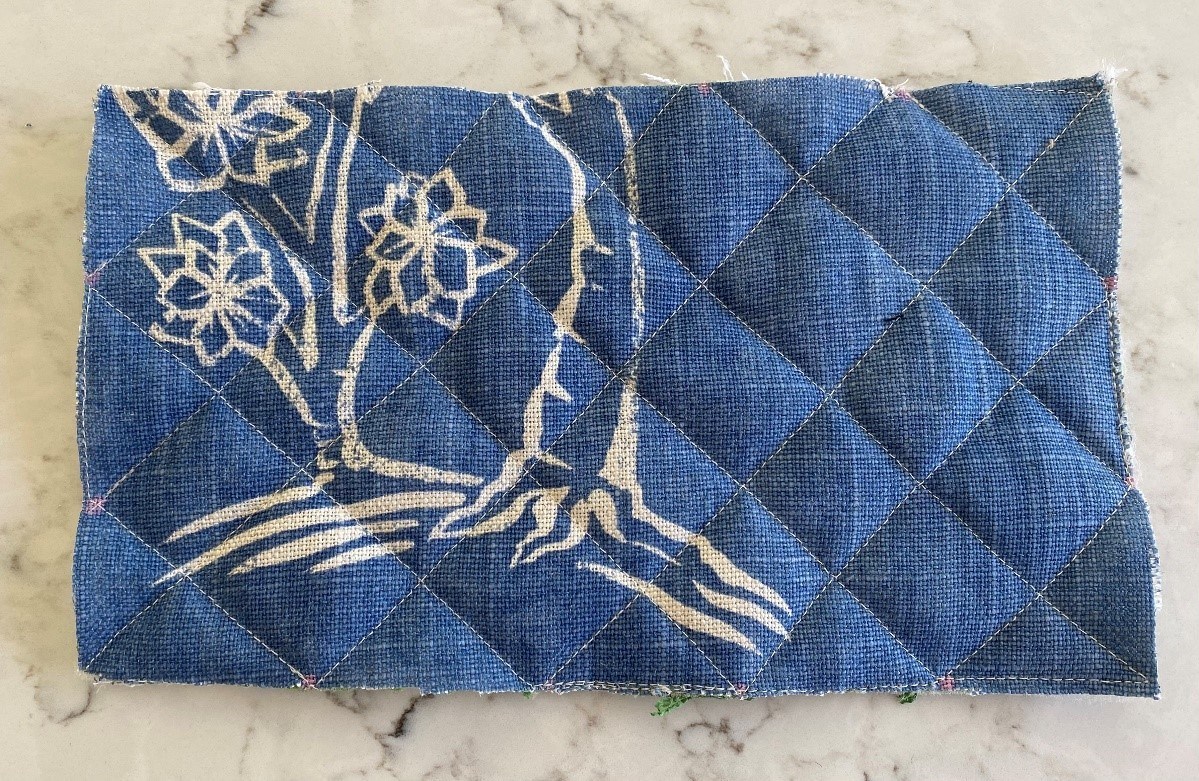
Step 3: Start quilting!
Accurate measurements and straight lines are the key to a perfect quilt. To start well with a good base, pin together the outer, wadding and lining fabrics to avoid any slipping whilst sewing, then simply mark the lining fabric at 5 cm increments along each side with tailor’s chalk. Begin by sewing from the point 5 cm underneath the top left corner to the point 5 cm to the right of that same corner to create the first diagonal line. Carry on sewing parallel to the first line, each time moving along by another 5 cm. When you eventually arrive at the last diagonal line in the bottom right corner, start the process again, this time starting at the top right corner. Effectively, this creates a criss-cross pattern that we need. Repeat this process for every panel.
Tip: To prevent the edges of the fabric fraying, trim any loose threads and then zig-zag stitch around the perimeter, ensuring all edges have been caught.
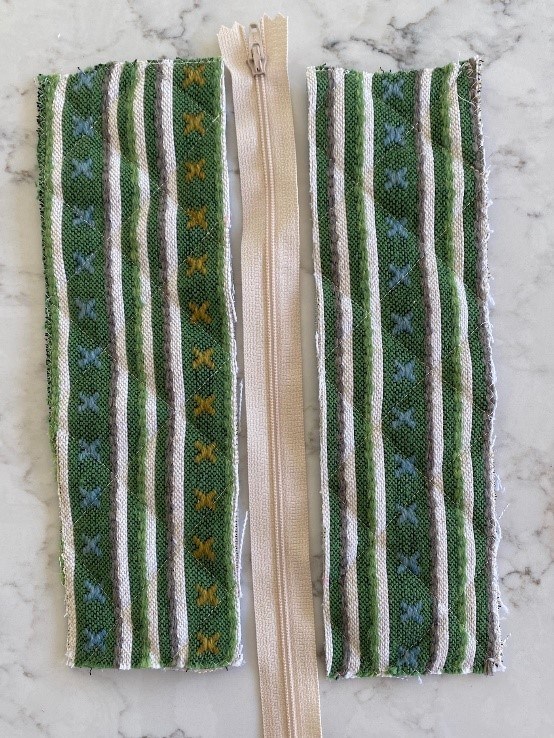
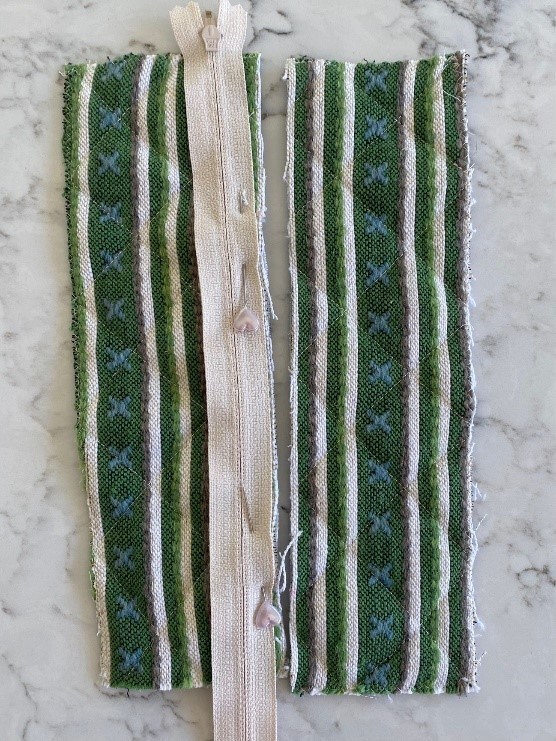
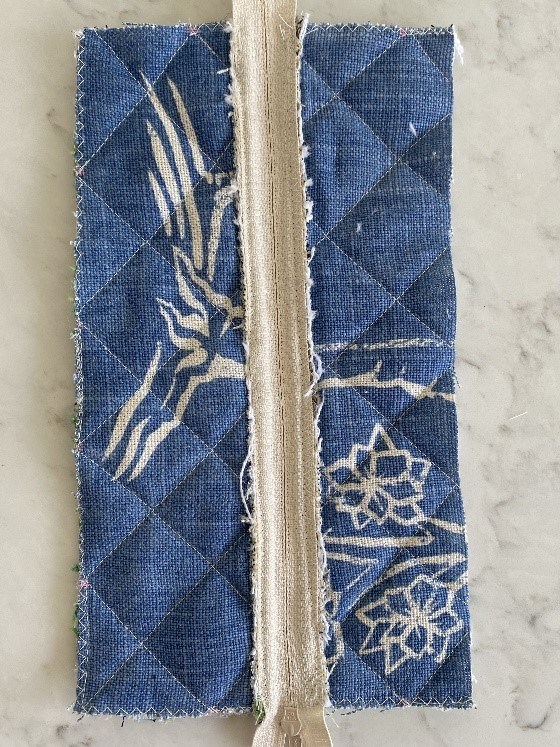
Step 4: Sew in your zip
Begin by cutting one of the 25 x 15 cm panels vertically in half – this is where the zip will go. Place the zip upside down on top of the outer side of the fabric and sew as close as you can to the zip (a zipper foot would help with this). Use the zig-zag stitch once again to enclose any loose threads. Repeat on the other side and then iron the seam allowance so that it is facing away from the zip itself. Top stitch parallel to the zip to prevent the seam allowance from interfering with the zip.
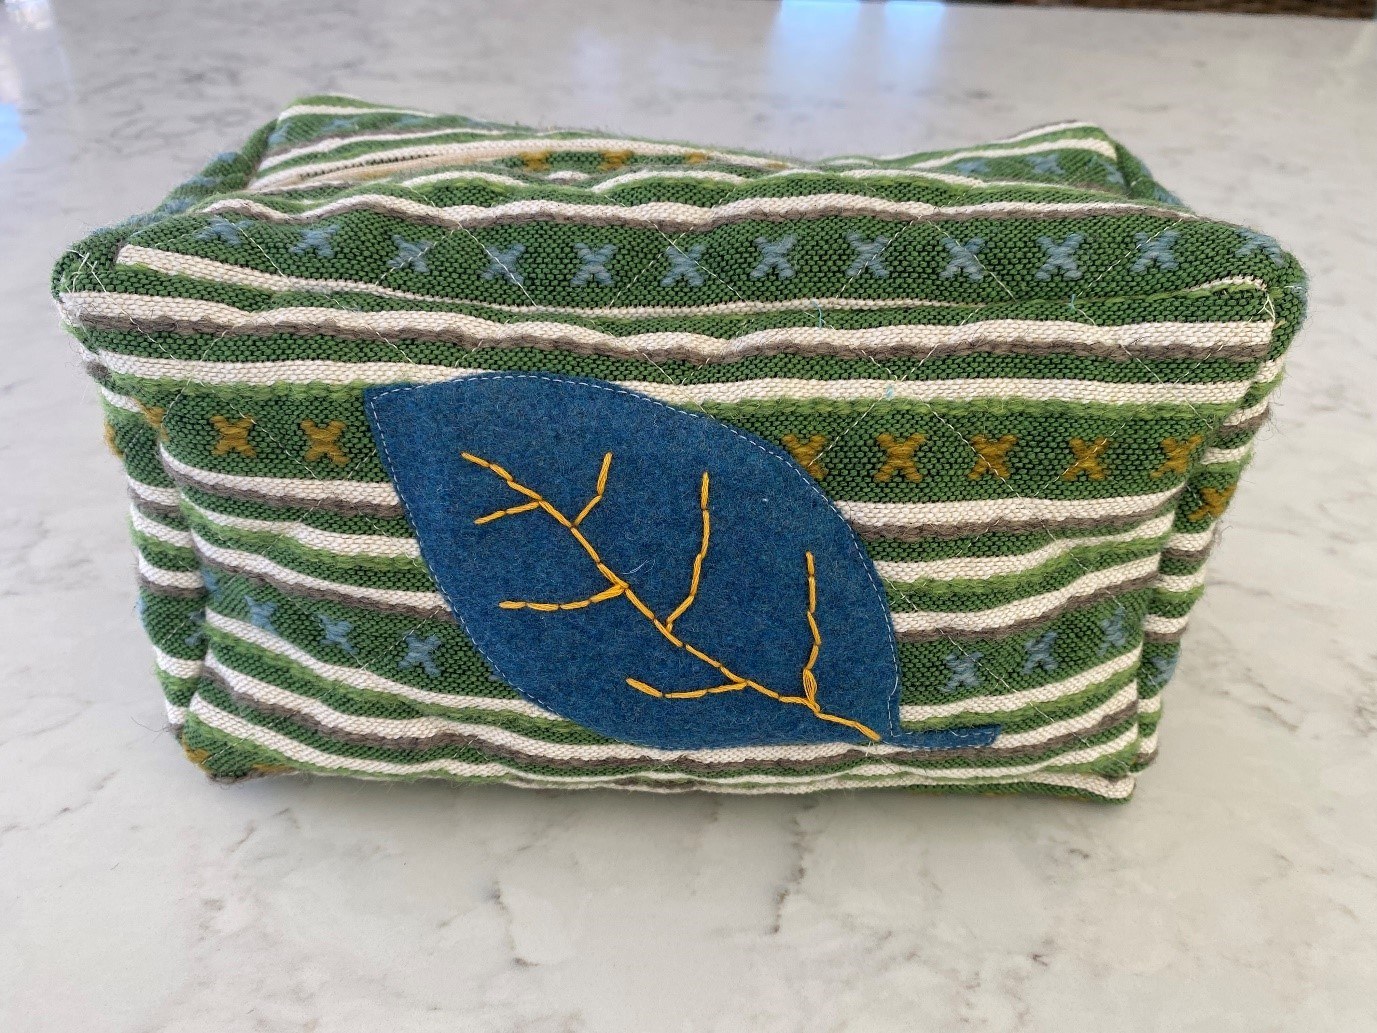
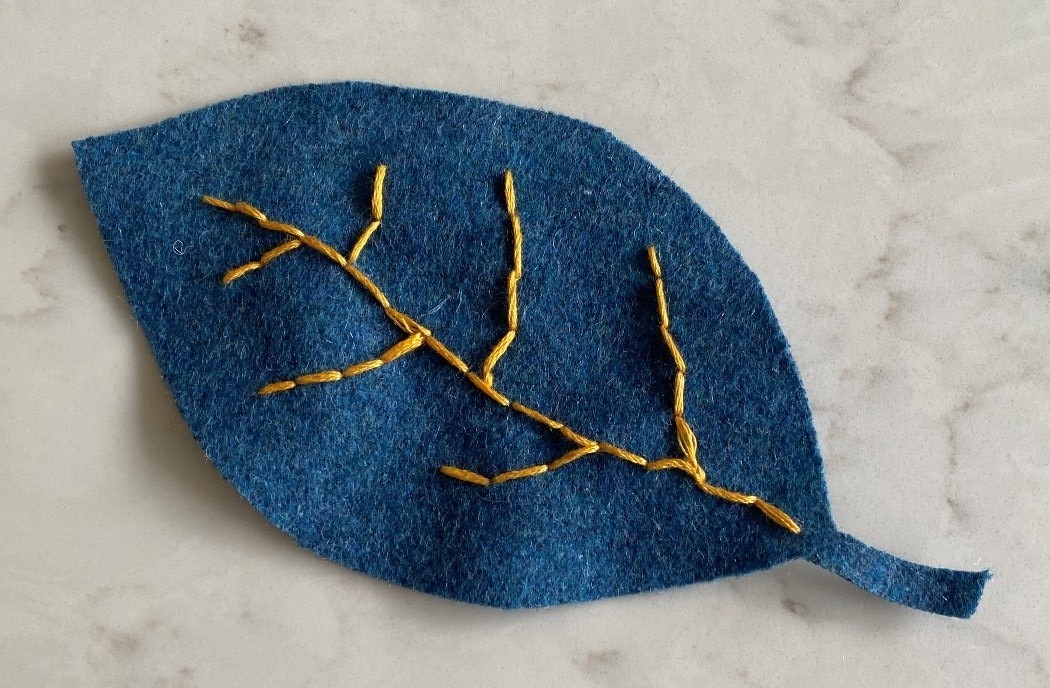
Step 5: Add a motif
A little motif or initial is a perfect way to personalise your bag. Simply cut out your shape of choice, (we chose a leaf in blue felt to match the lining and the crosses on the outer fabric) and embroider any other shapes or lines – let your imagination run wild! Sew around the edge directly onto the outer side of the fabric using a straight or zig-zag stitch to attach it to one of your panels.
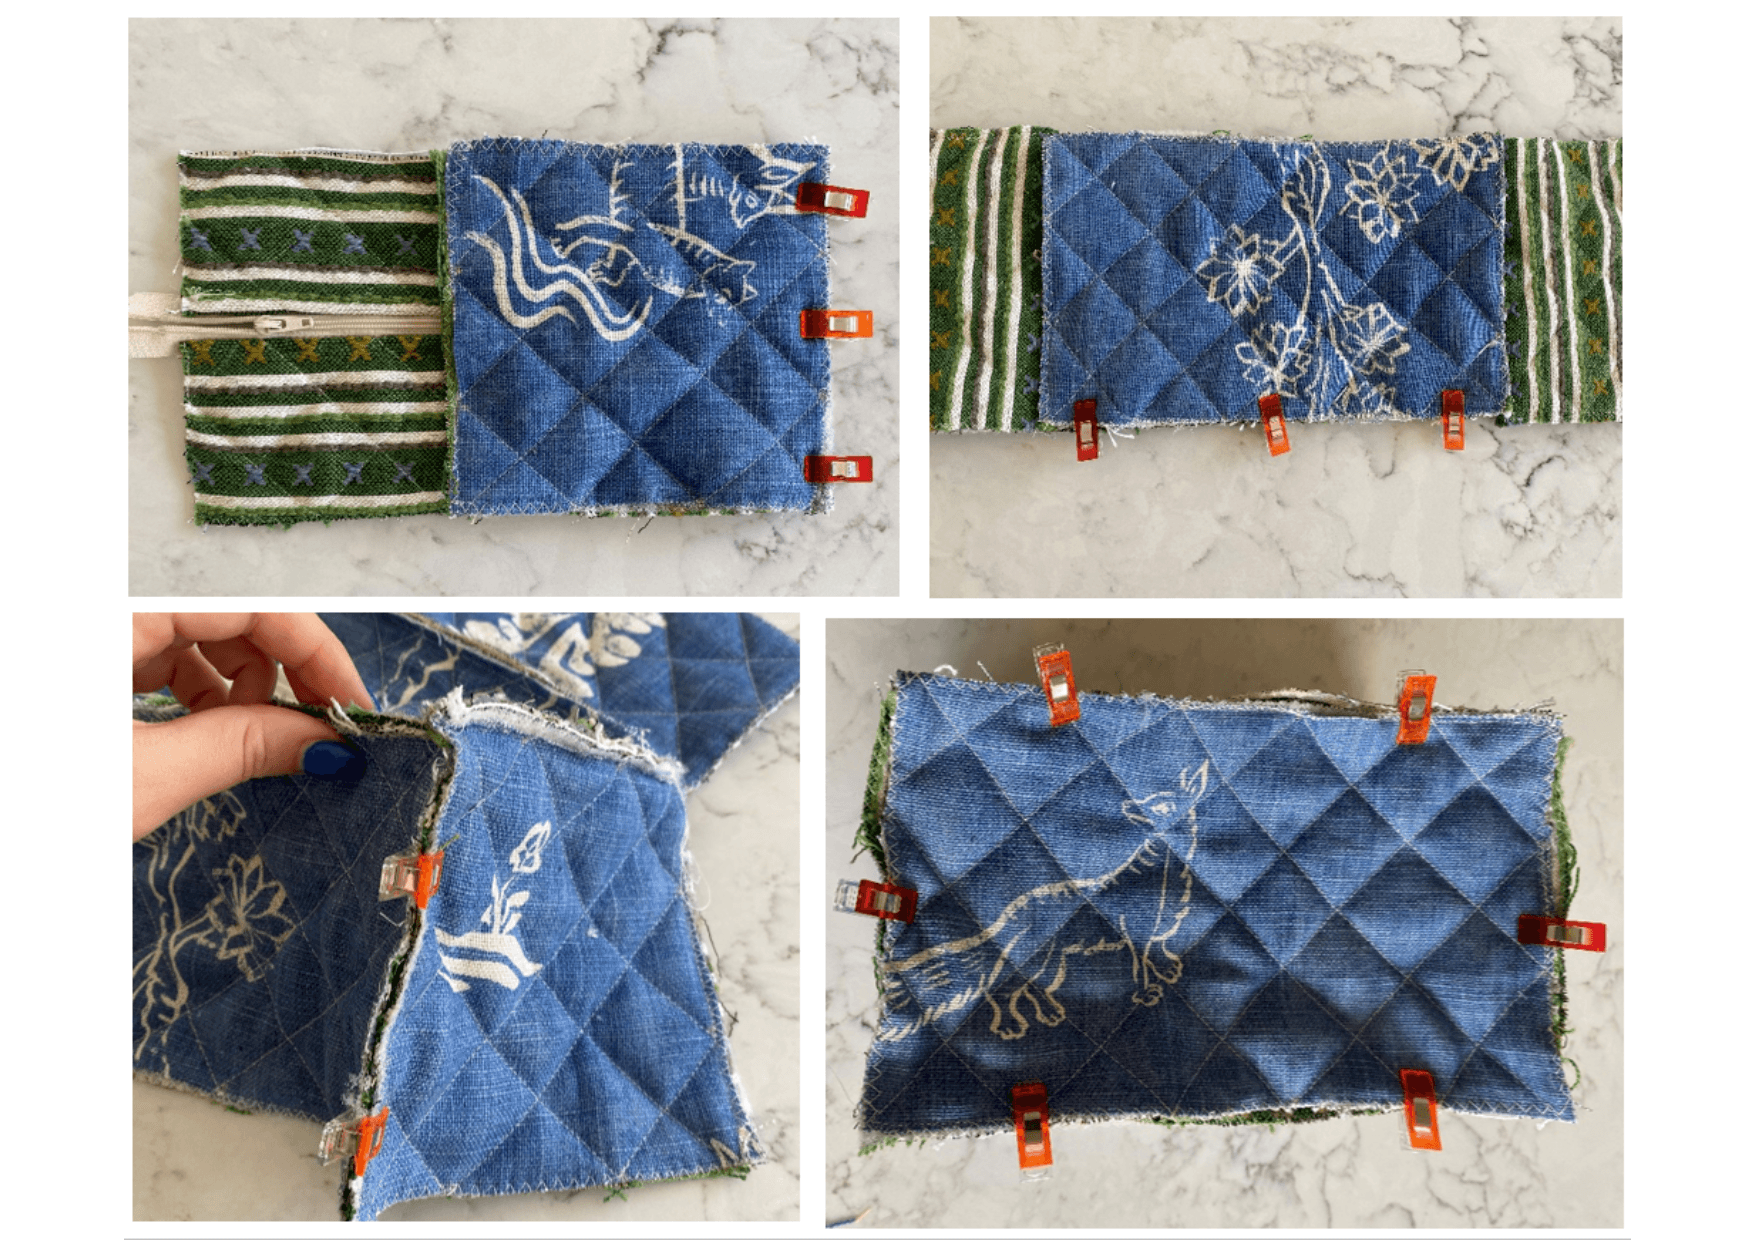
Step 6: Construct your bag
Start with the top panel of the zip with the outer fabric facing you. Place one of the square panels on top with the lining side facing you and pin them together. Sew along the short edge and repeat for the opposite end with the other square panel. Then take one of the rectangular panels, pin it to the long edge of the zip panel (right sides together), sew it and repeat with a different rectangular panel on the other side. Then sew down each of the openings between the rectangular and square panels which will create the height of the bag and you will begin to see the general shape of the bag come together. Finally, pin the bottom panel (lining side out) to the 4 side panels and sew the edges. Turn it the right way round and check for holes. To ensure all seams are hidden, sew the bag with the lining facing out (so effectively you are making the bag inside out).
Tip: we like to use clips instead of pins to ensure the 2 pieces are held securely whilst sewing.
There you have it! Your very own washbag, made from fabric offcuts…

For more fabric offcut creations, discover also our Patchwork Toys and how we create them here. Remember to share your home creations with us on Instagram @KitKempDesignThread.